Eversolo Streamers M.2 SSD Installation Tutorial
This guide applies to DMP-A8, DMP-A6, here we use A6 as an example.
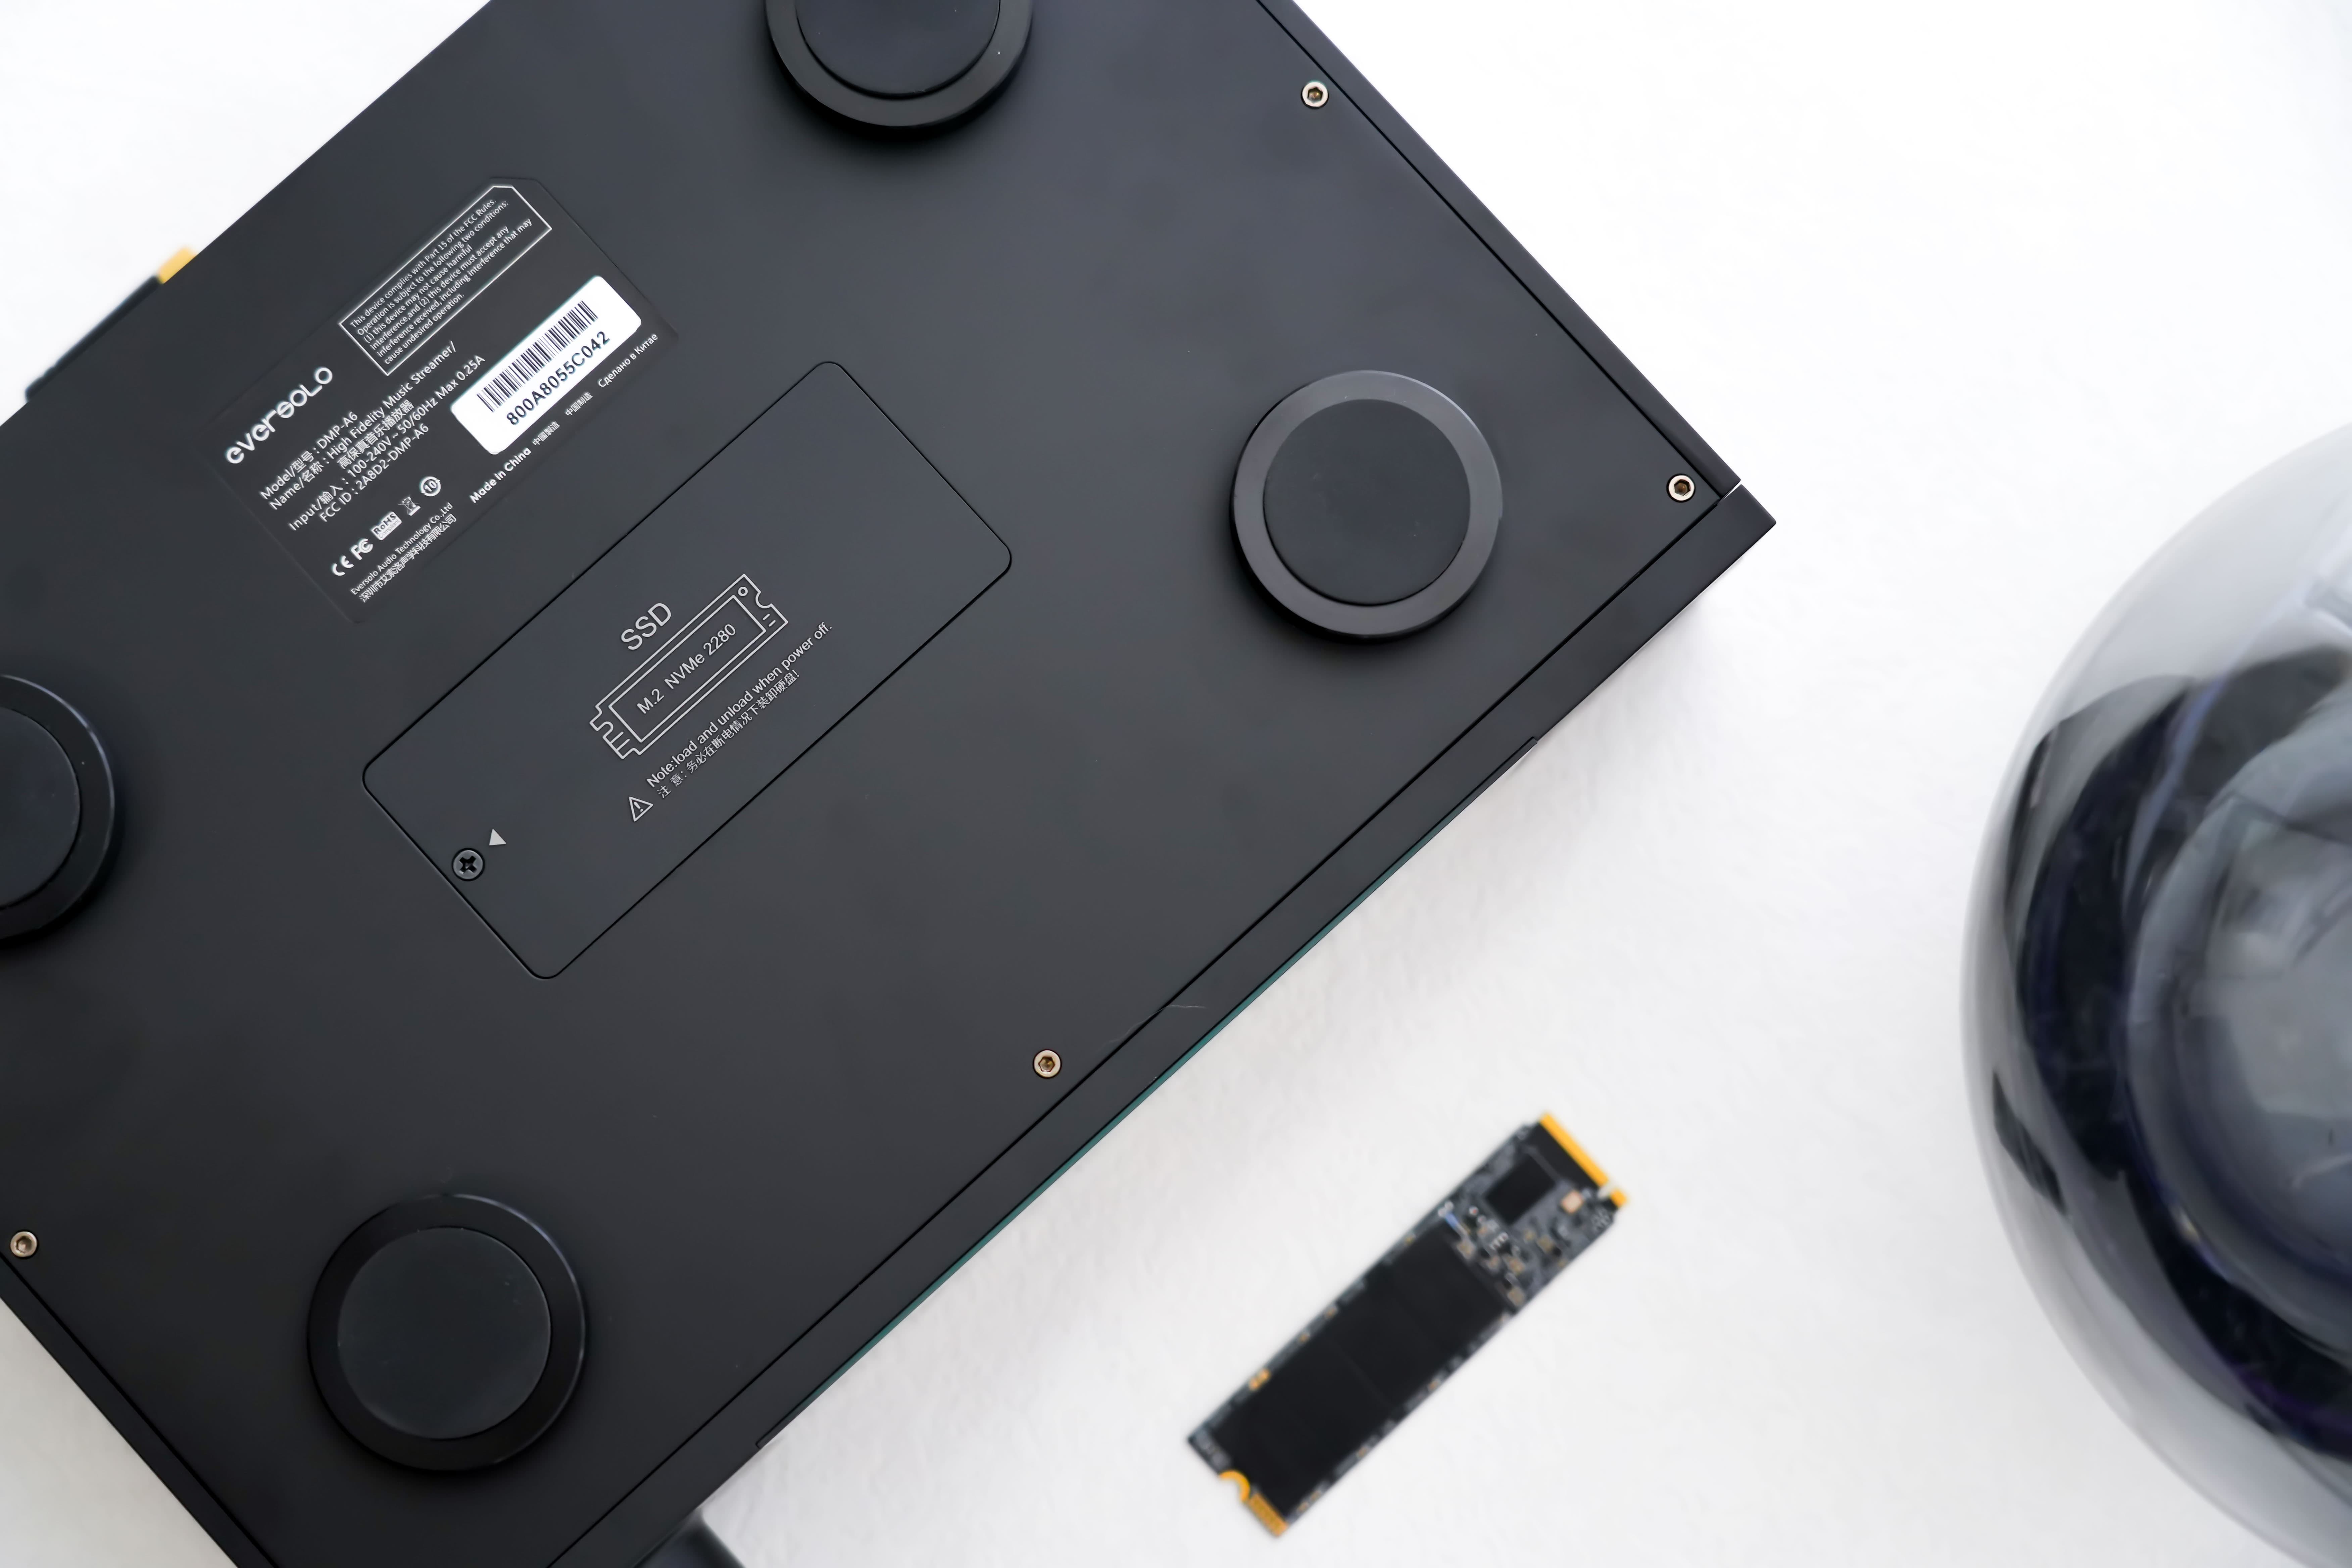
The Eversolo DMP-A6 is equipped with an M.2 NVME 3.0 2280 SSD slot that supports expandable storage. It features an external slot design, allowing users to install and remove the hard drive without disassembling the device.
The maximum capacity is expandable up to 4TB, providing faster and more stable performance compared to traditional mechanical hard drives.
Precautions:
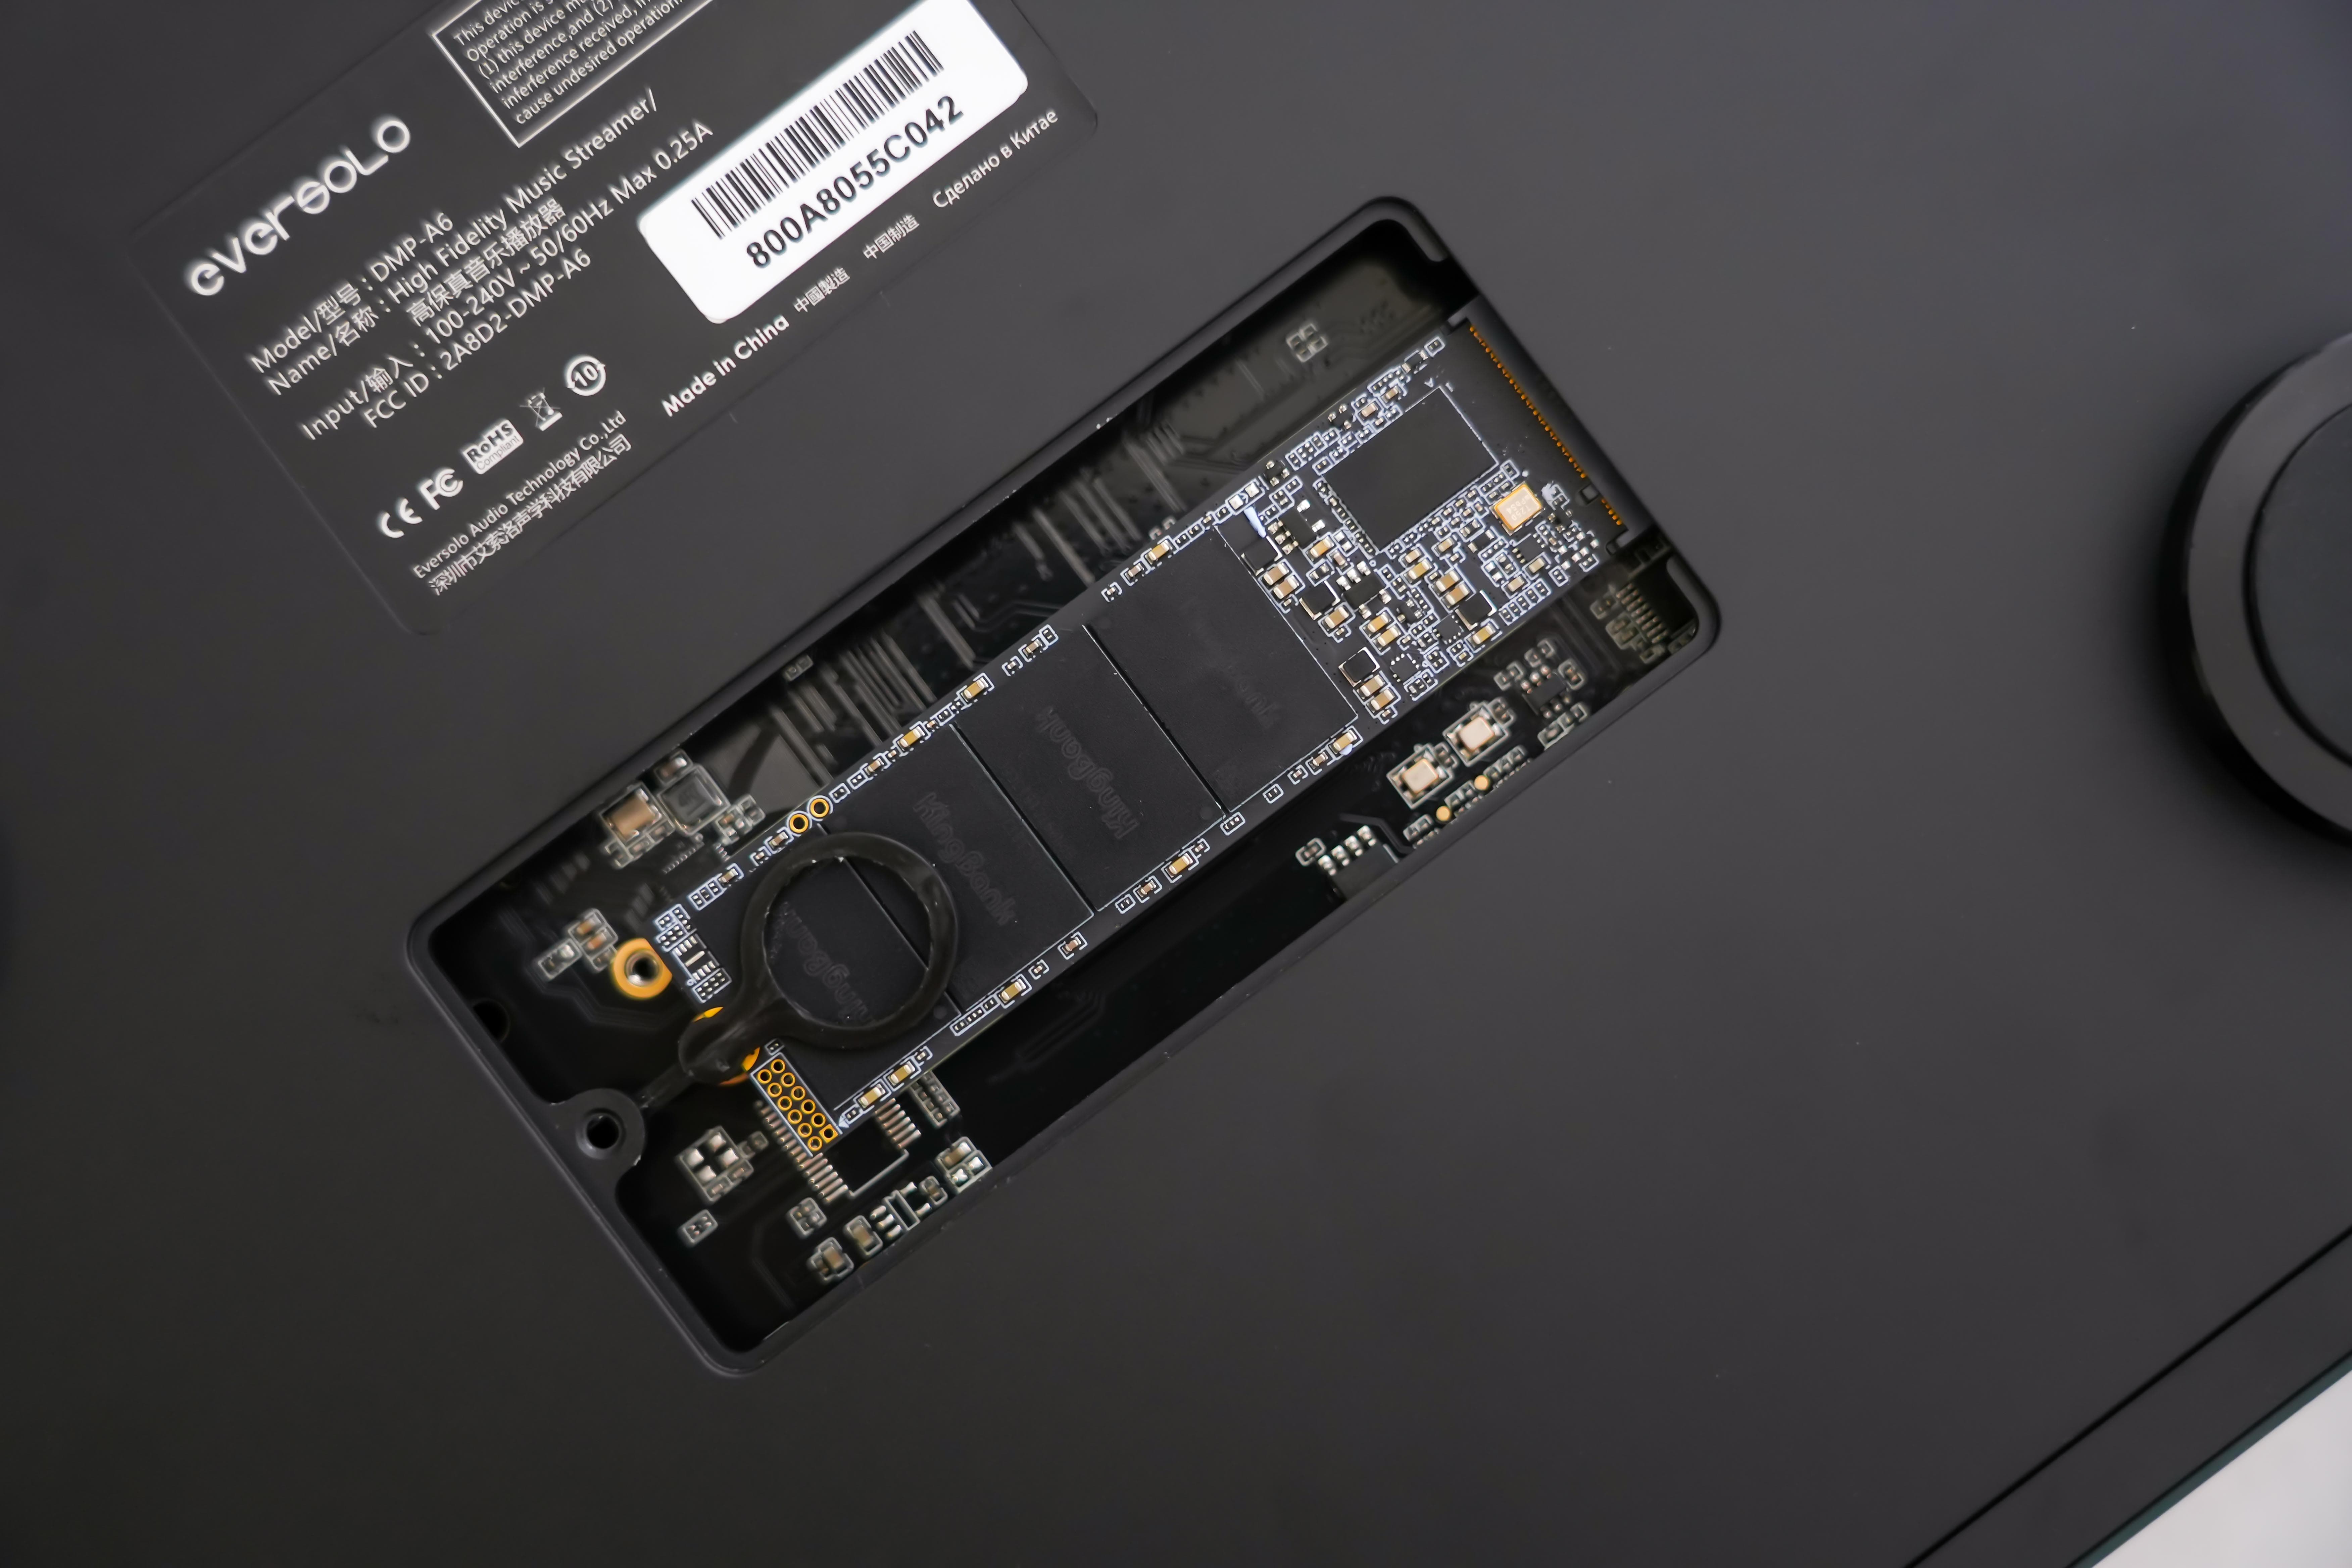
When installing an SSD, please make sure to fully insert the golden finger into the SSD slot. Failure to securely insert the golden finger may result in poor contact and short circuit, which can cause the A6 to continuously reboot upon startup and potentially damage the SSD.
I. Preparations
1.DMP-A6 x1
2.M.2 NVMe SSD x1
3.Cross screwdriver x1 (included with DMP-A6)
II. Tutorial with pictures
Step 1: Power off the DMP-A6 and then flip it over with the bottom side facing up.
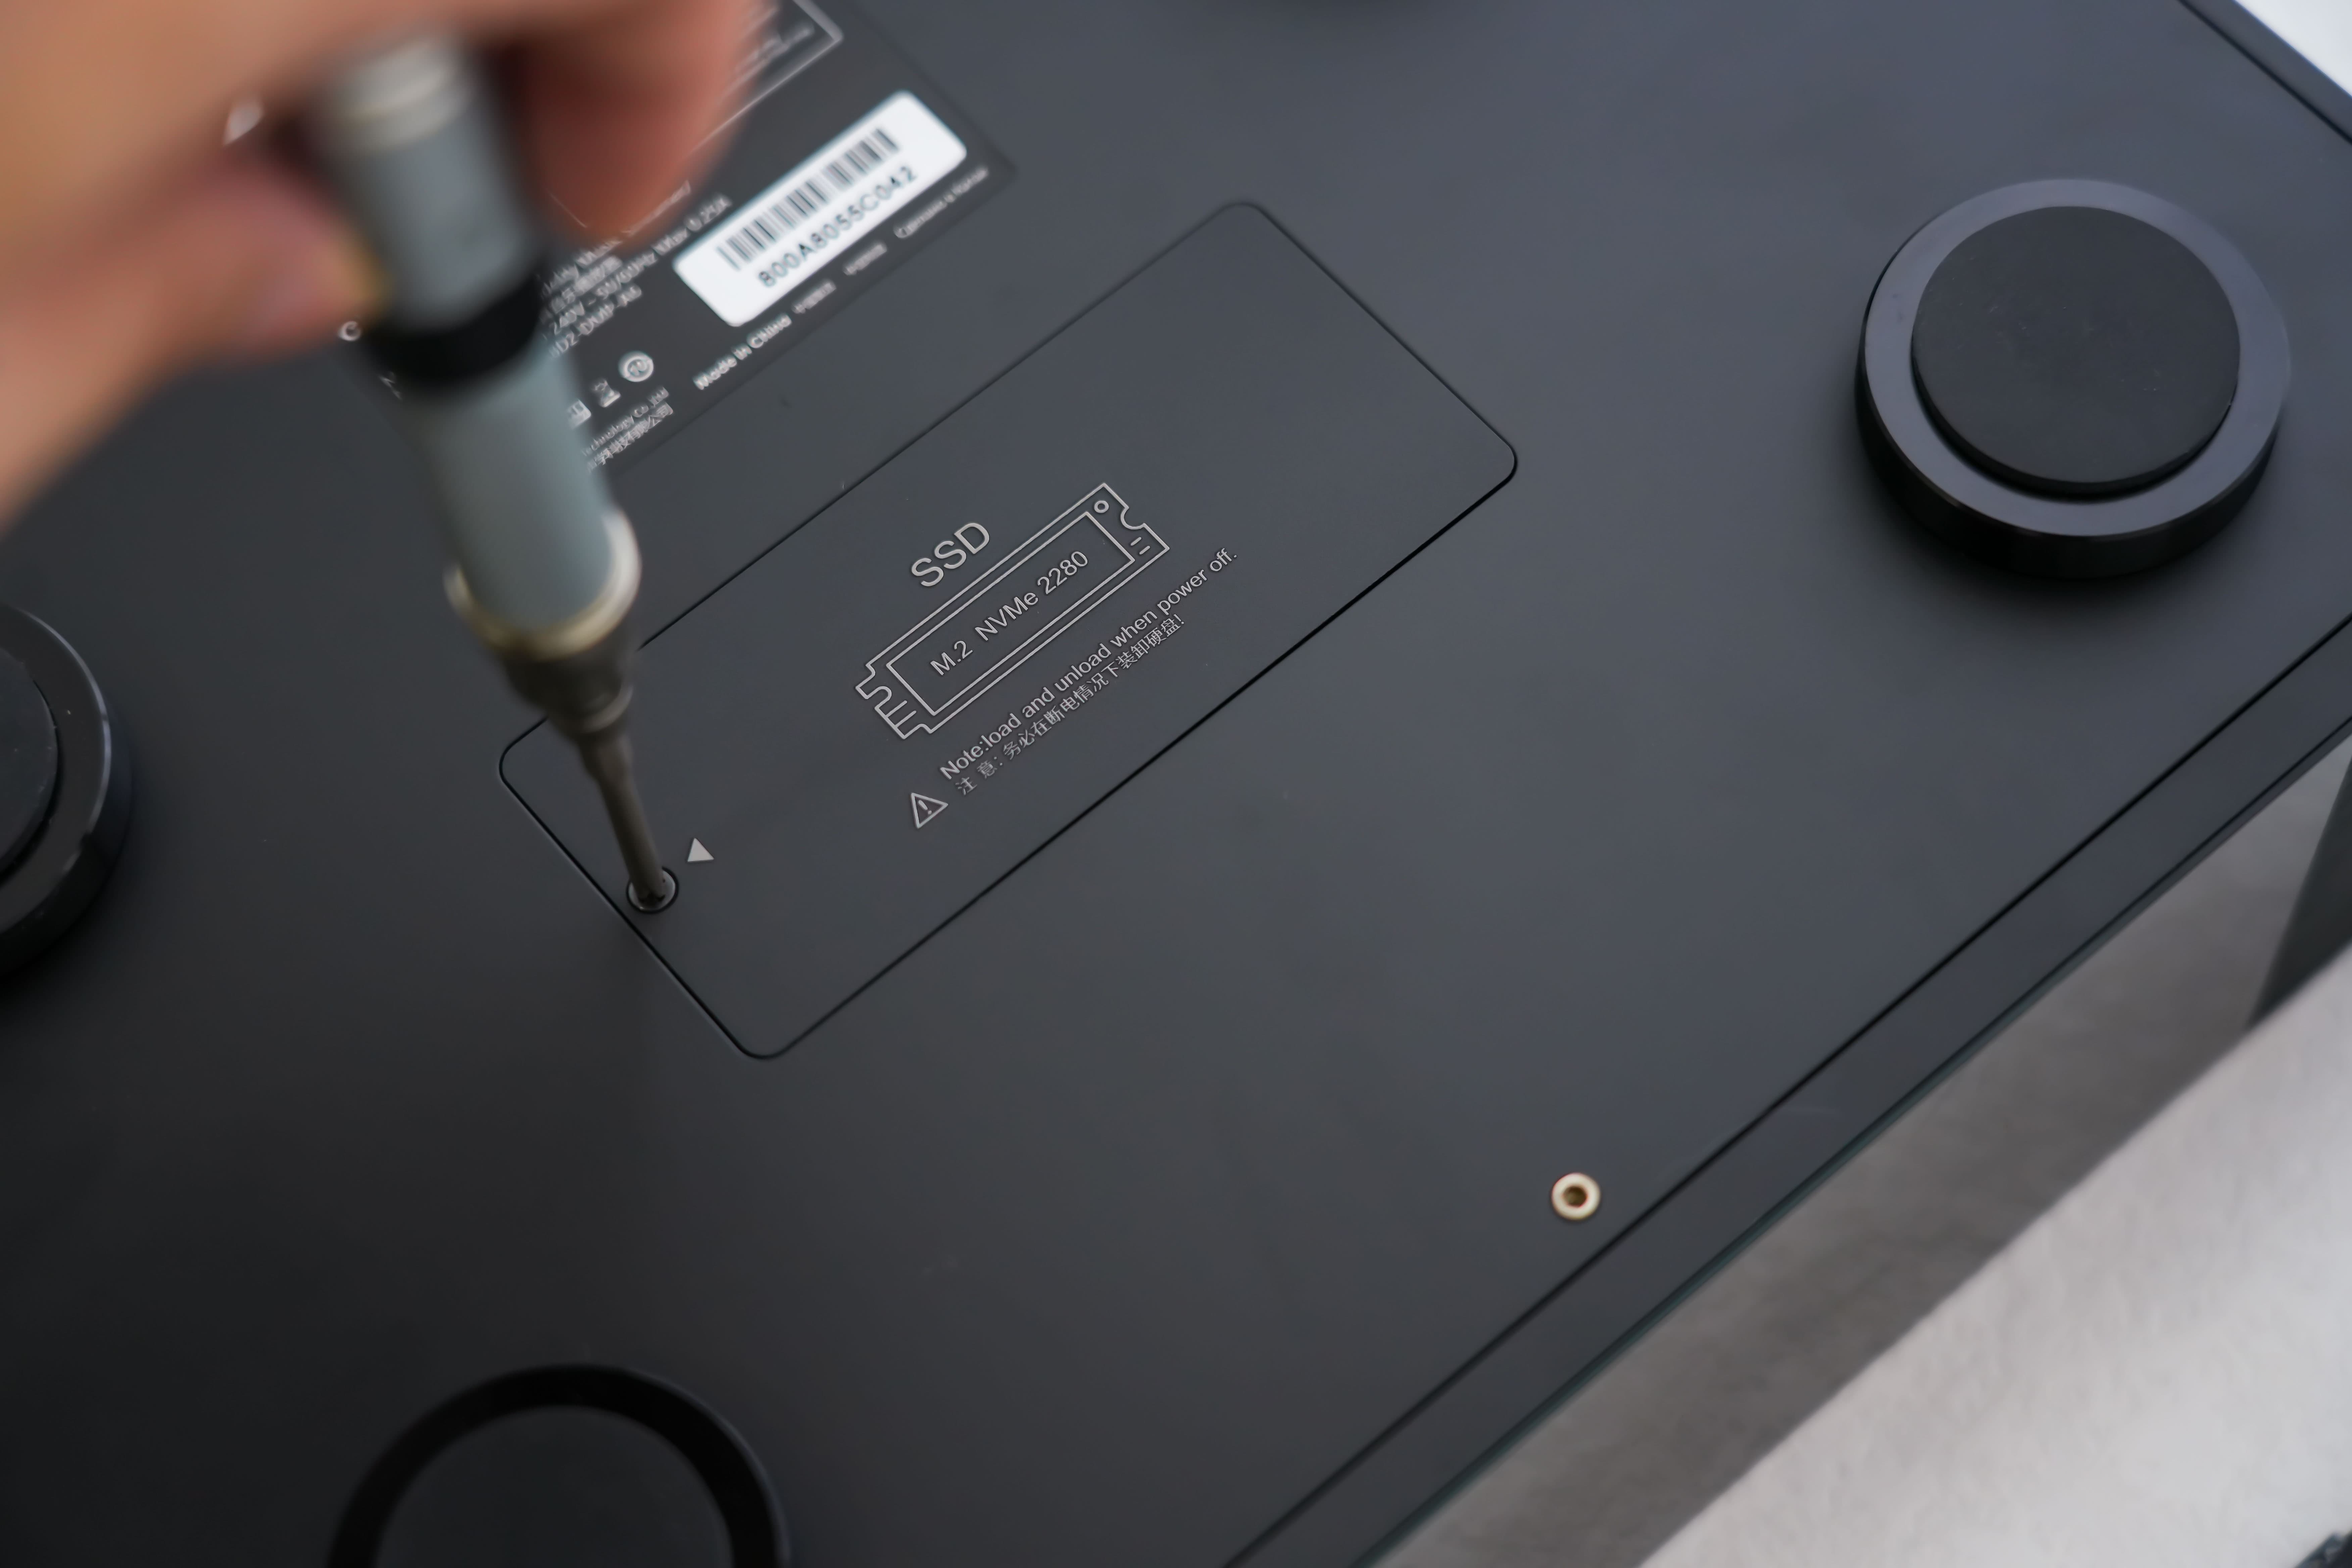
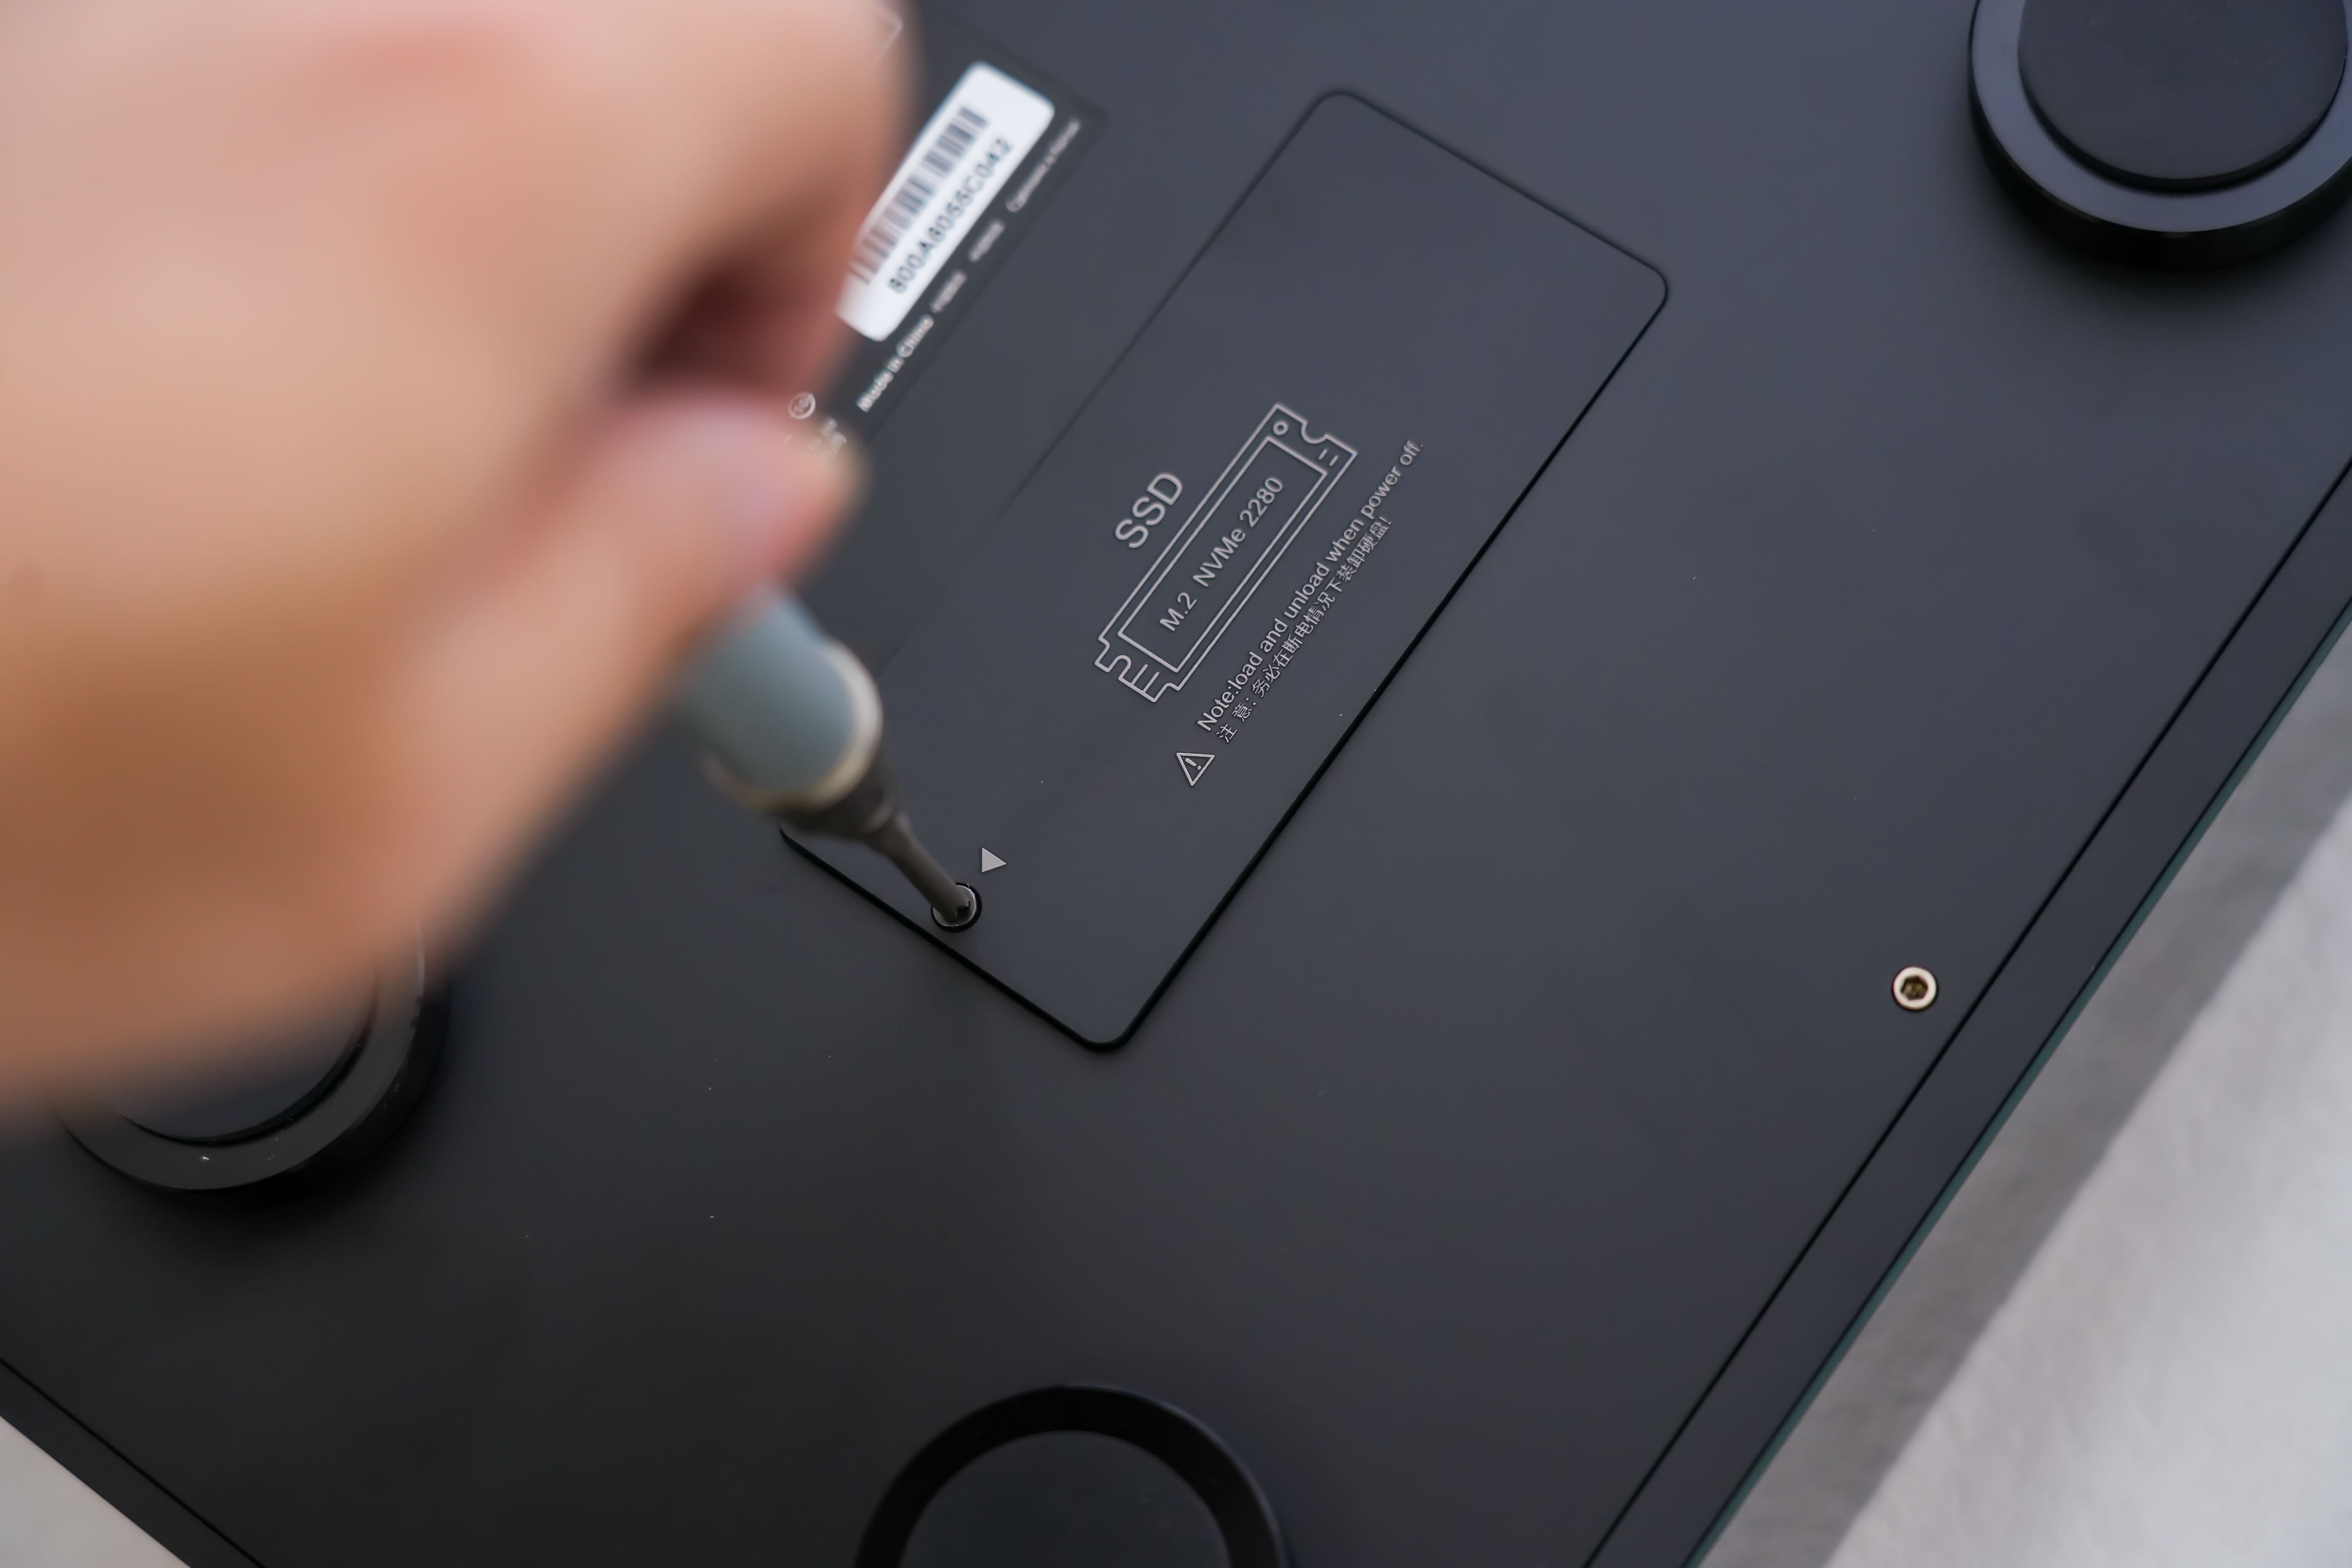
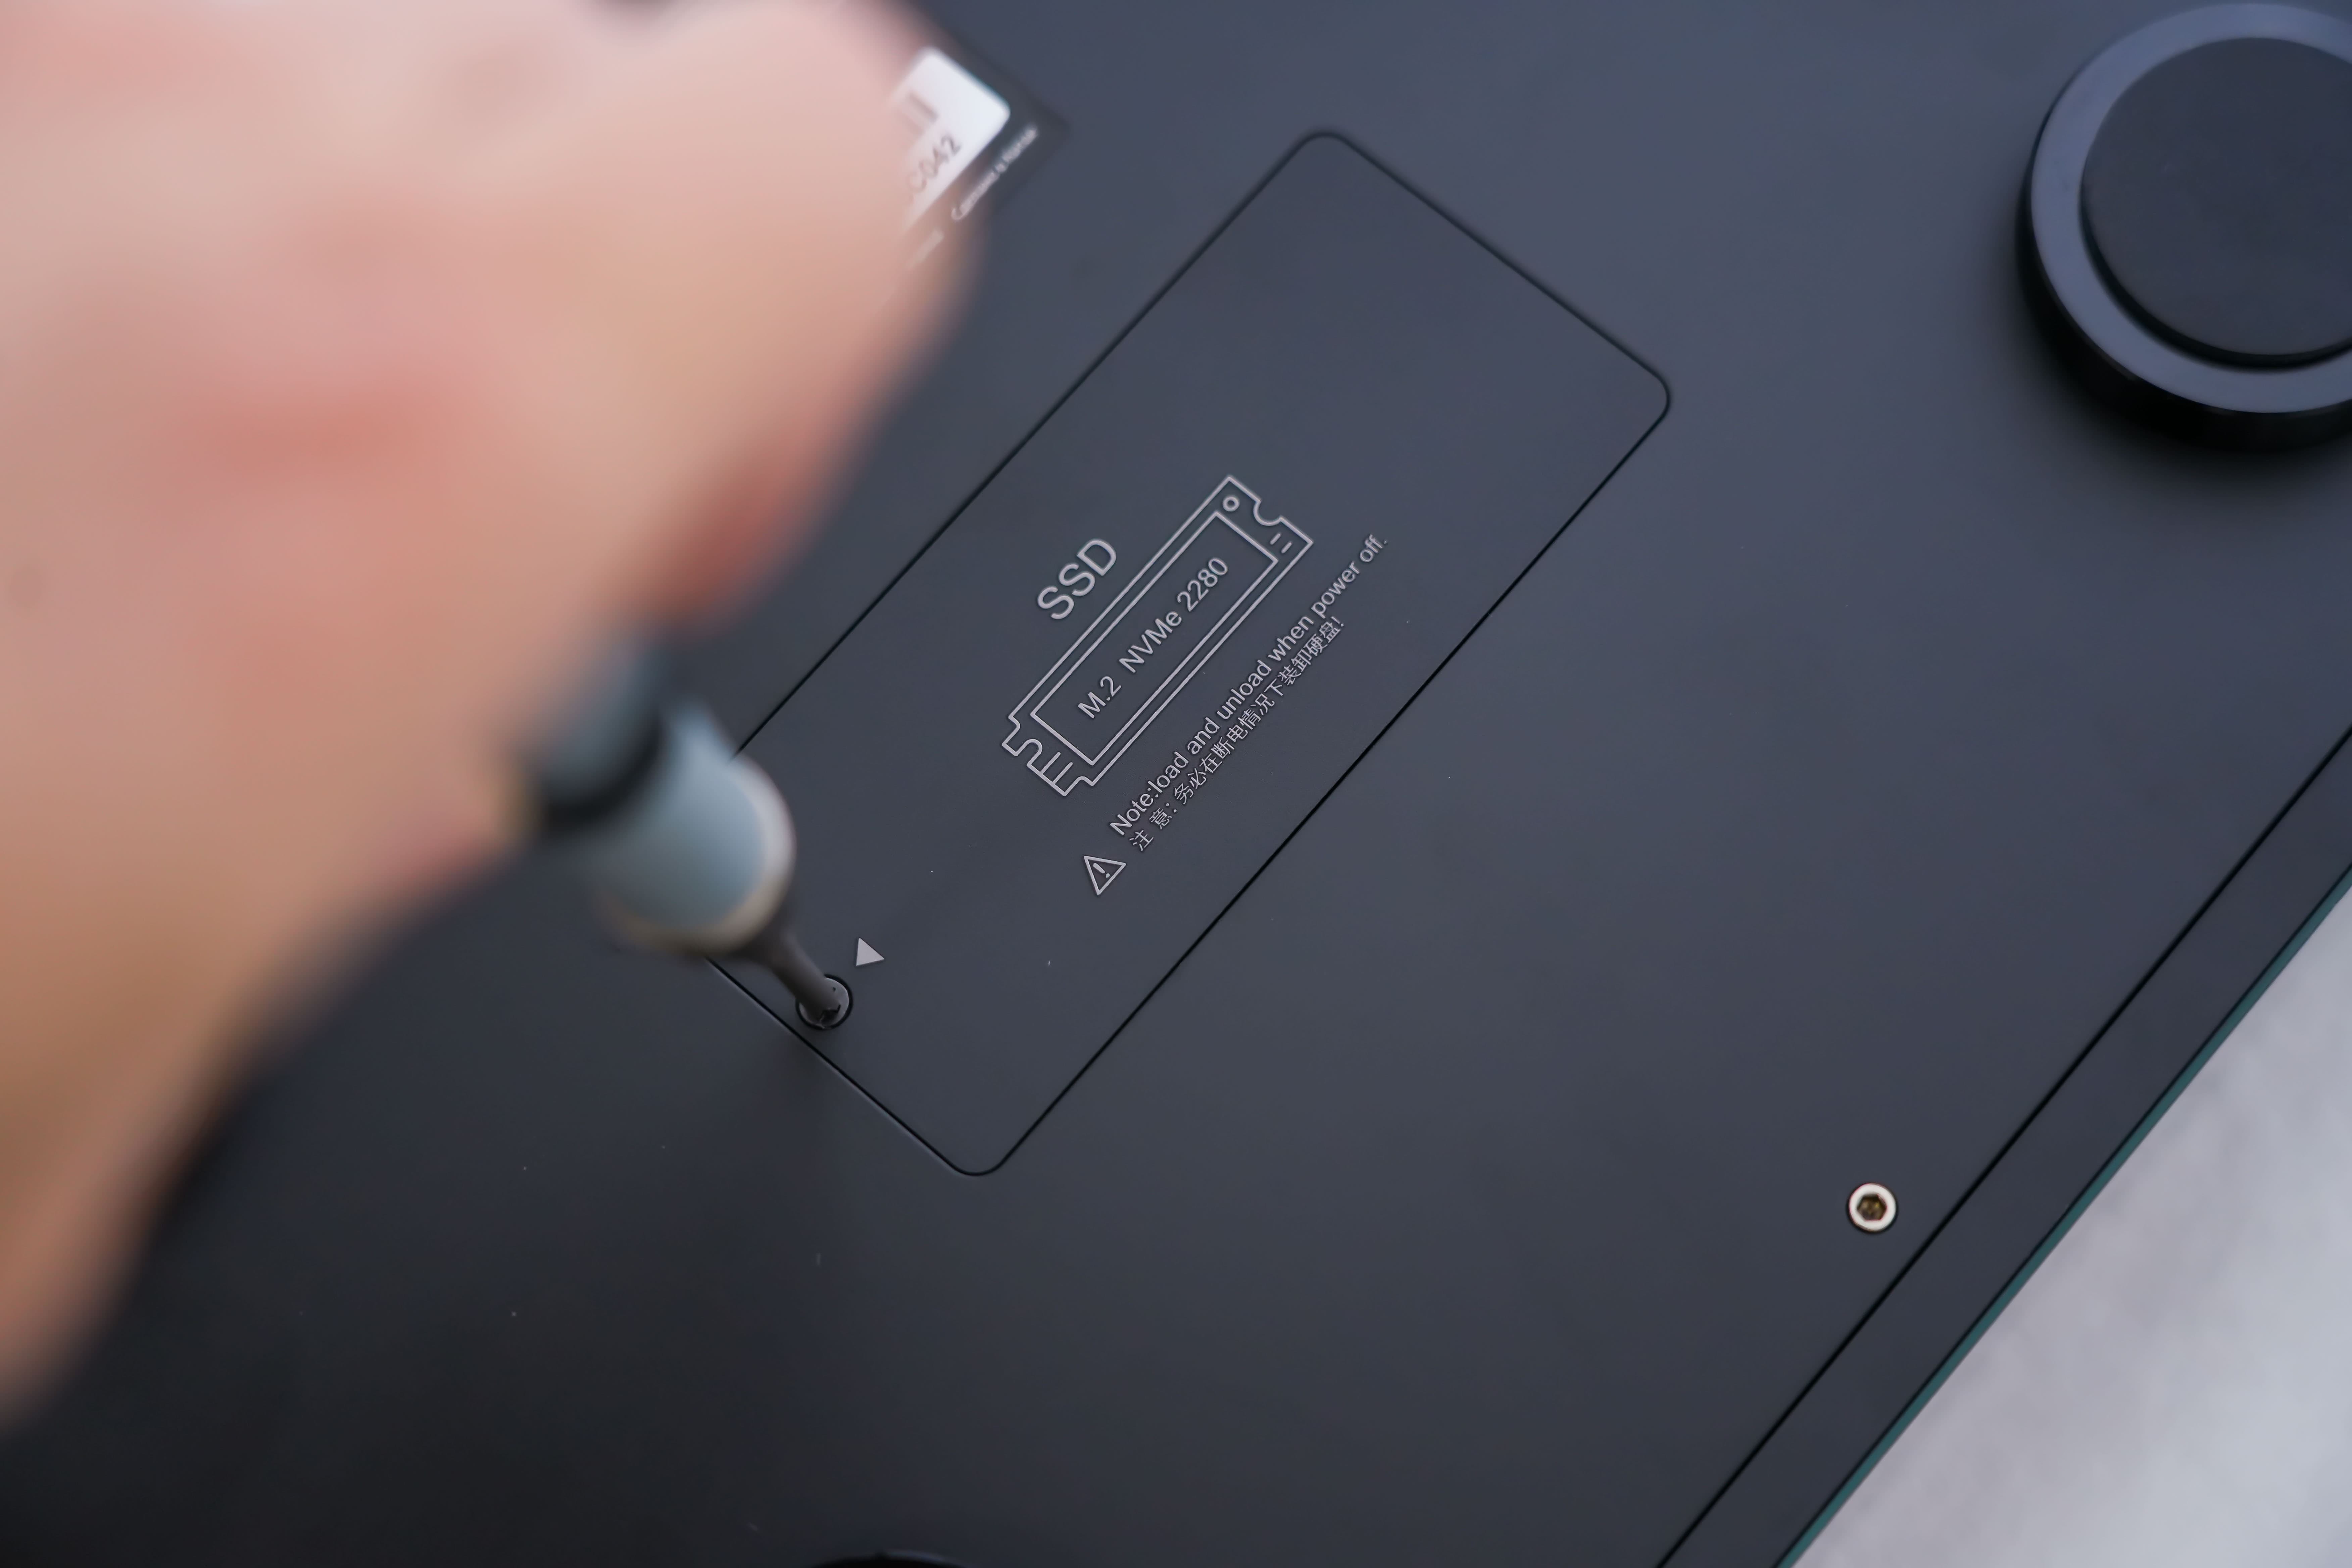
Step 2: Use a cross screwdriver to unscrew the SSD cover on the back of the DMP-A6, and remove the SSD cover.
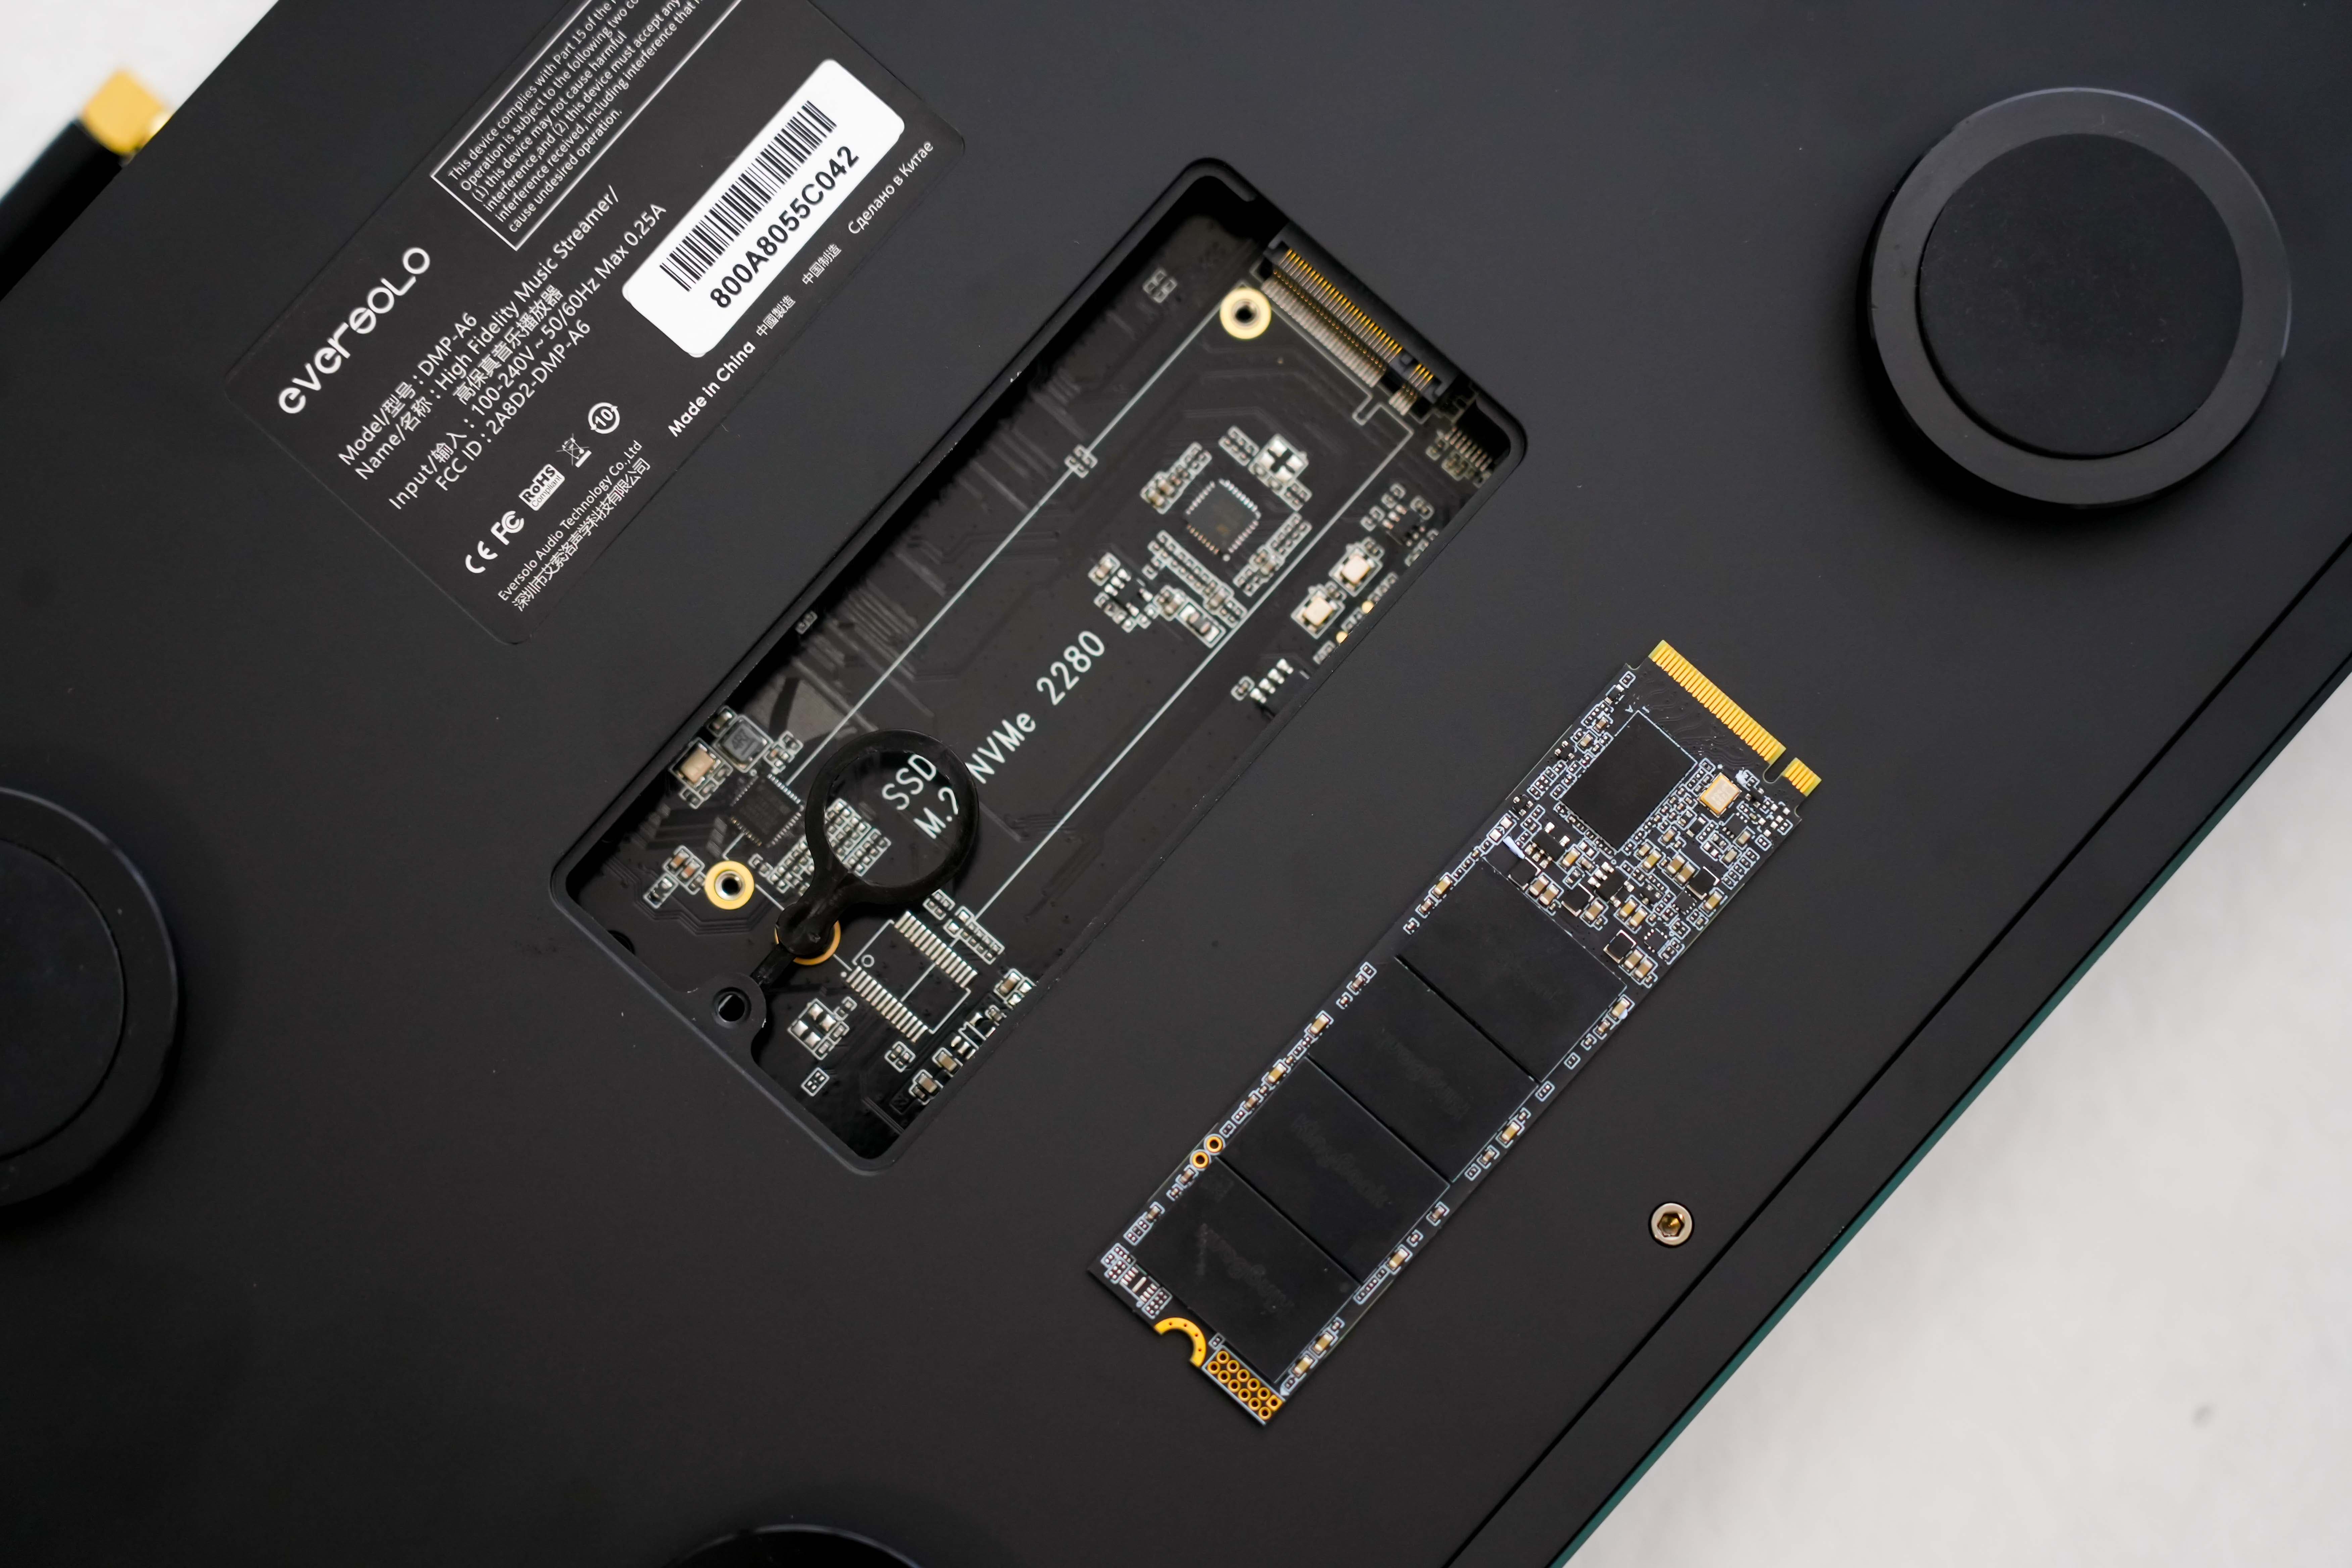
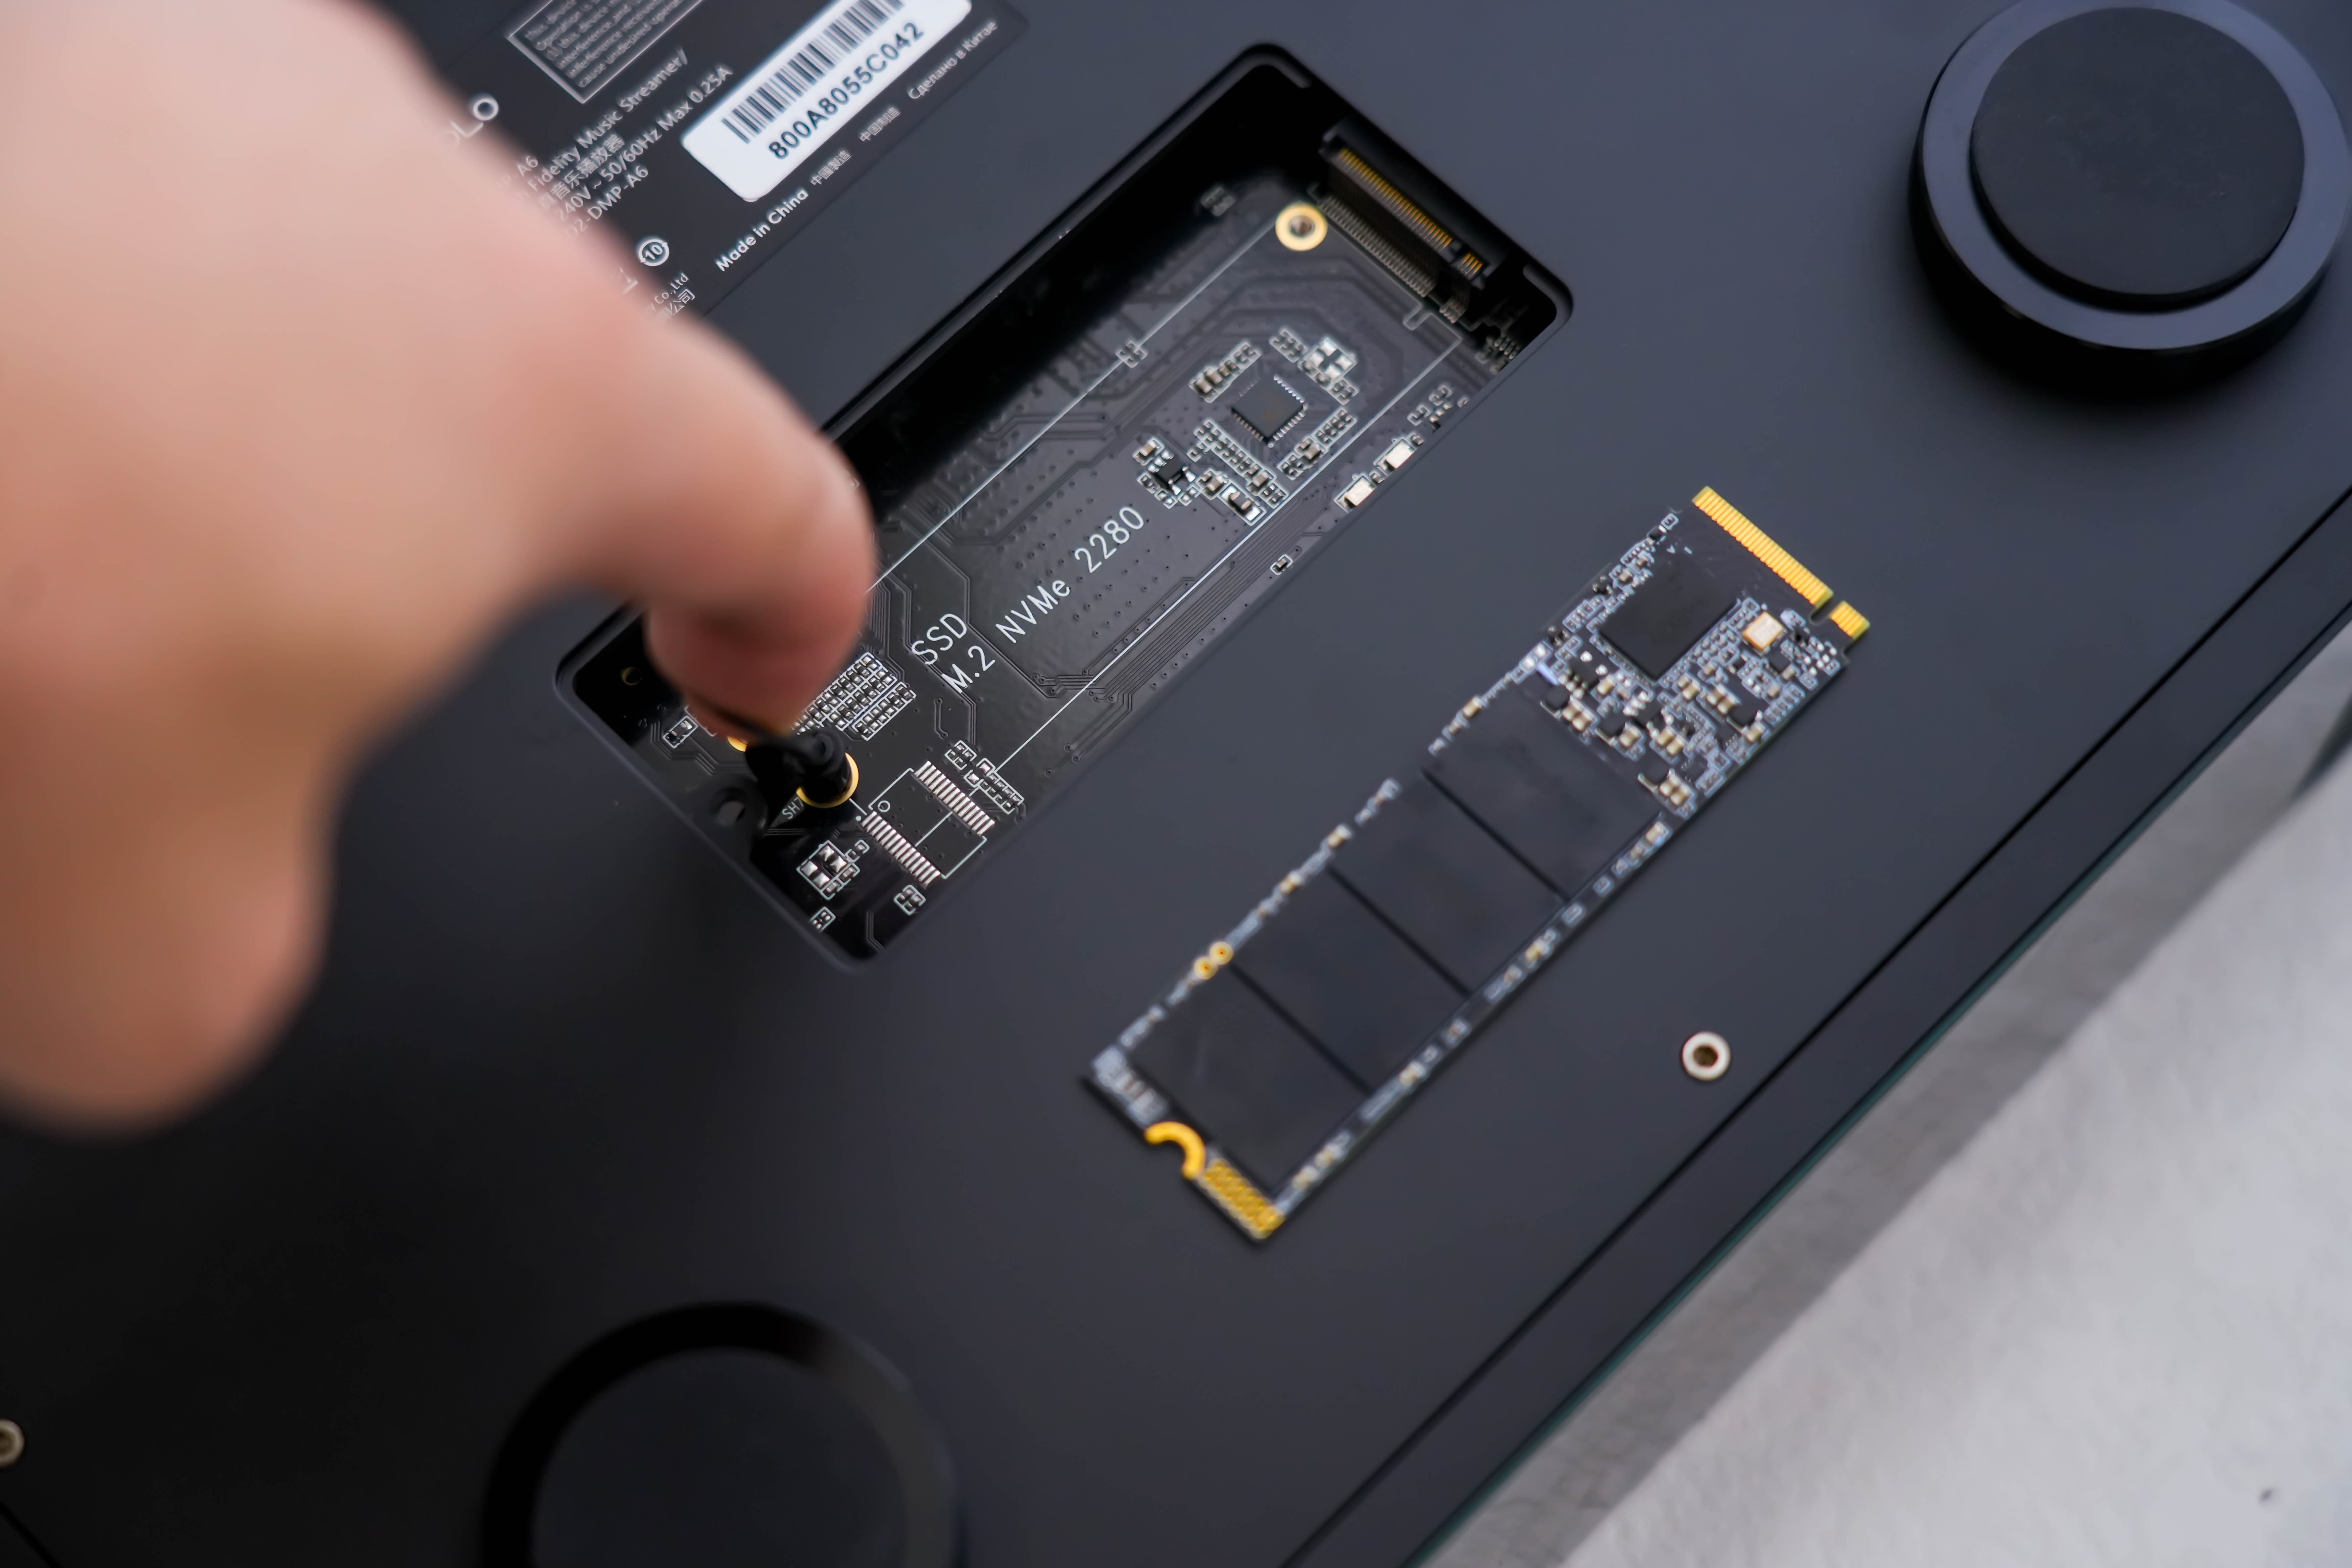
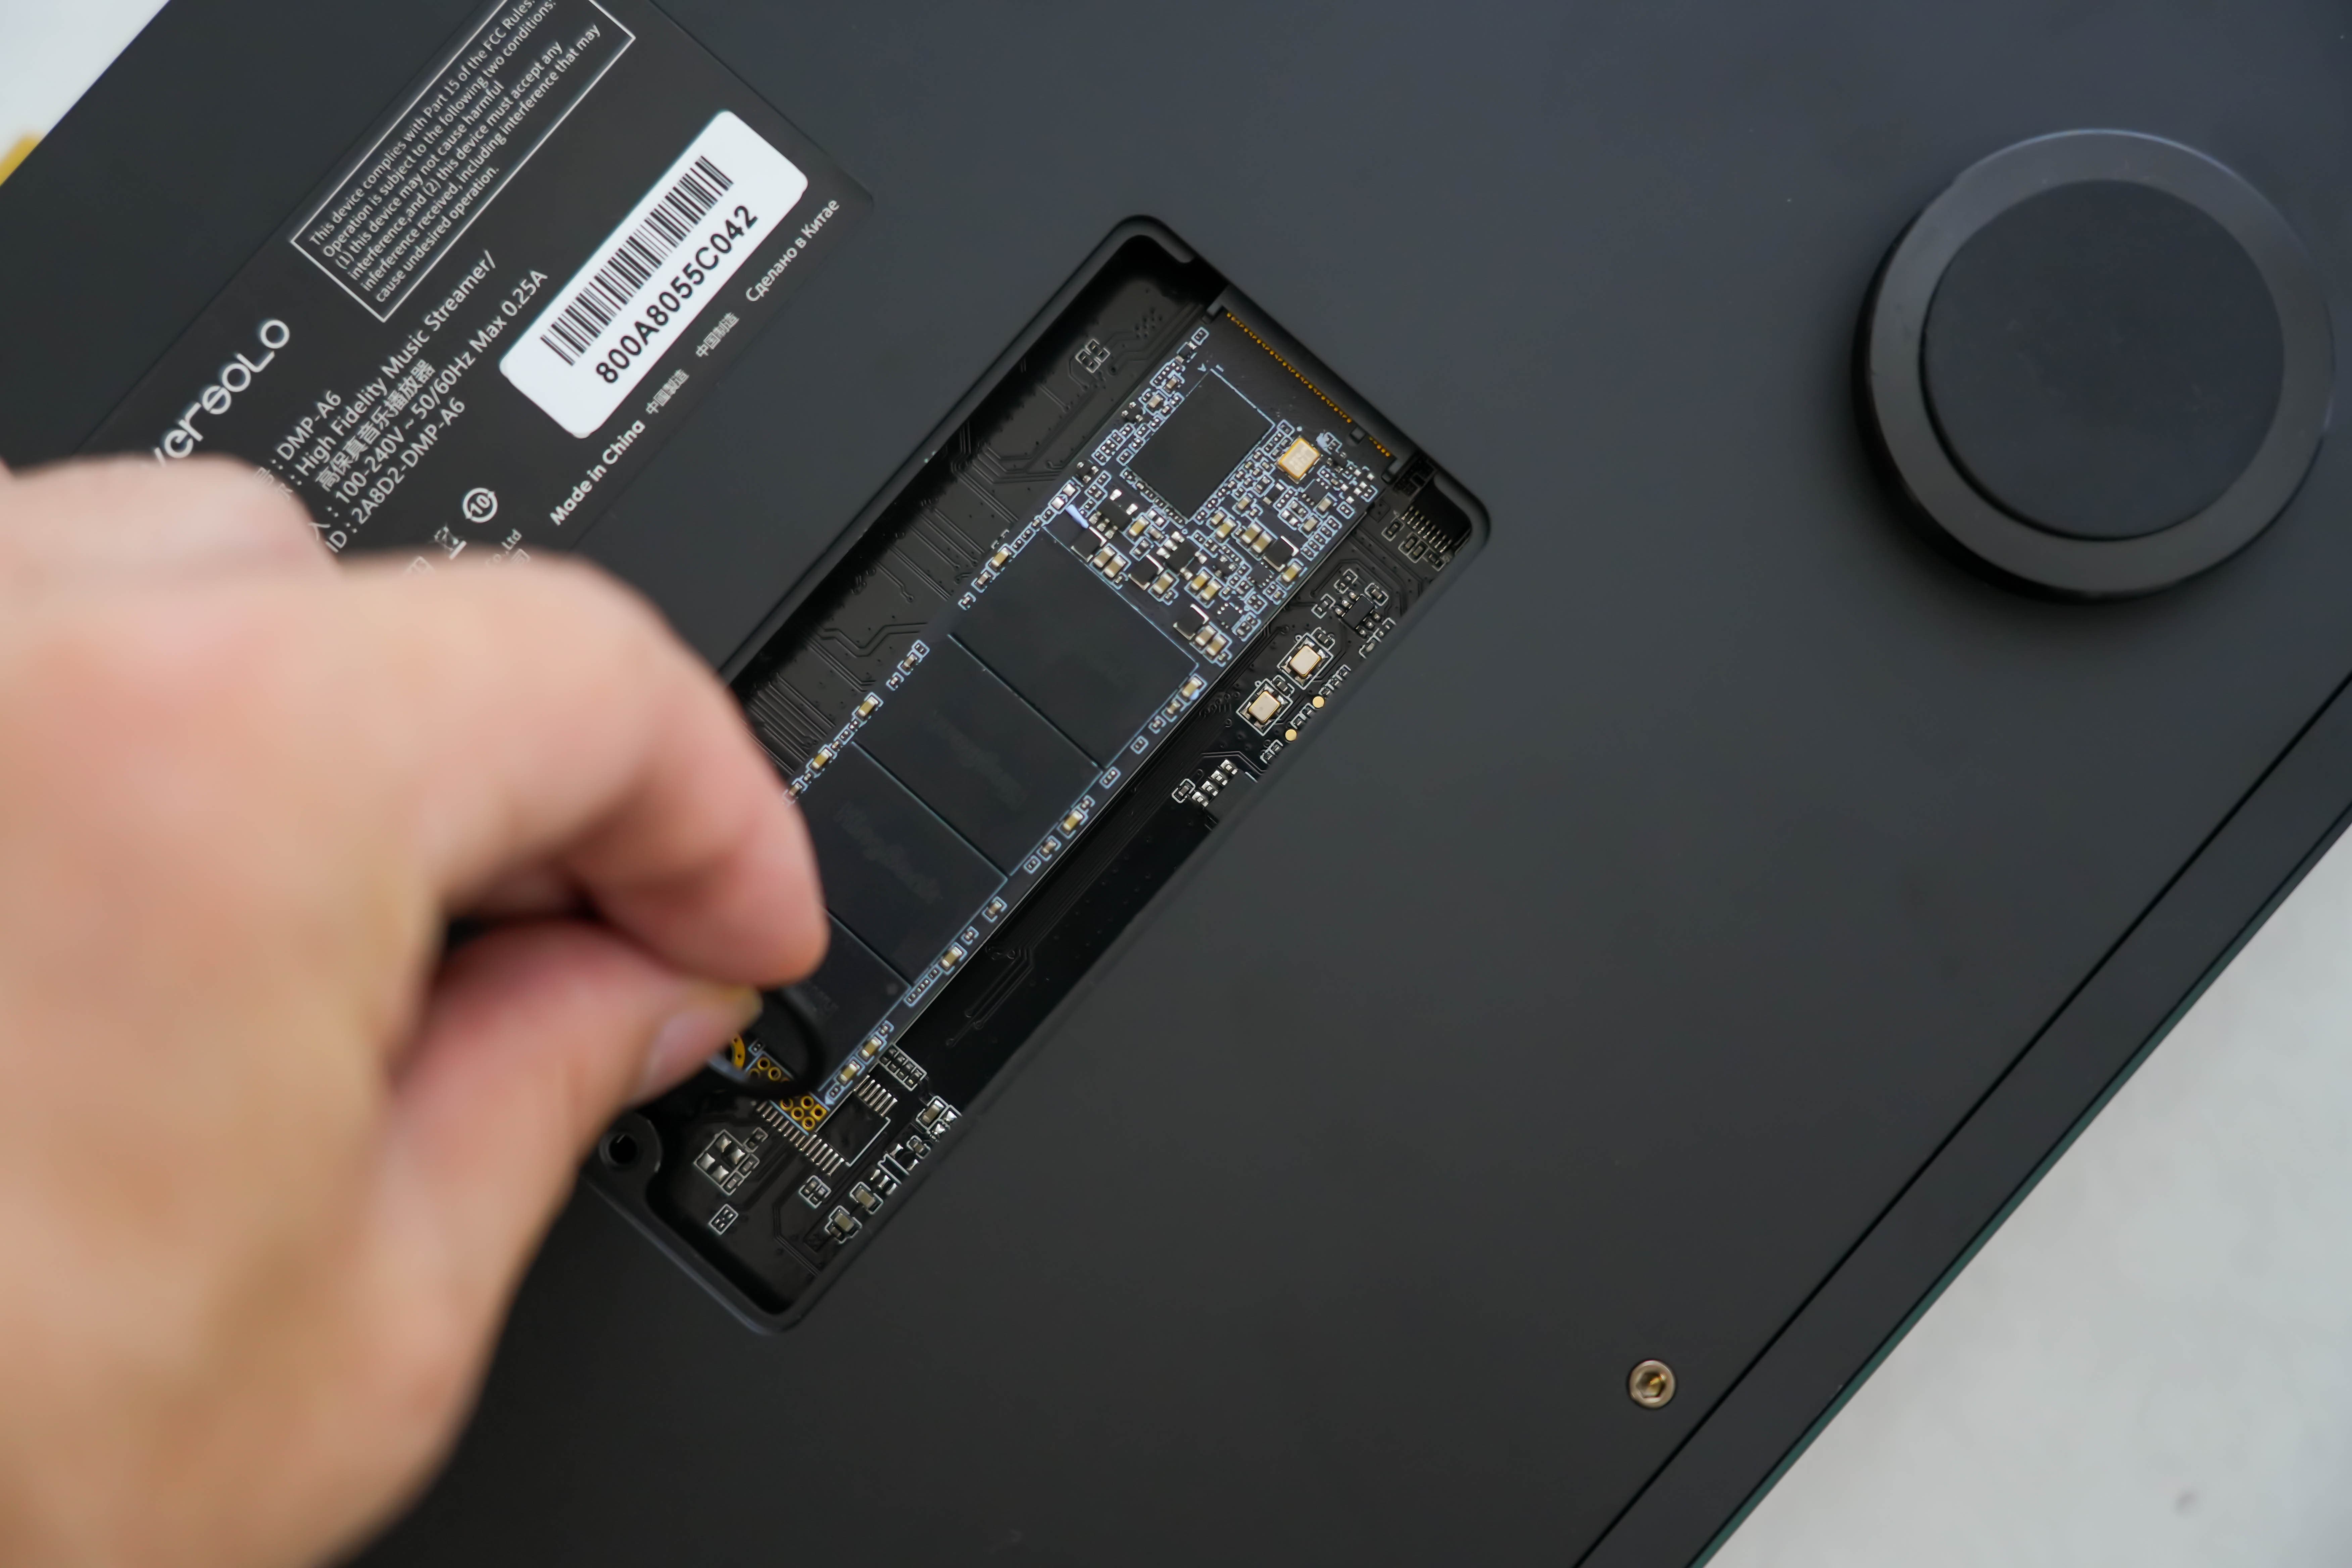
Step 3: Insert your fingers into the SSD retention bracket and gently pull outward to release the latch.
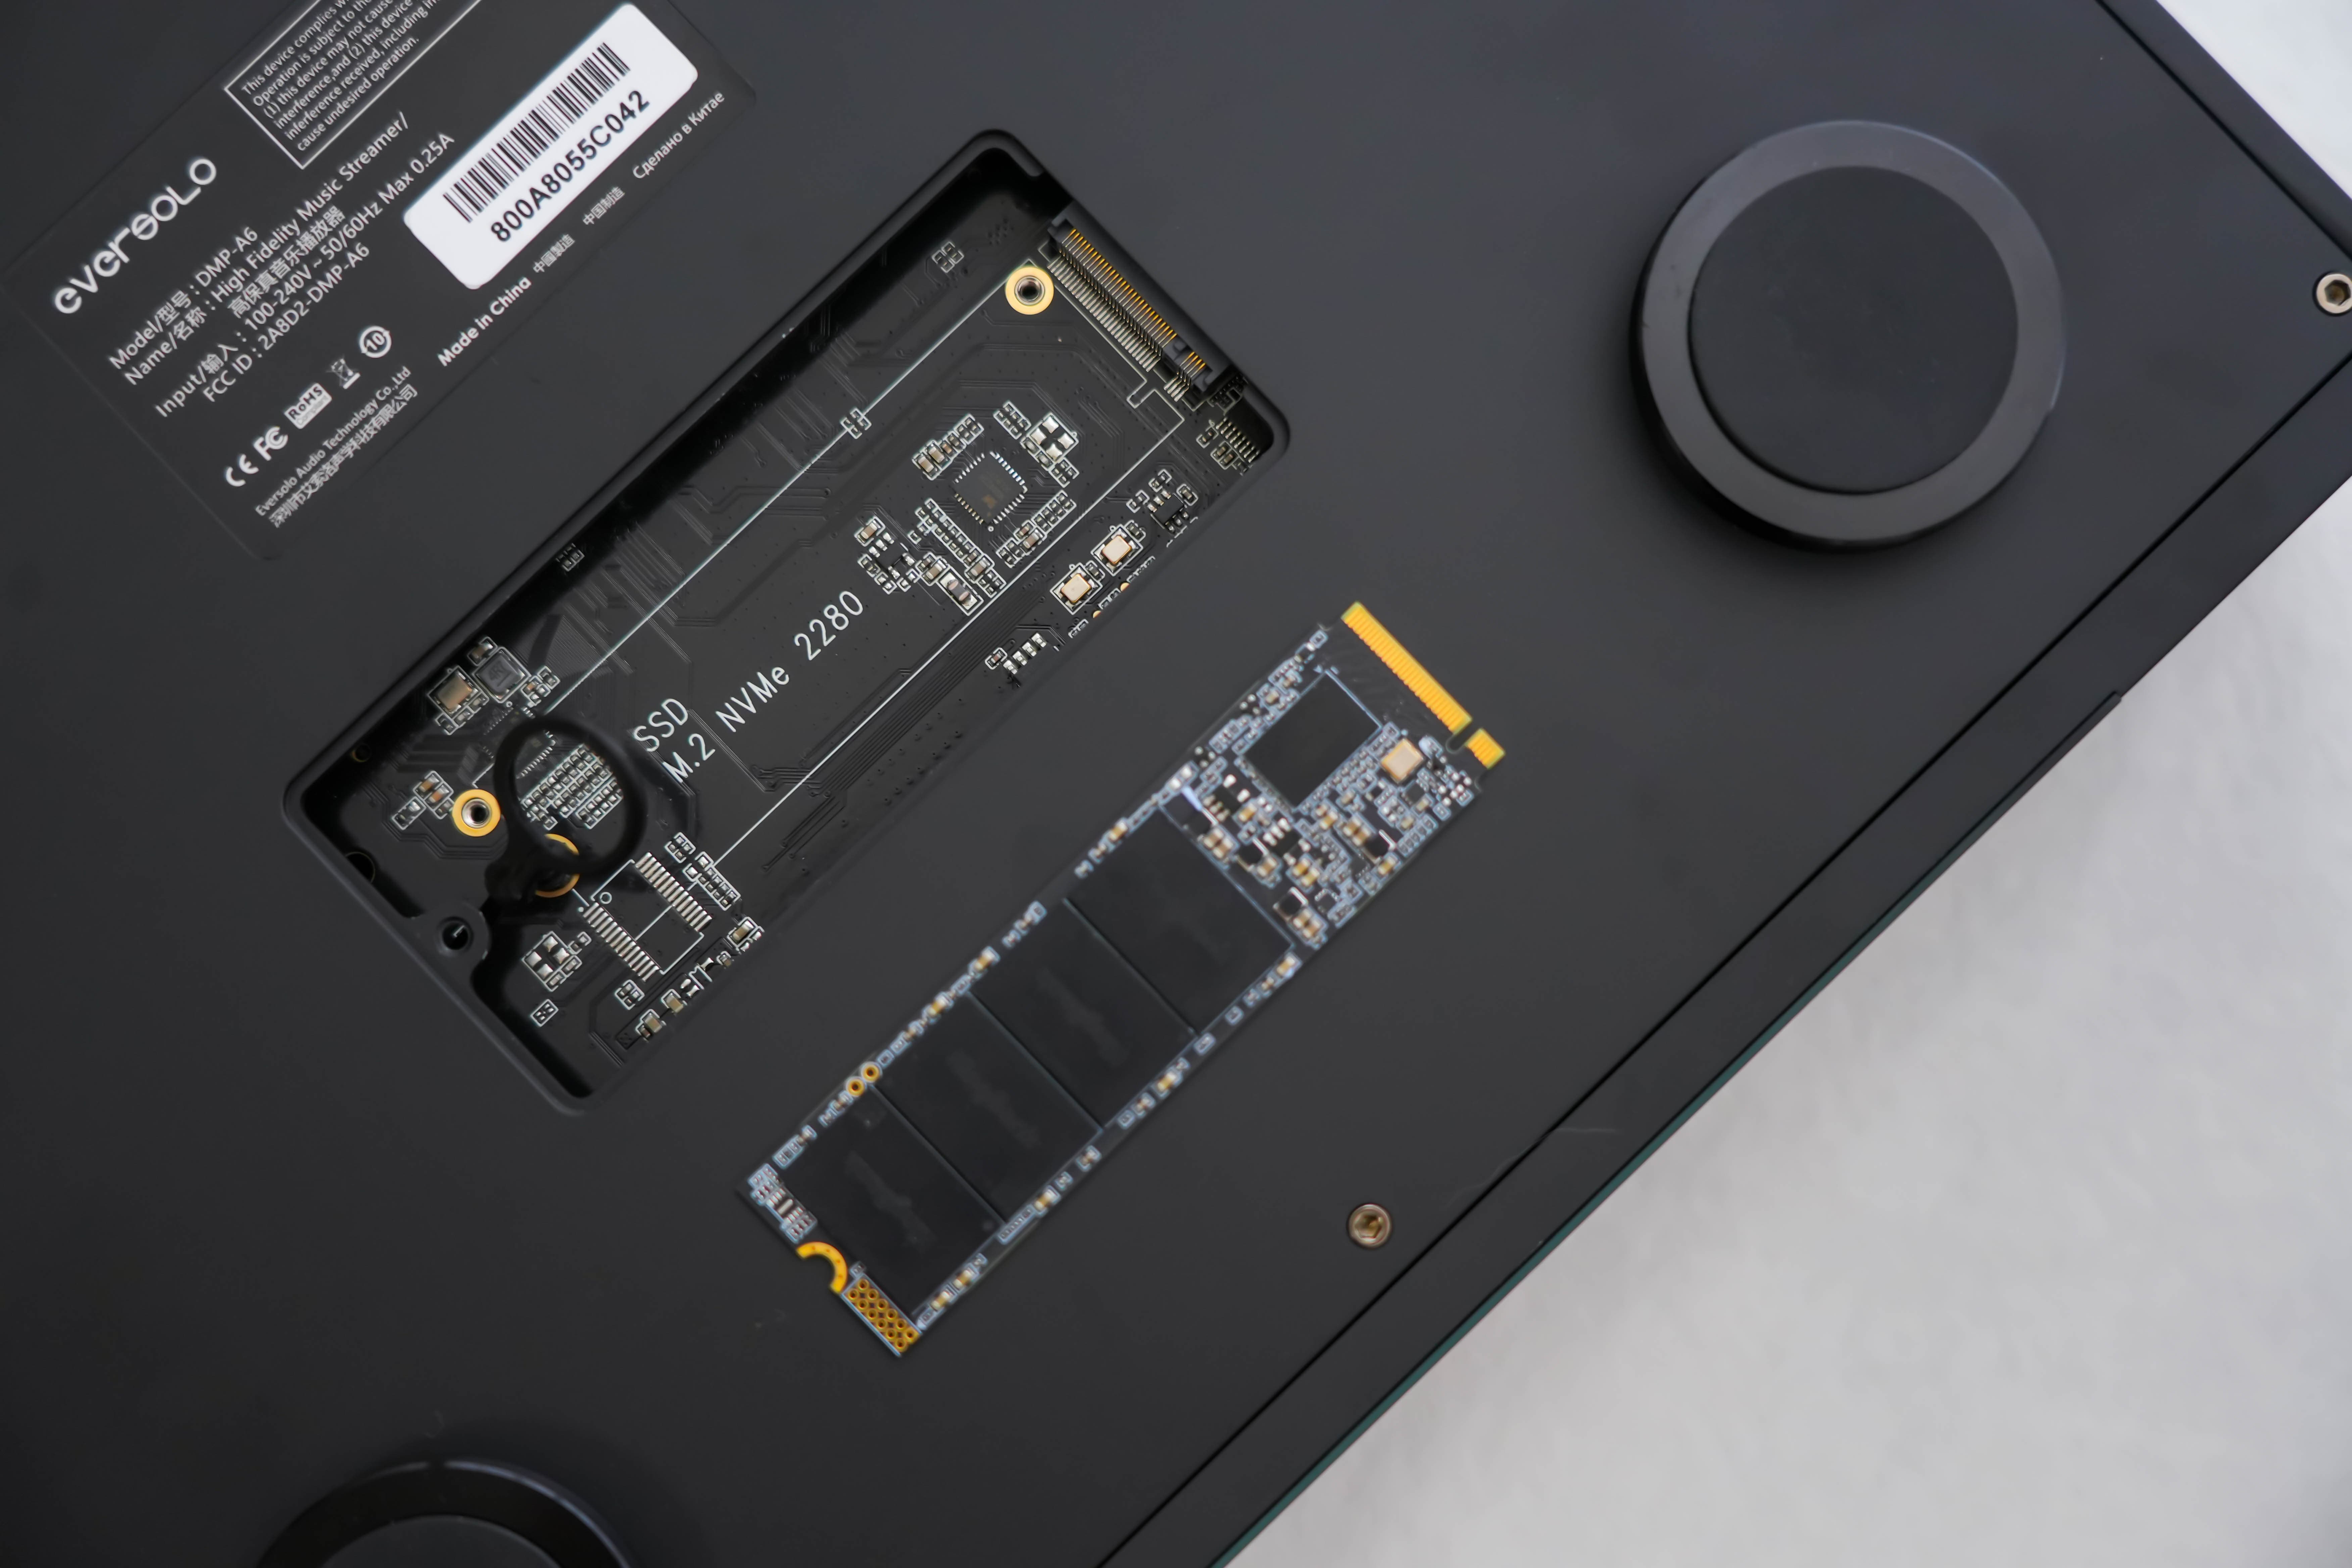
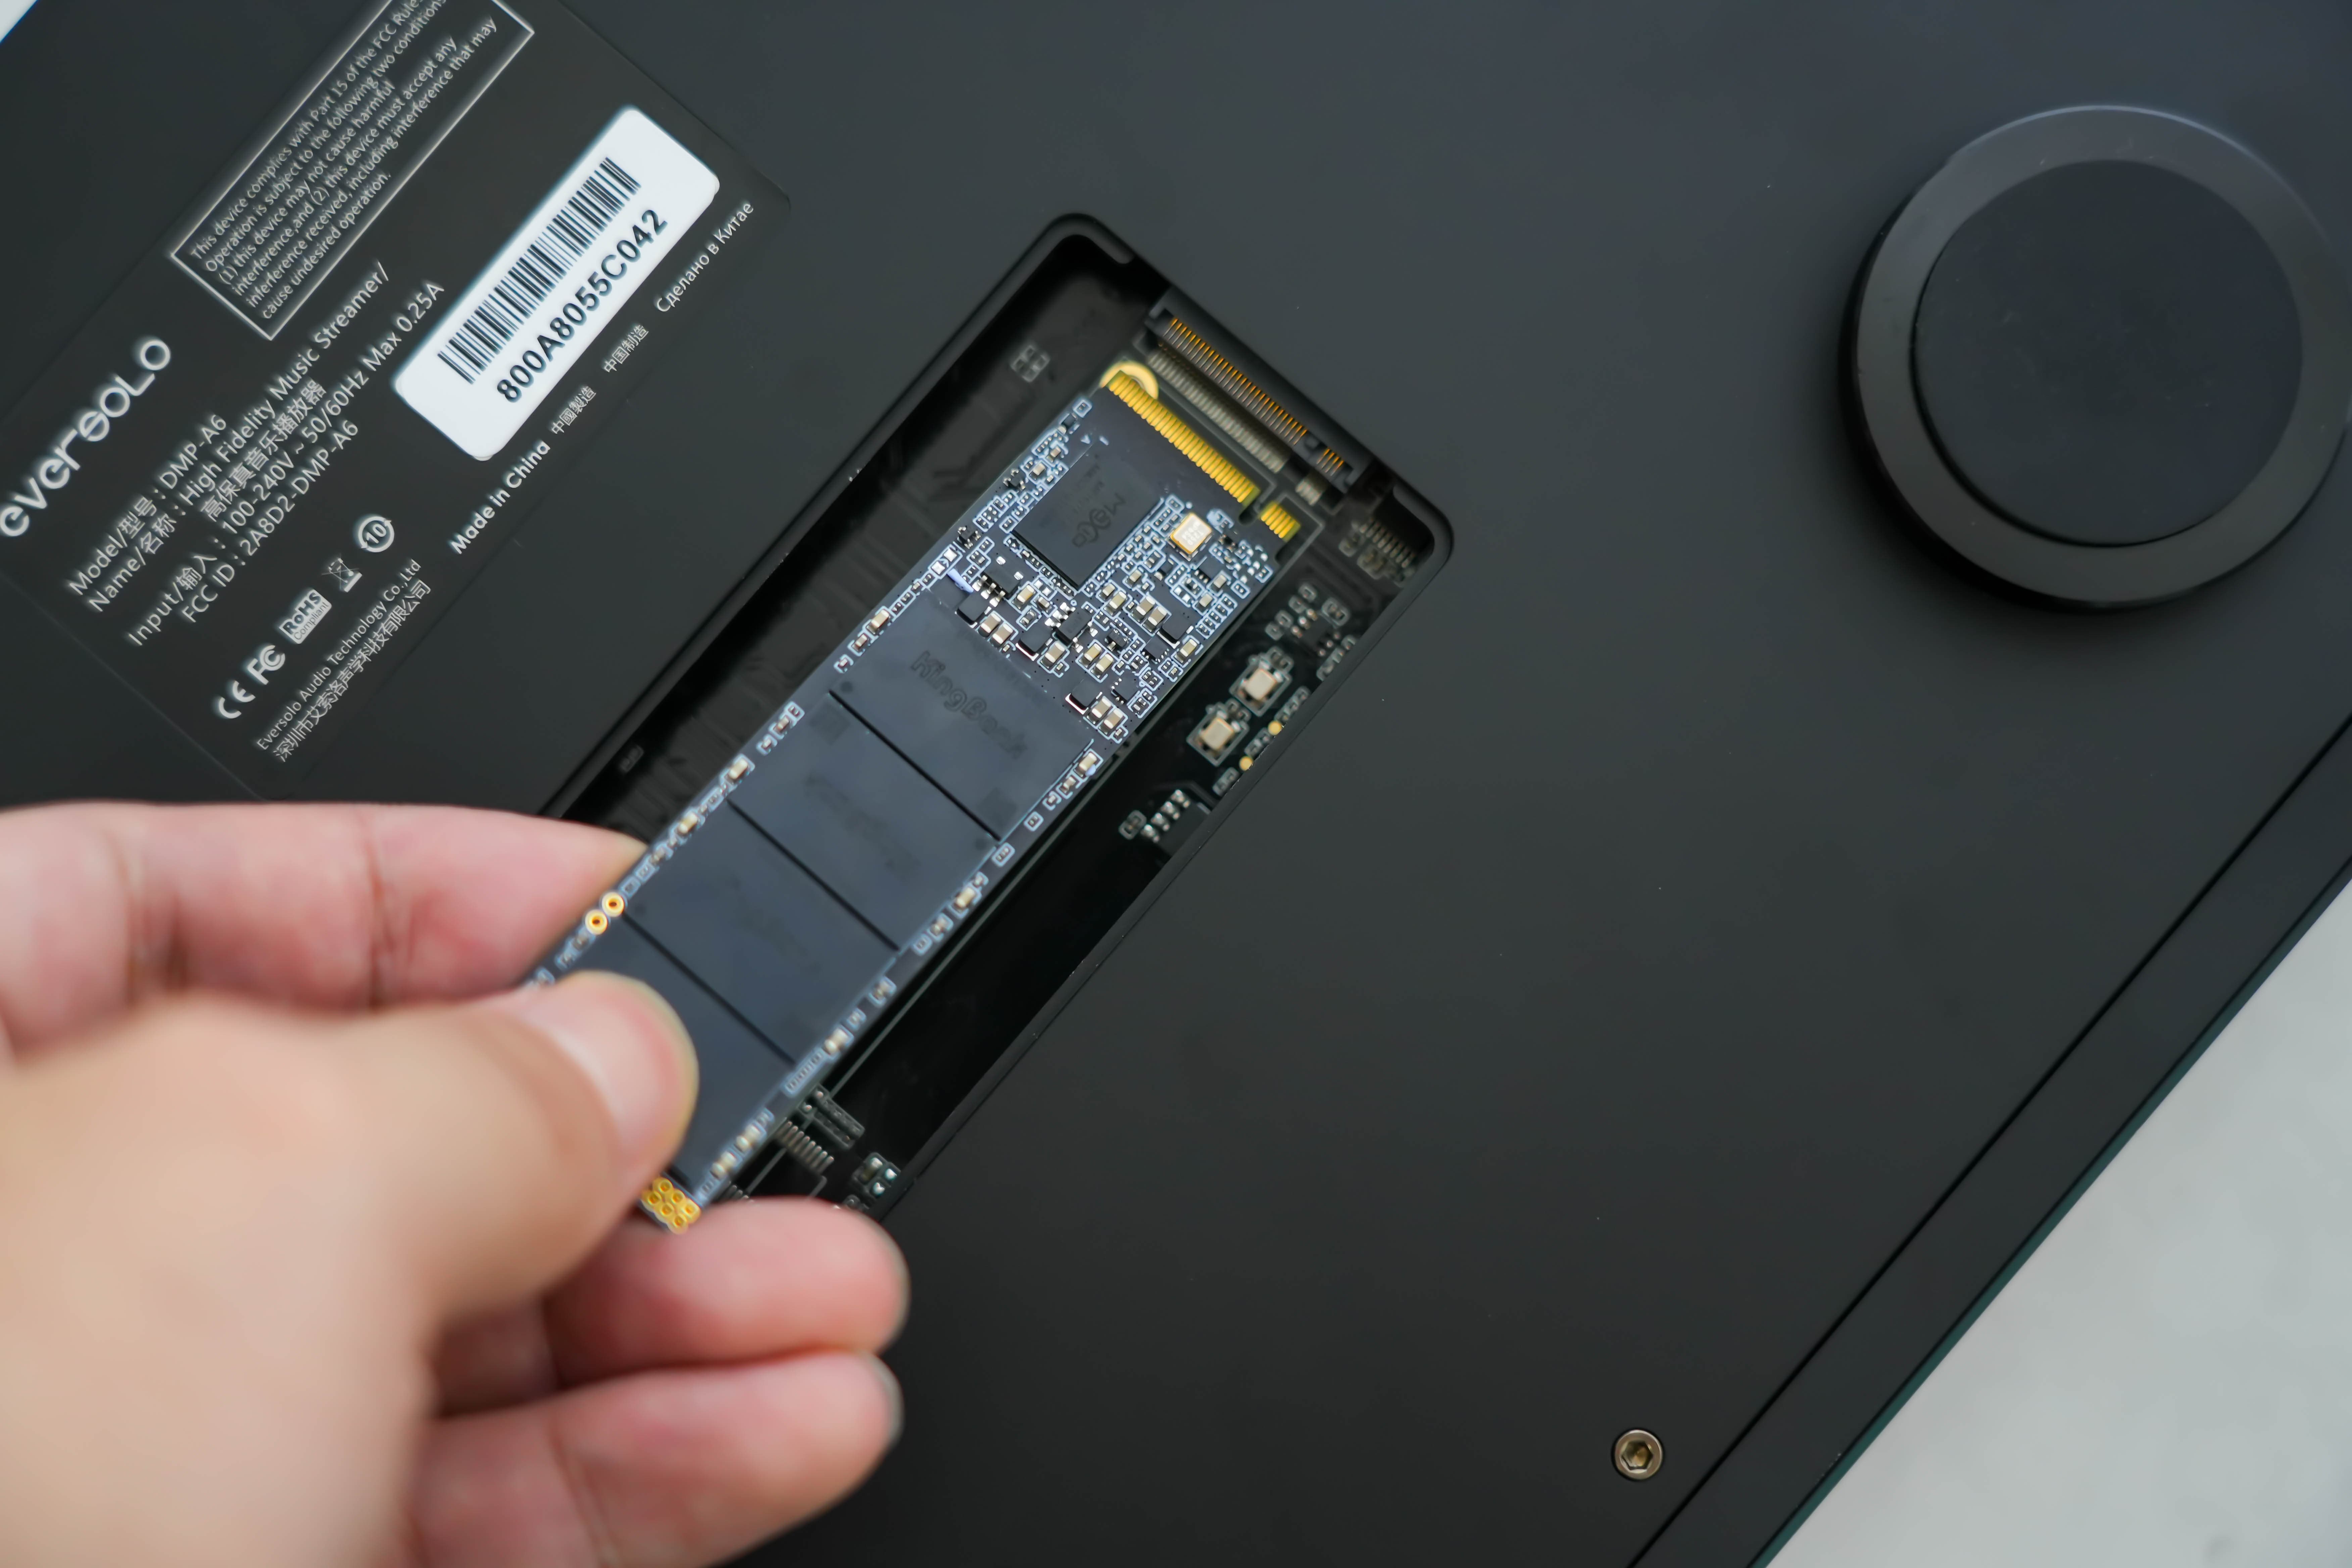
Step 4: Insert the prepared SSD into the SSD slot of the DMP-A6 with the front side facing up
Step 5: Gently hold the inserted solid-state drive with your right hand, and then use your left hand to insert the SSD retention latch and press it firmly until it clicks into place.
Step 6: Finally, cover the SSD with the SSD cover, and use a cross screwdriver to tighten the screws securely to complete the installation.
Warm reminder: The newly inserted SSD needs to be formatted and partitioned before it can be used directly. Please follow the tutorial below to format and partition the hard drive using the DMP-A6 player.
III. SSD Formatting Tutorial
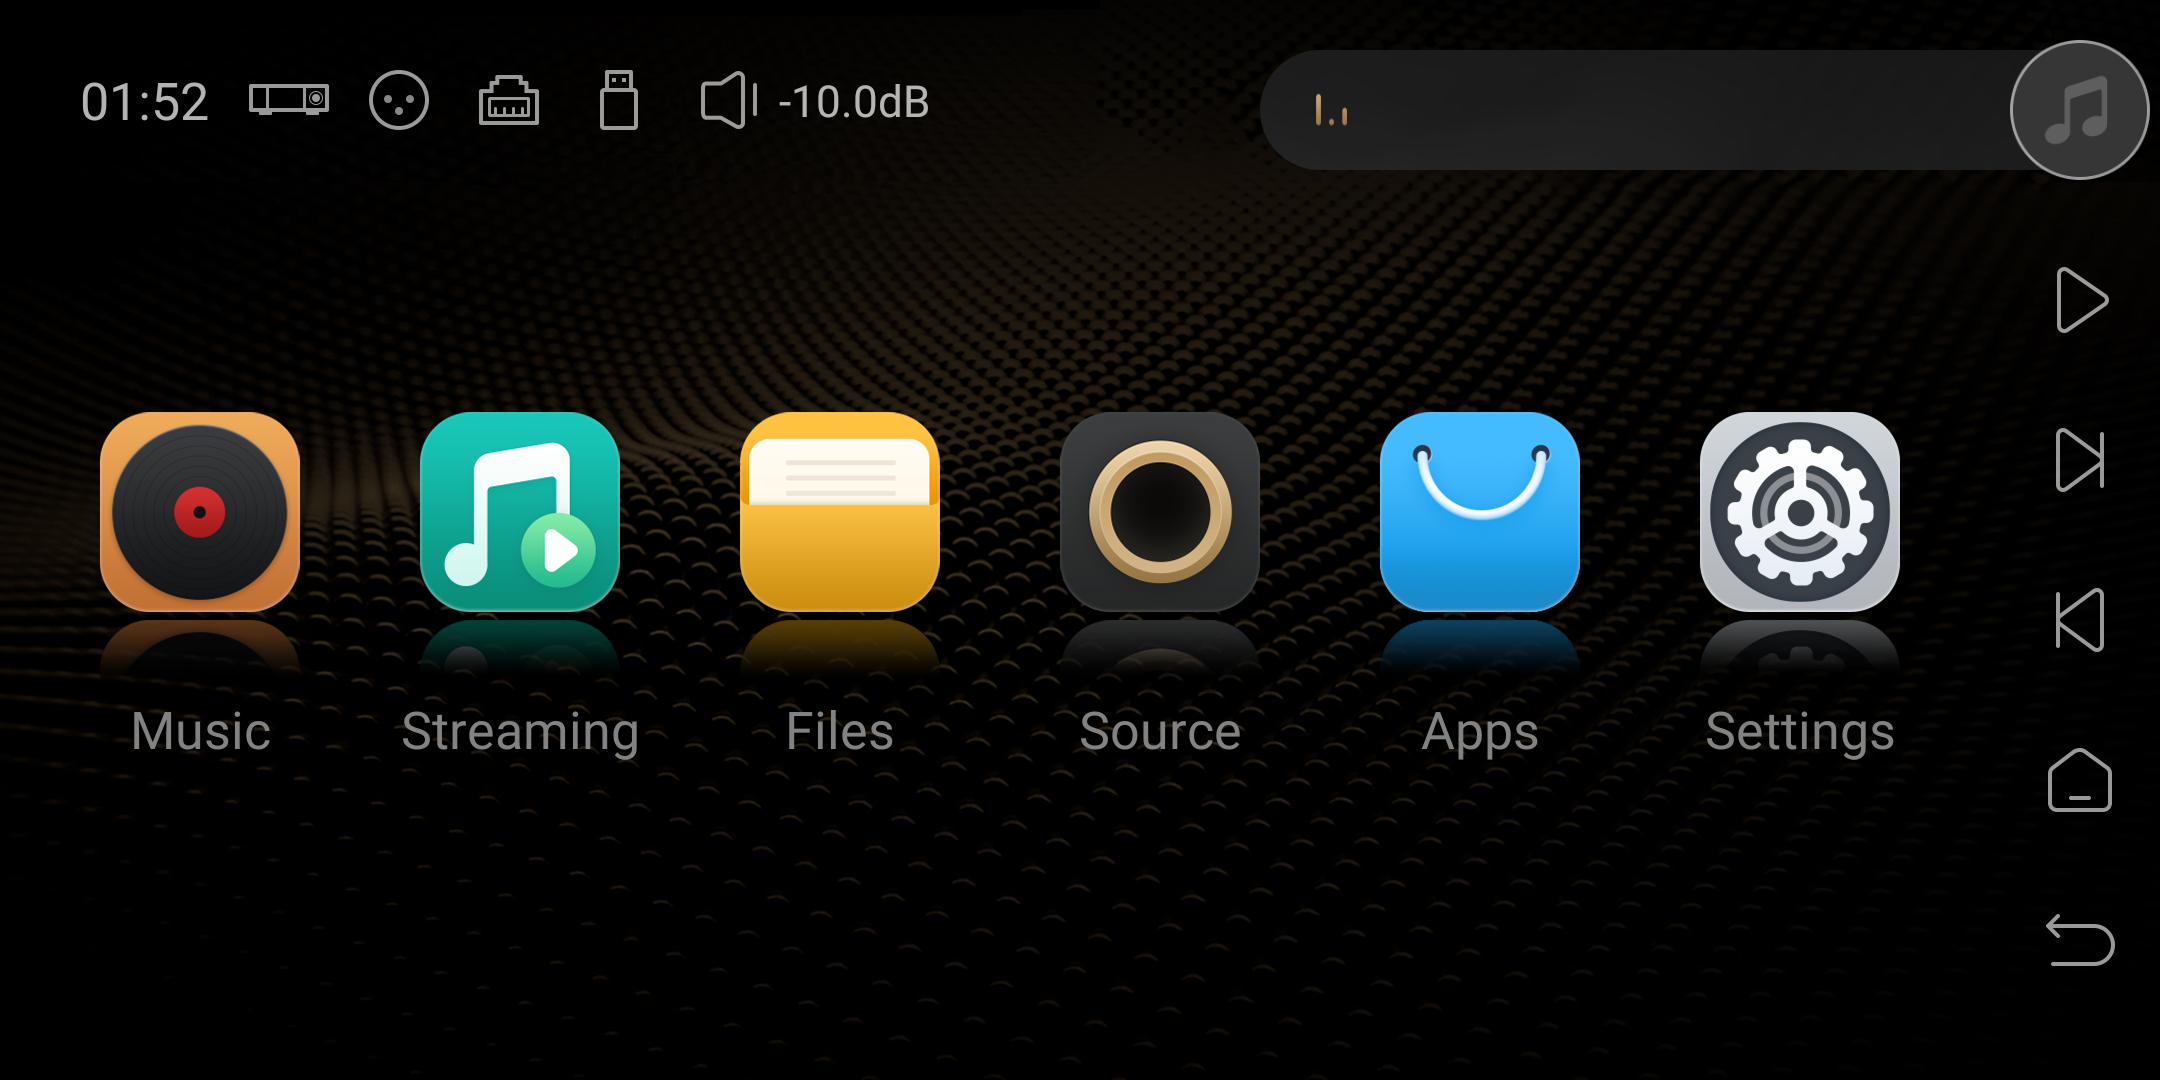
Step 1: Power on the DMP-A6 and navigate to the files section on the screen.
Step 2: When a new SSD is freshly inserted, it may be displayed as "Unknown Device". If the SSD has already been partitioned on a computer previously, click on the top formatting icon.
Step 3: Click on "Unknown Device" and a menu will pop up. Select "Format" from the menu, and then click "OK" to confirm.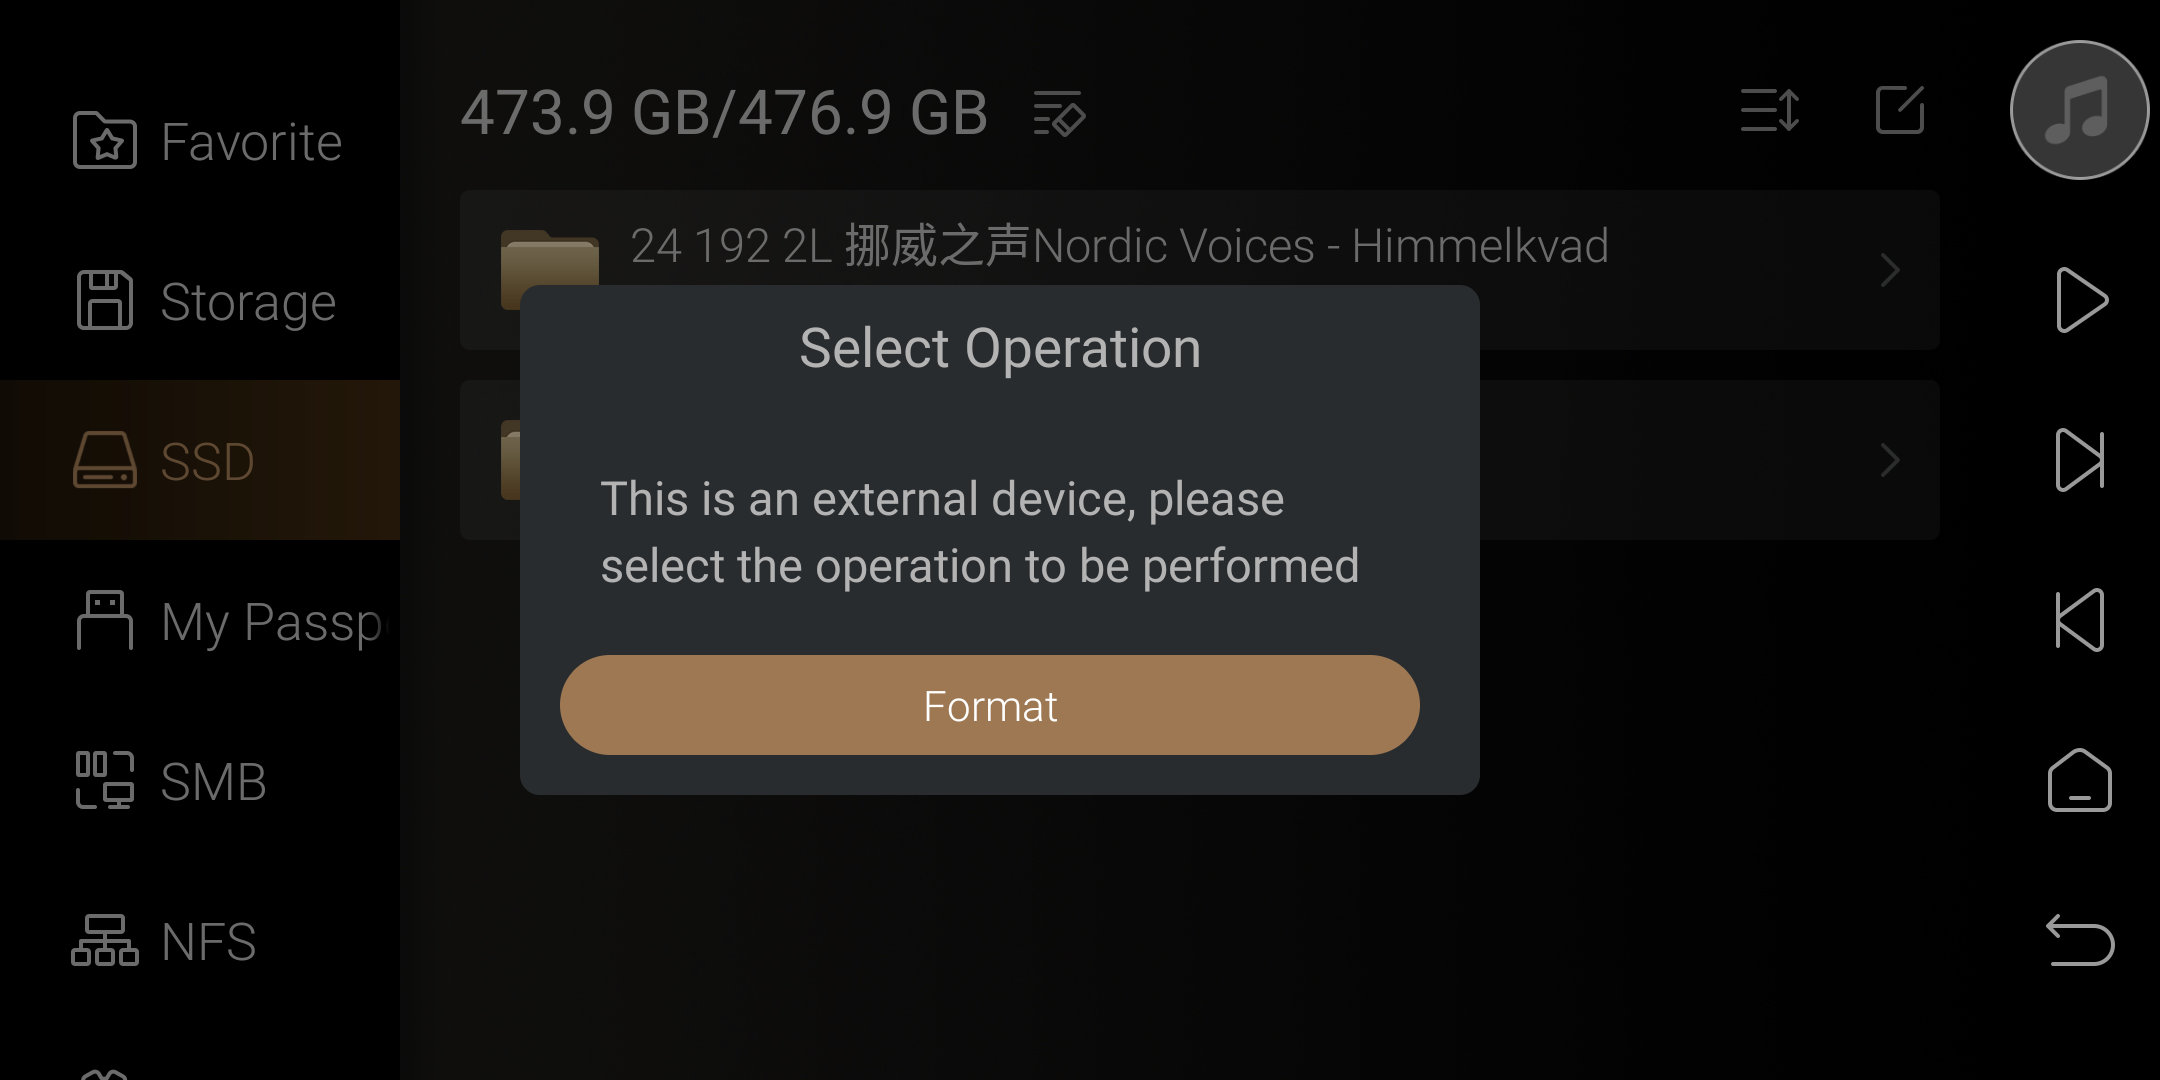
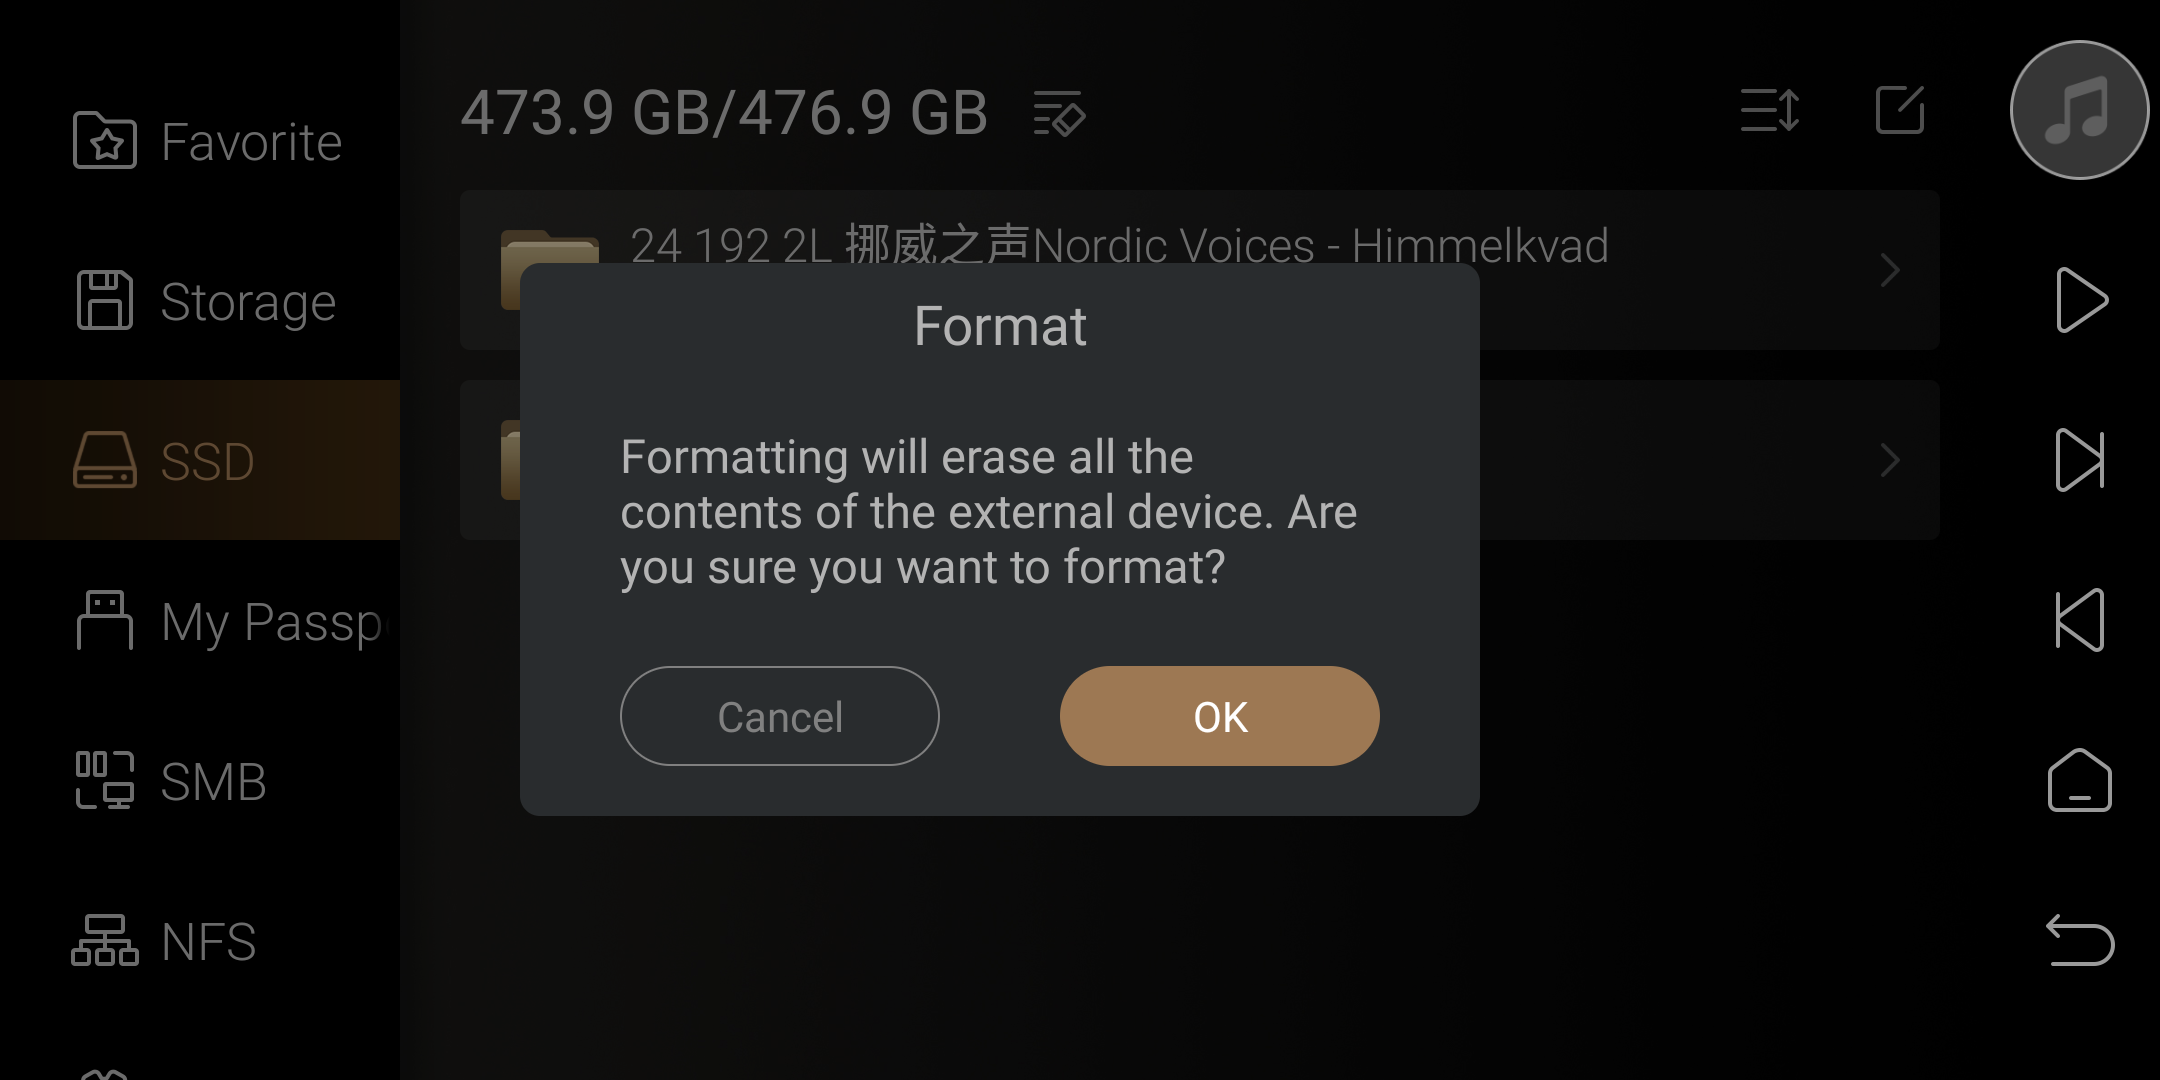
Step 4: In the formatting menu, customize the settings for the hard drive volume label. It is recommended to use the exFAT partition format. Once the settings are selected, click on "Format" to proceed with the formatting.

Step 5: The hard drive is currently being formatted. Please wait a moment.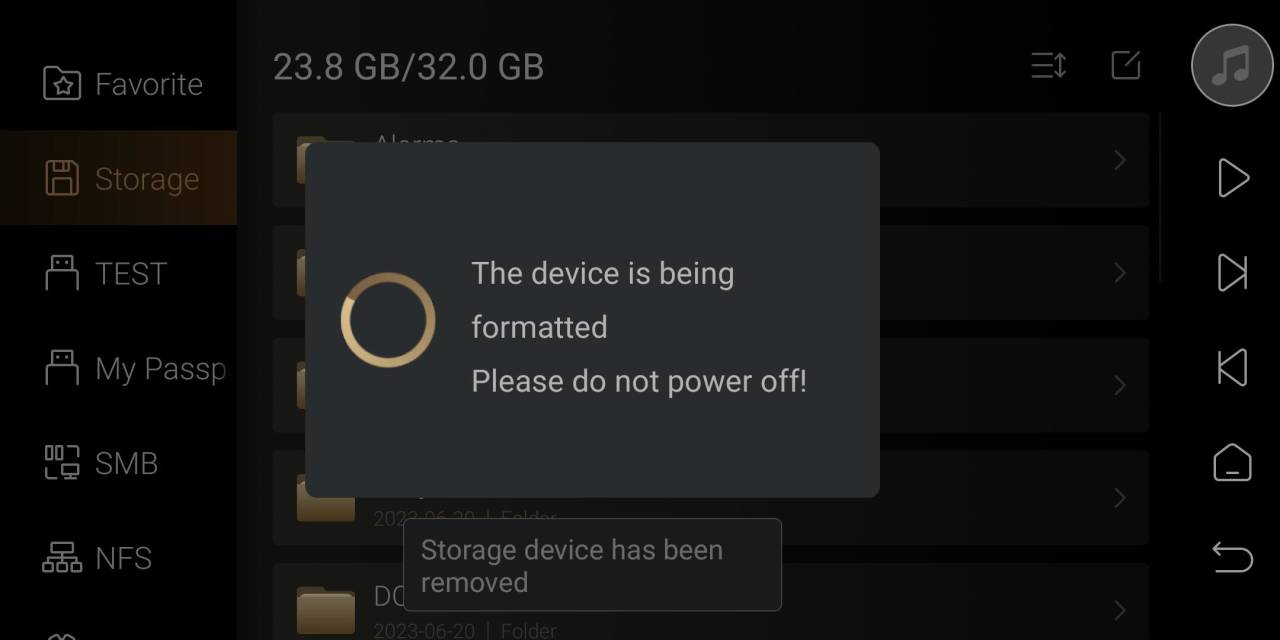
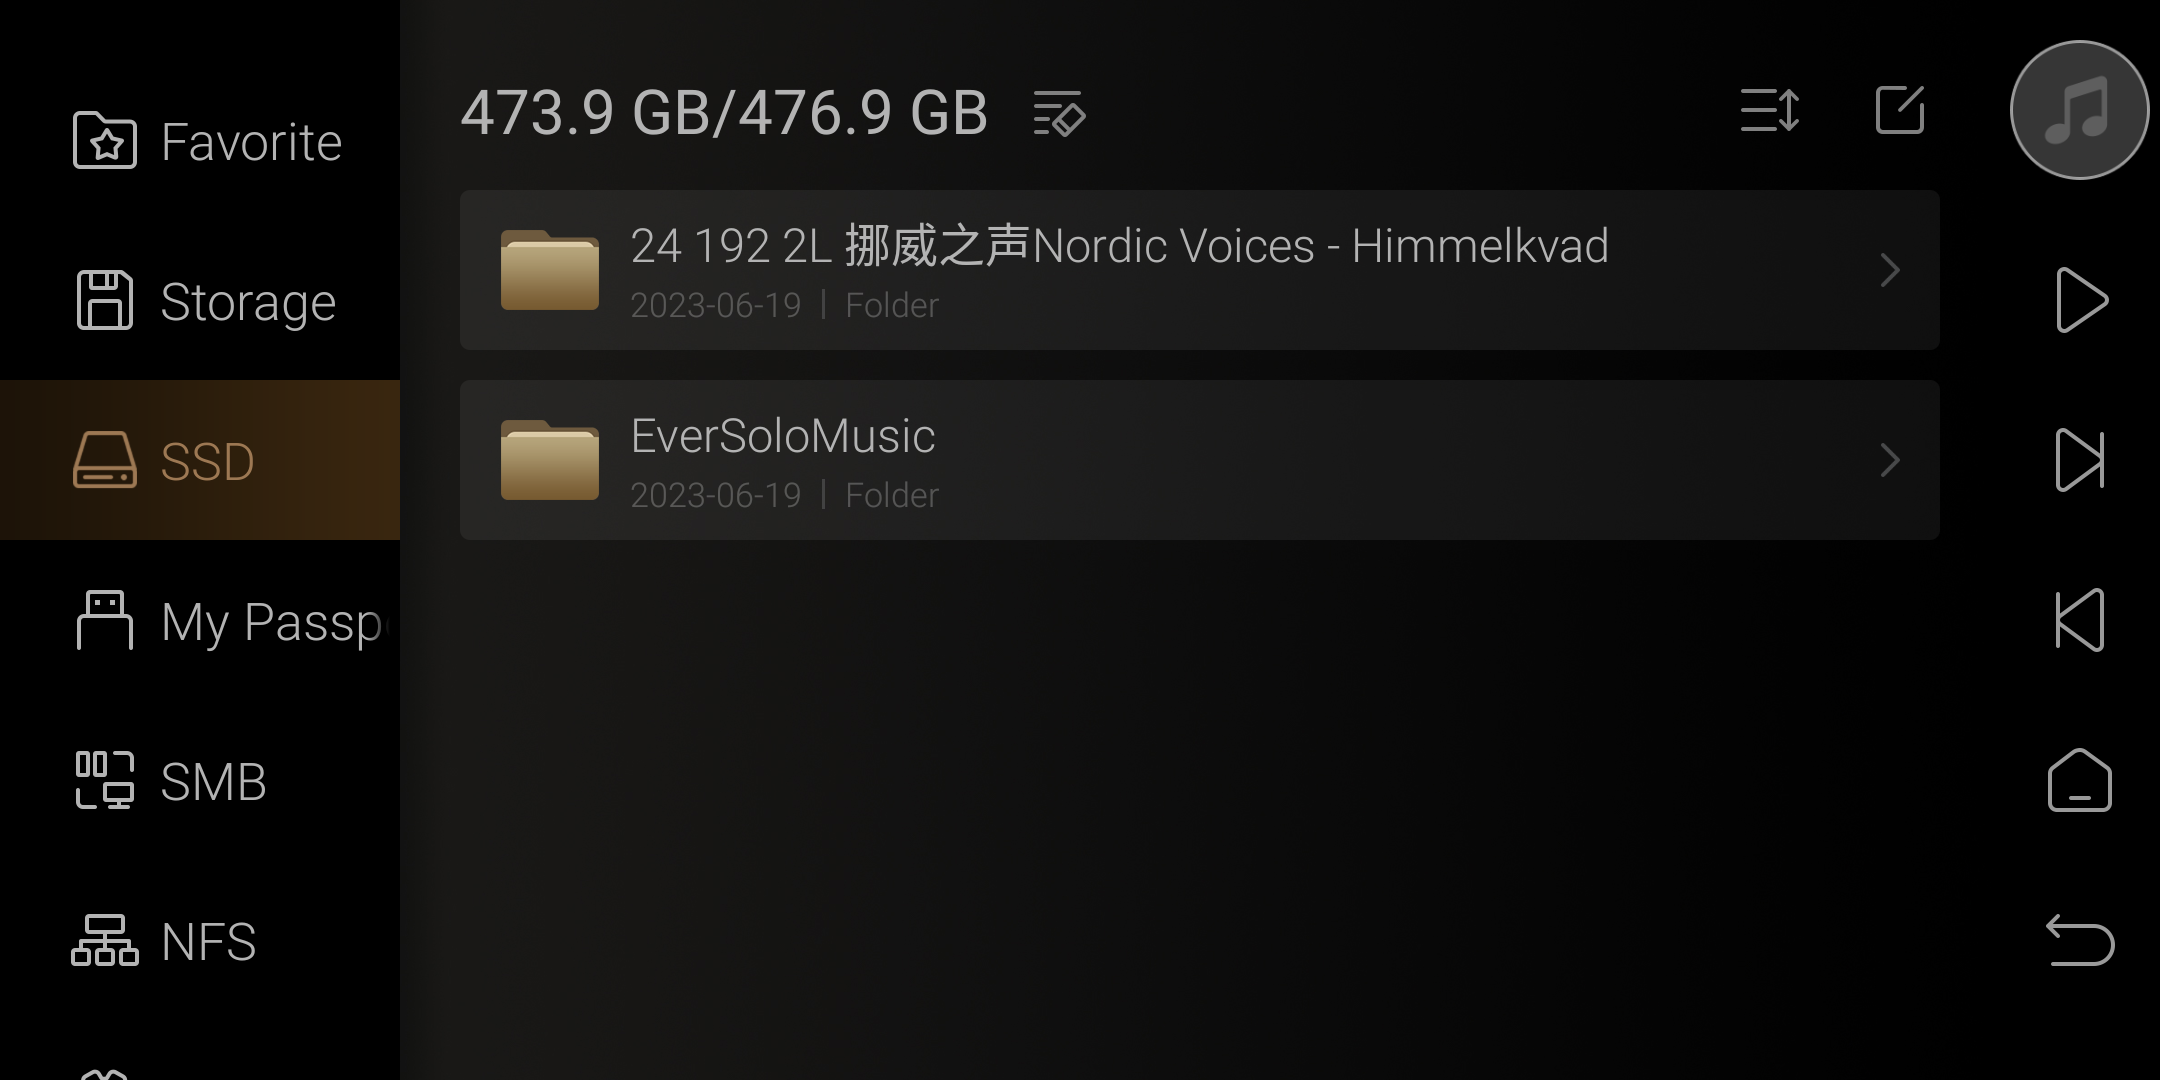
Step 6: When the bottom displays the volume label of the hard drive, it indicates that the formatting is complete, and the solid-state drive can now be used normally.
Warm reminder: After formatting, the newly recognized hard drive will be displayed at the bottom. If you exit the files and re-enter, it will automatically move below the built-in storage.

