Eversolo Streamers CD Playback and Ripping
This guide applies to DMP-A8, DMP-A6, here we use A6 as an example.
I. Preparations
1. USB External CD Drive x1
2. CD Disc x1
II. Notes
1. There is compatibility between the USB CD drive and the DMP-A6. The tutorial uses the Lenovo GP70N CD drive.
2. External CD drive playback supports CDs but does not support SACD discs.
III. CD Drive Connection
1. Connect the USB CD drive to the USB 3.0 port located at the rear of the DMP-A6.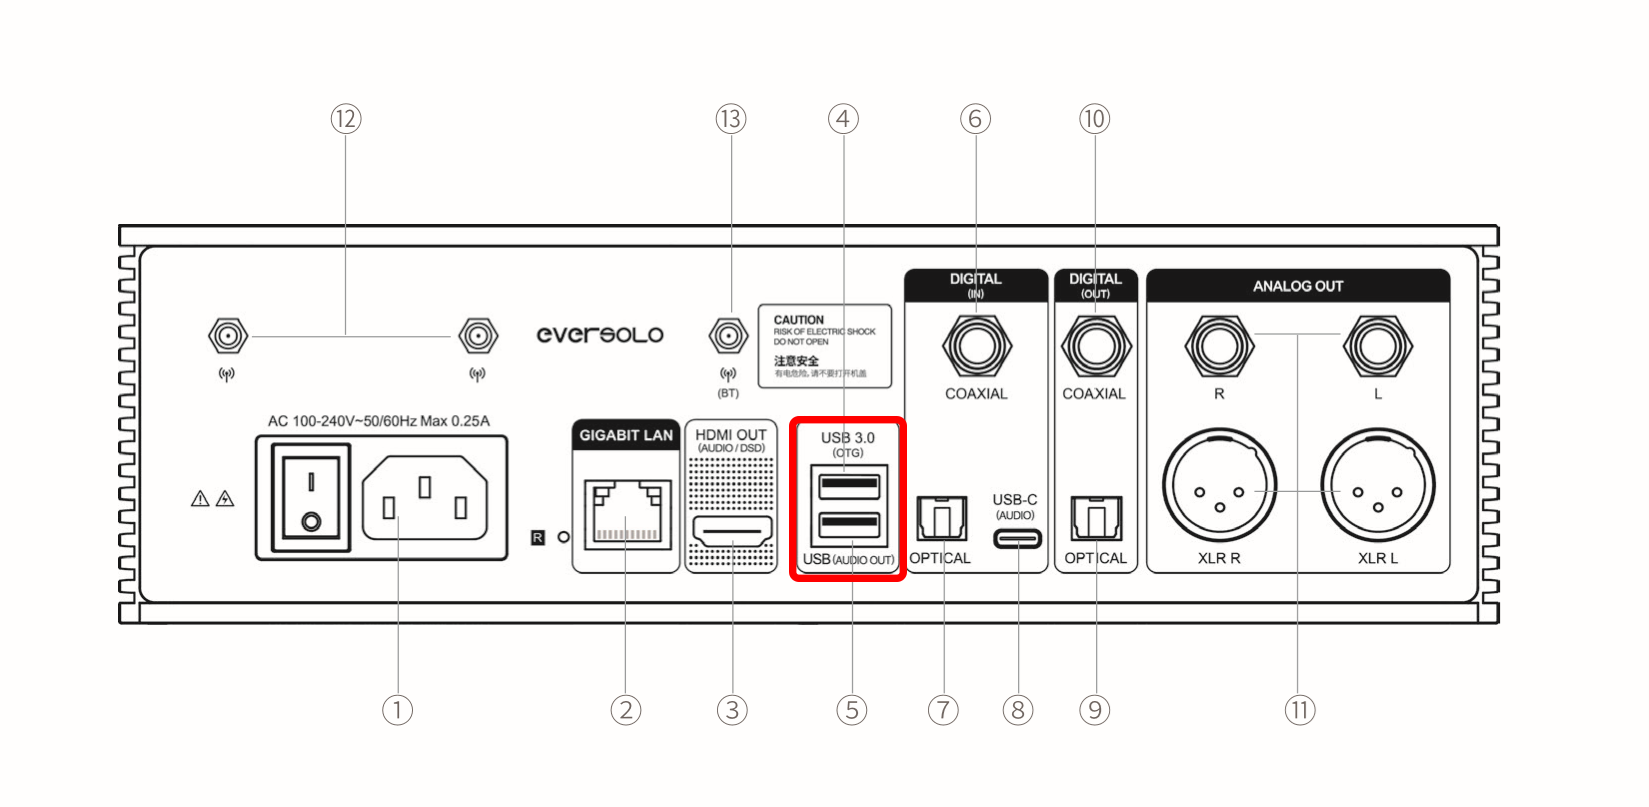
2. If the USB CD drive is connected to the USB 3.0 OTG port, you need to go to the device settings - General - USB OTG Port and set it to “External storage device”.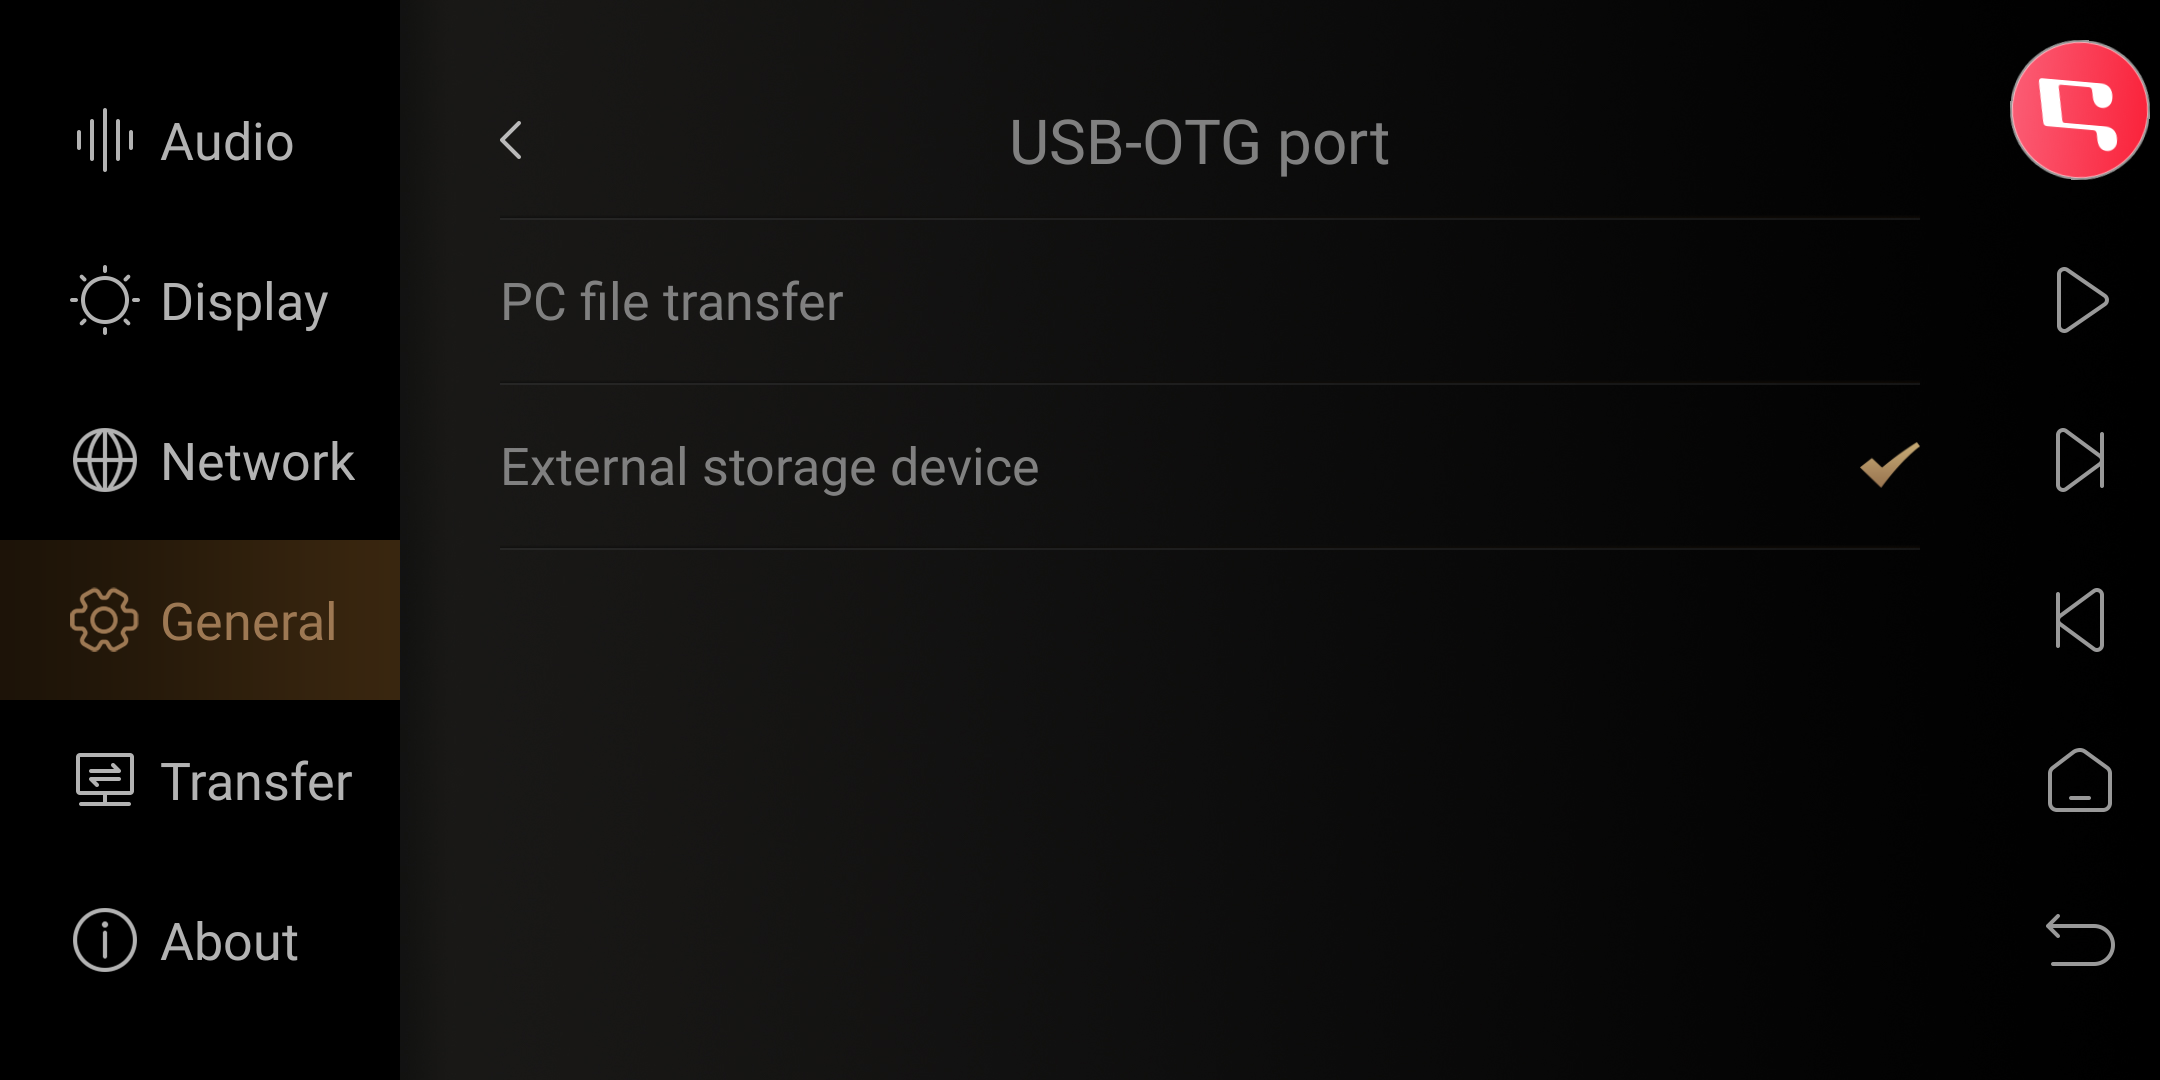
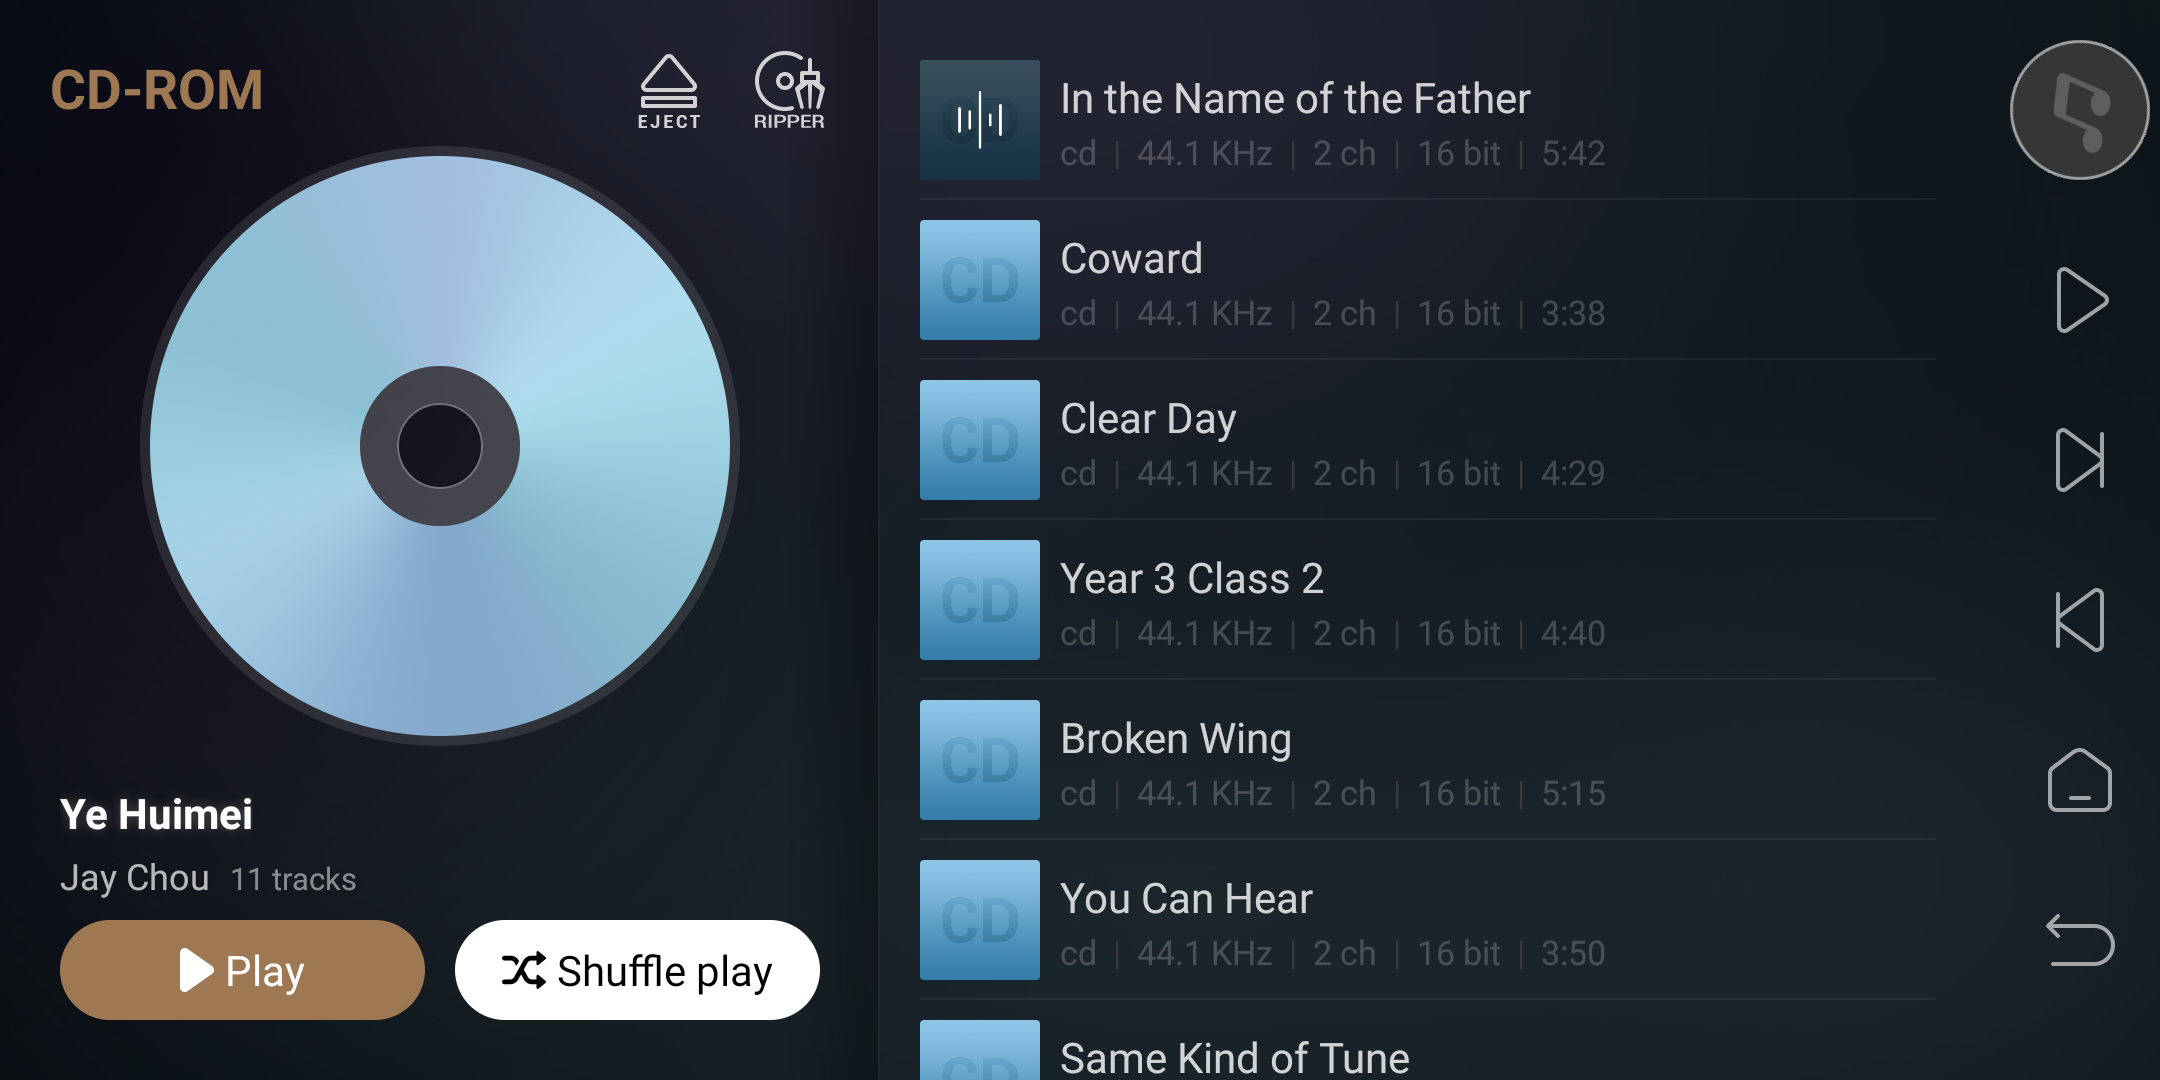
IV. CD Playback
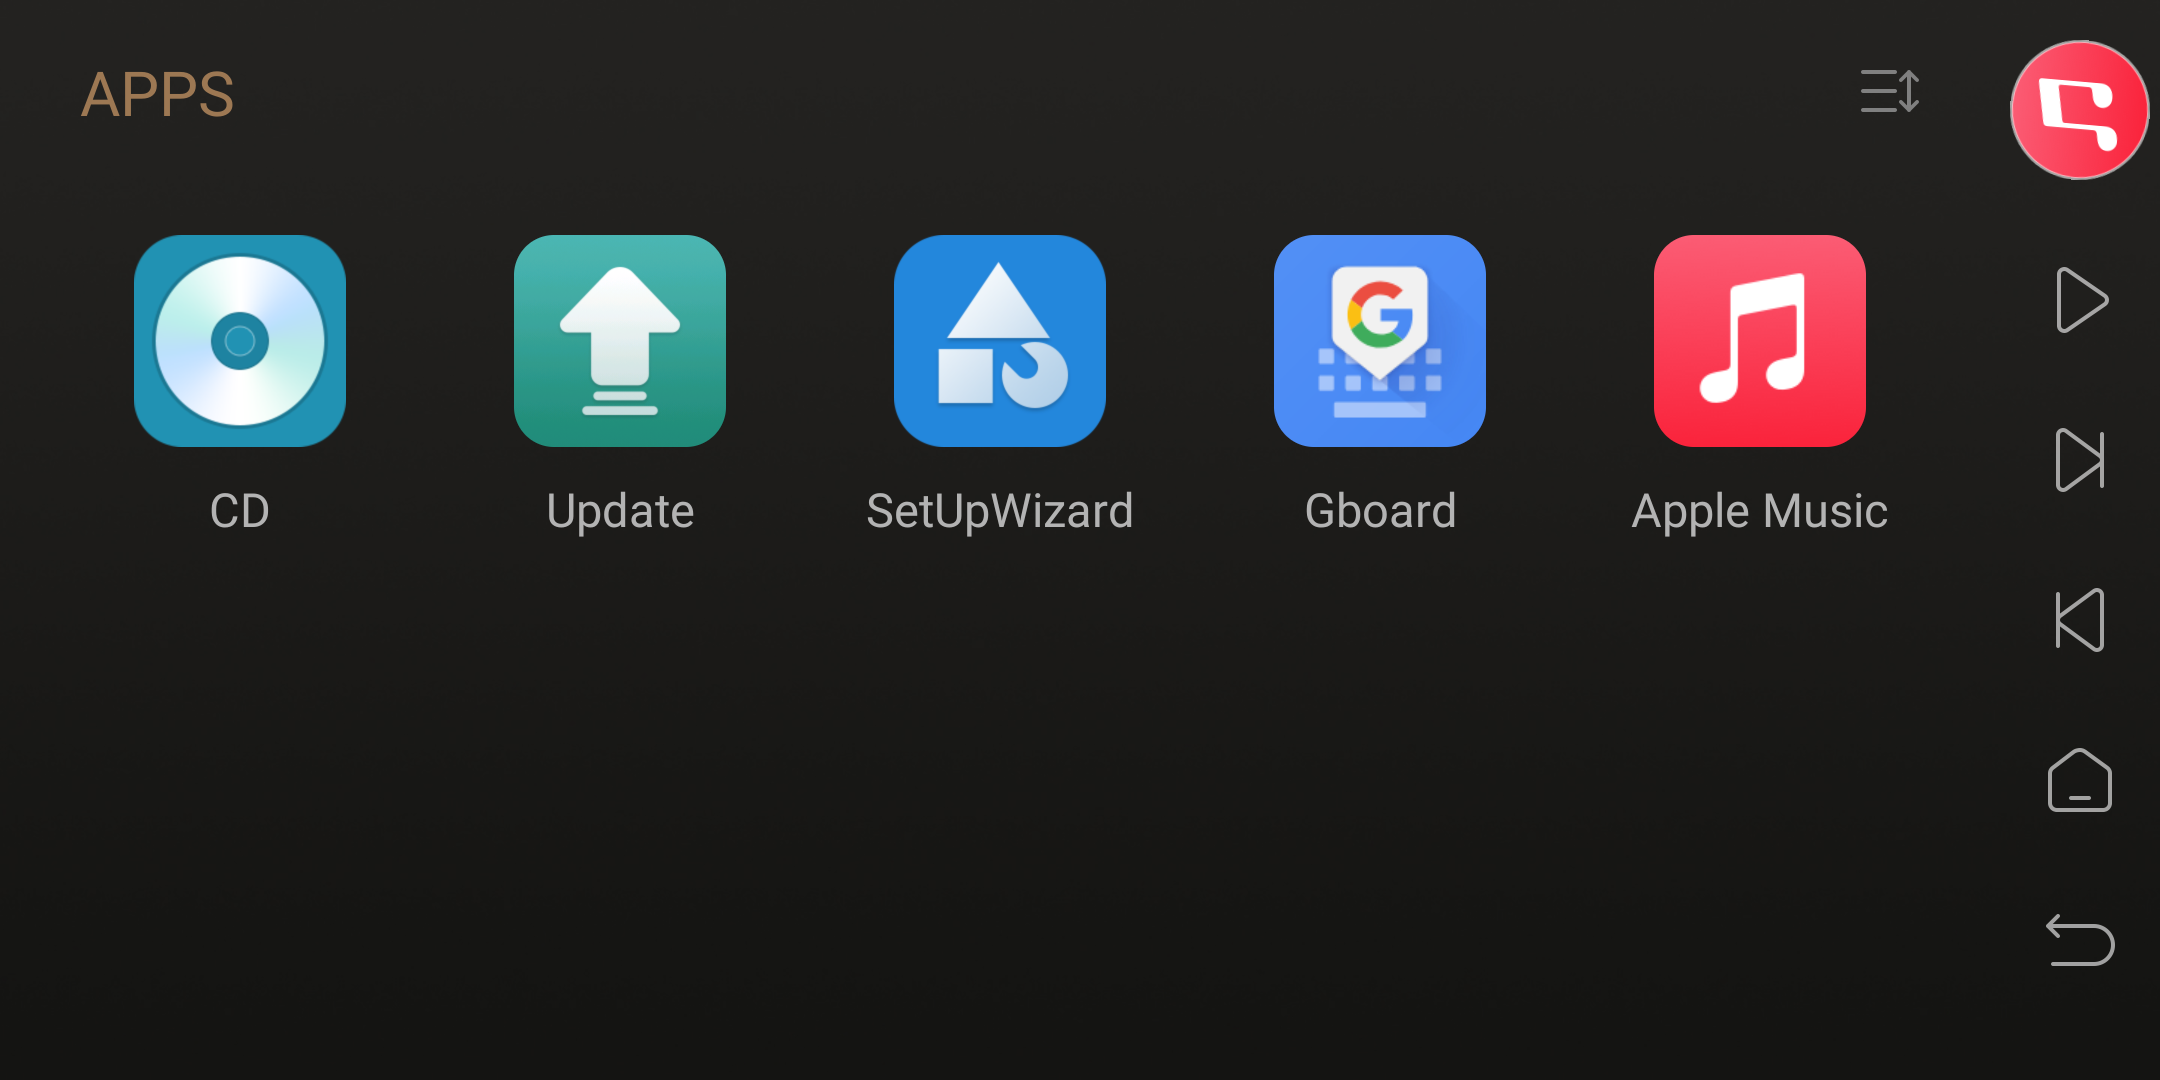
1. Go to“APPS” - “CD” from the home screen of DMP-A6.
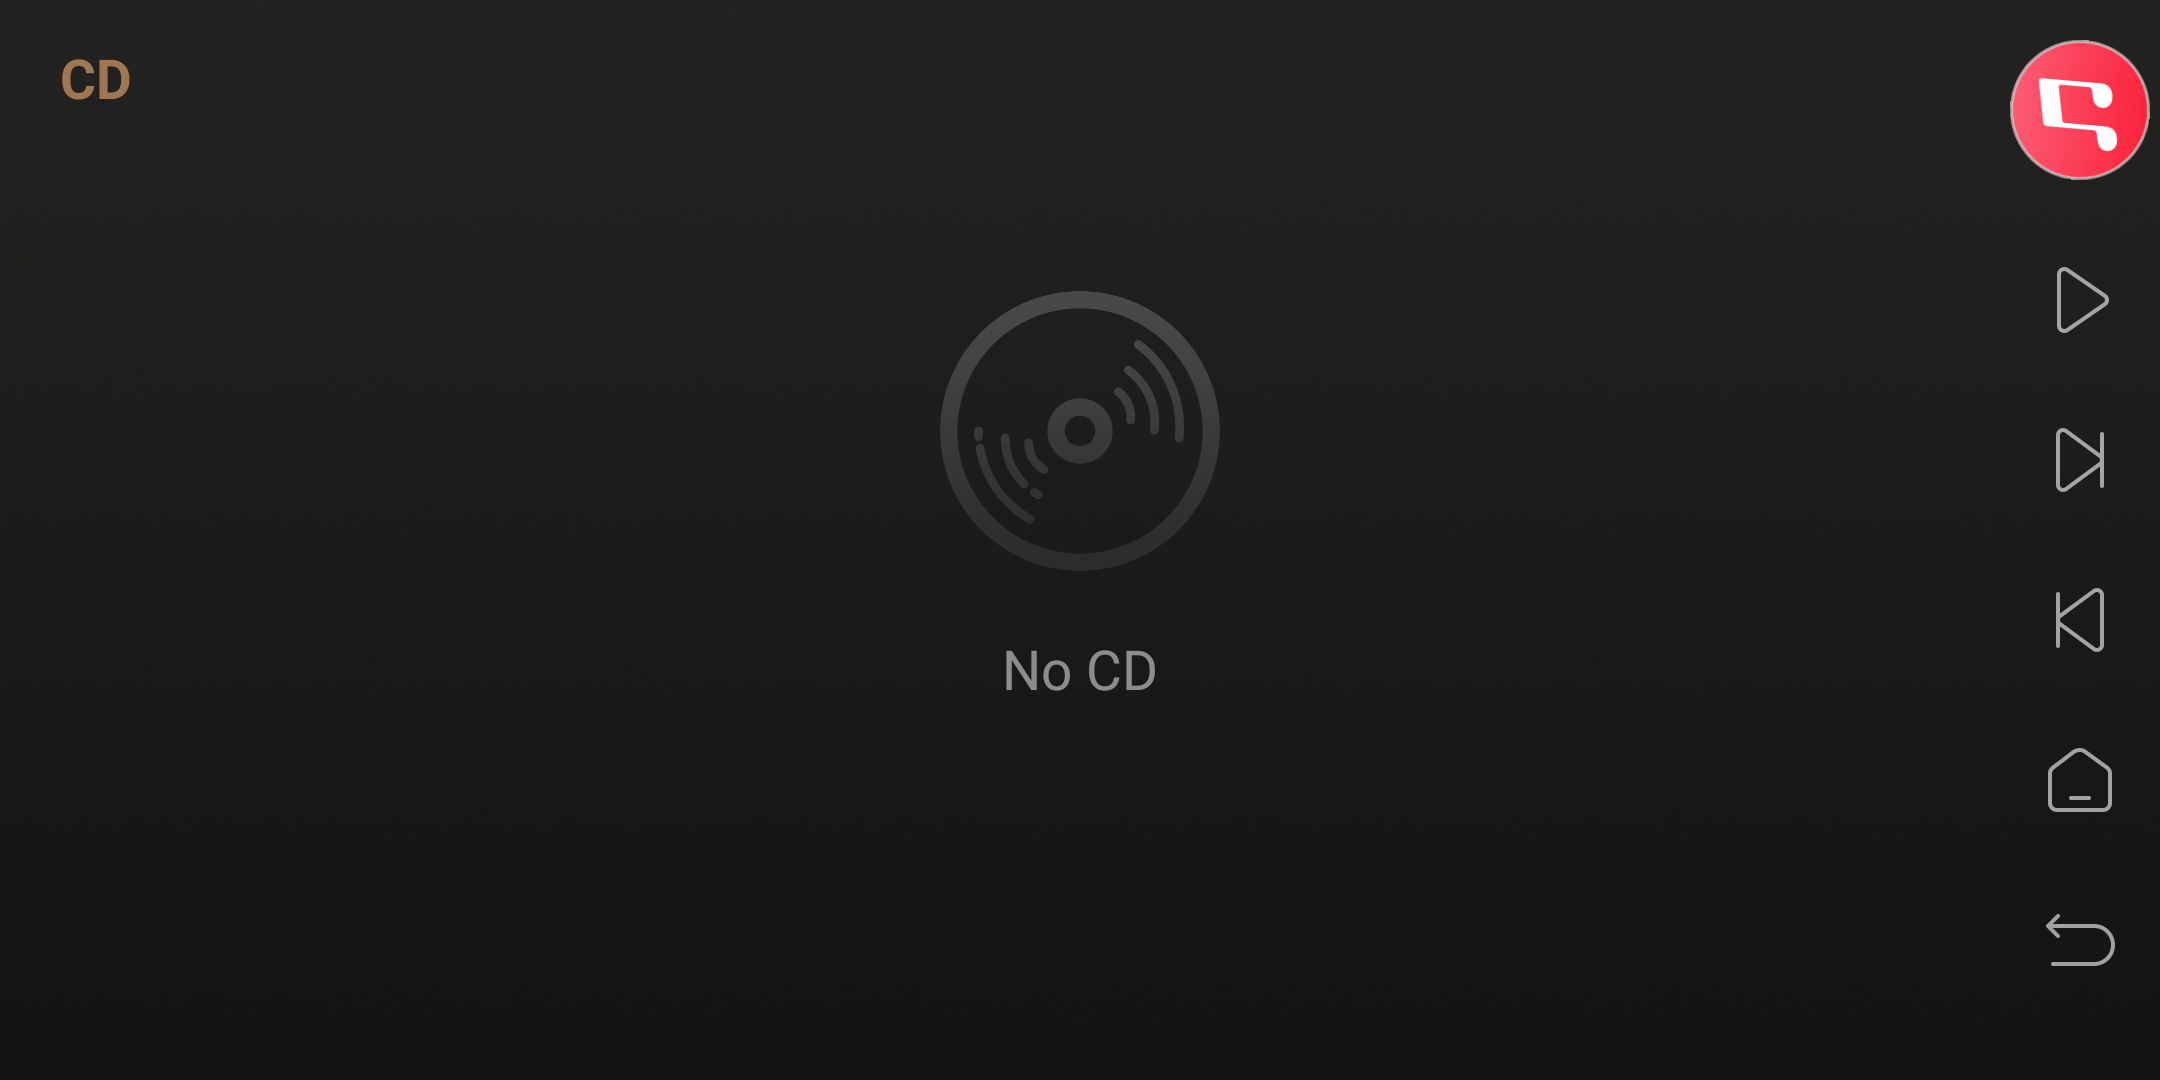
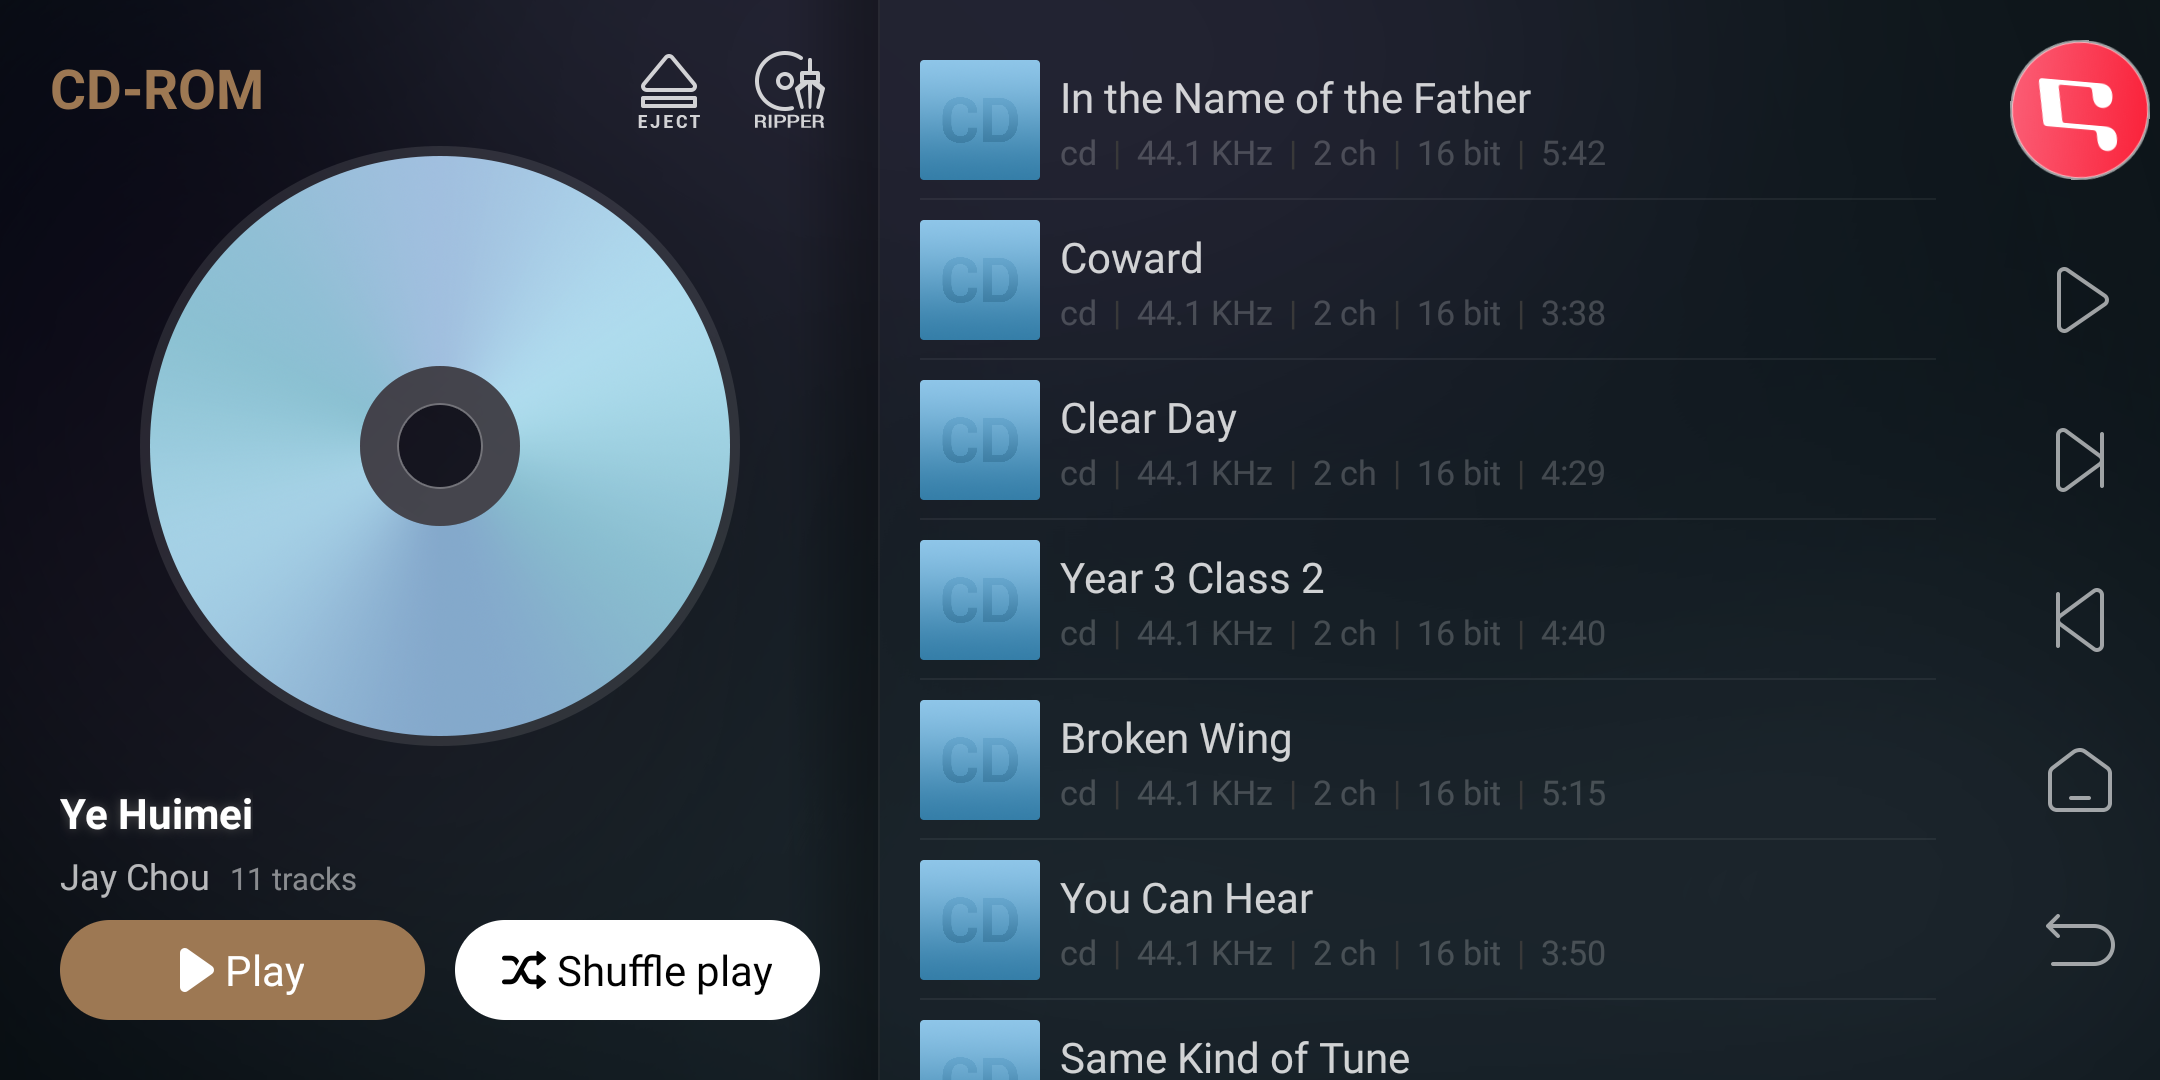
2. Insert the CD disc on this interface and wait for it to load. You can also pre-insert the CD disc into the CD drive.
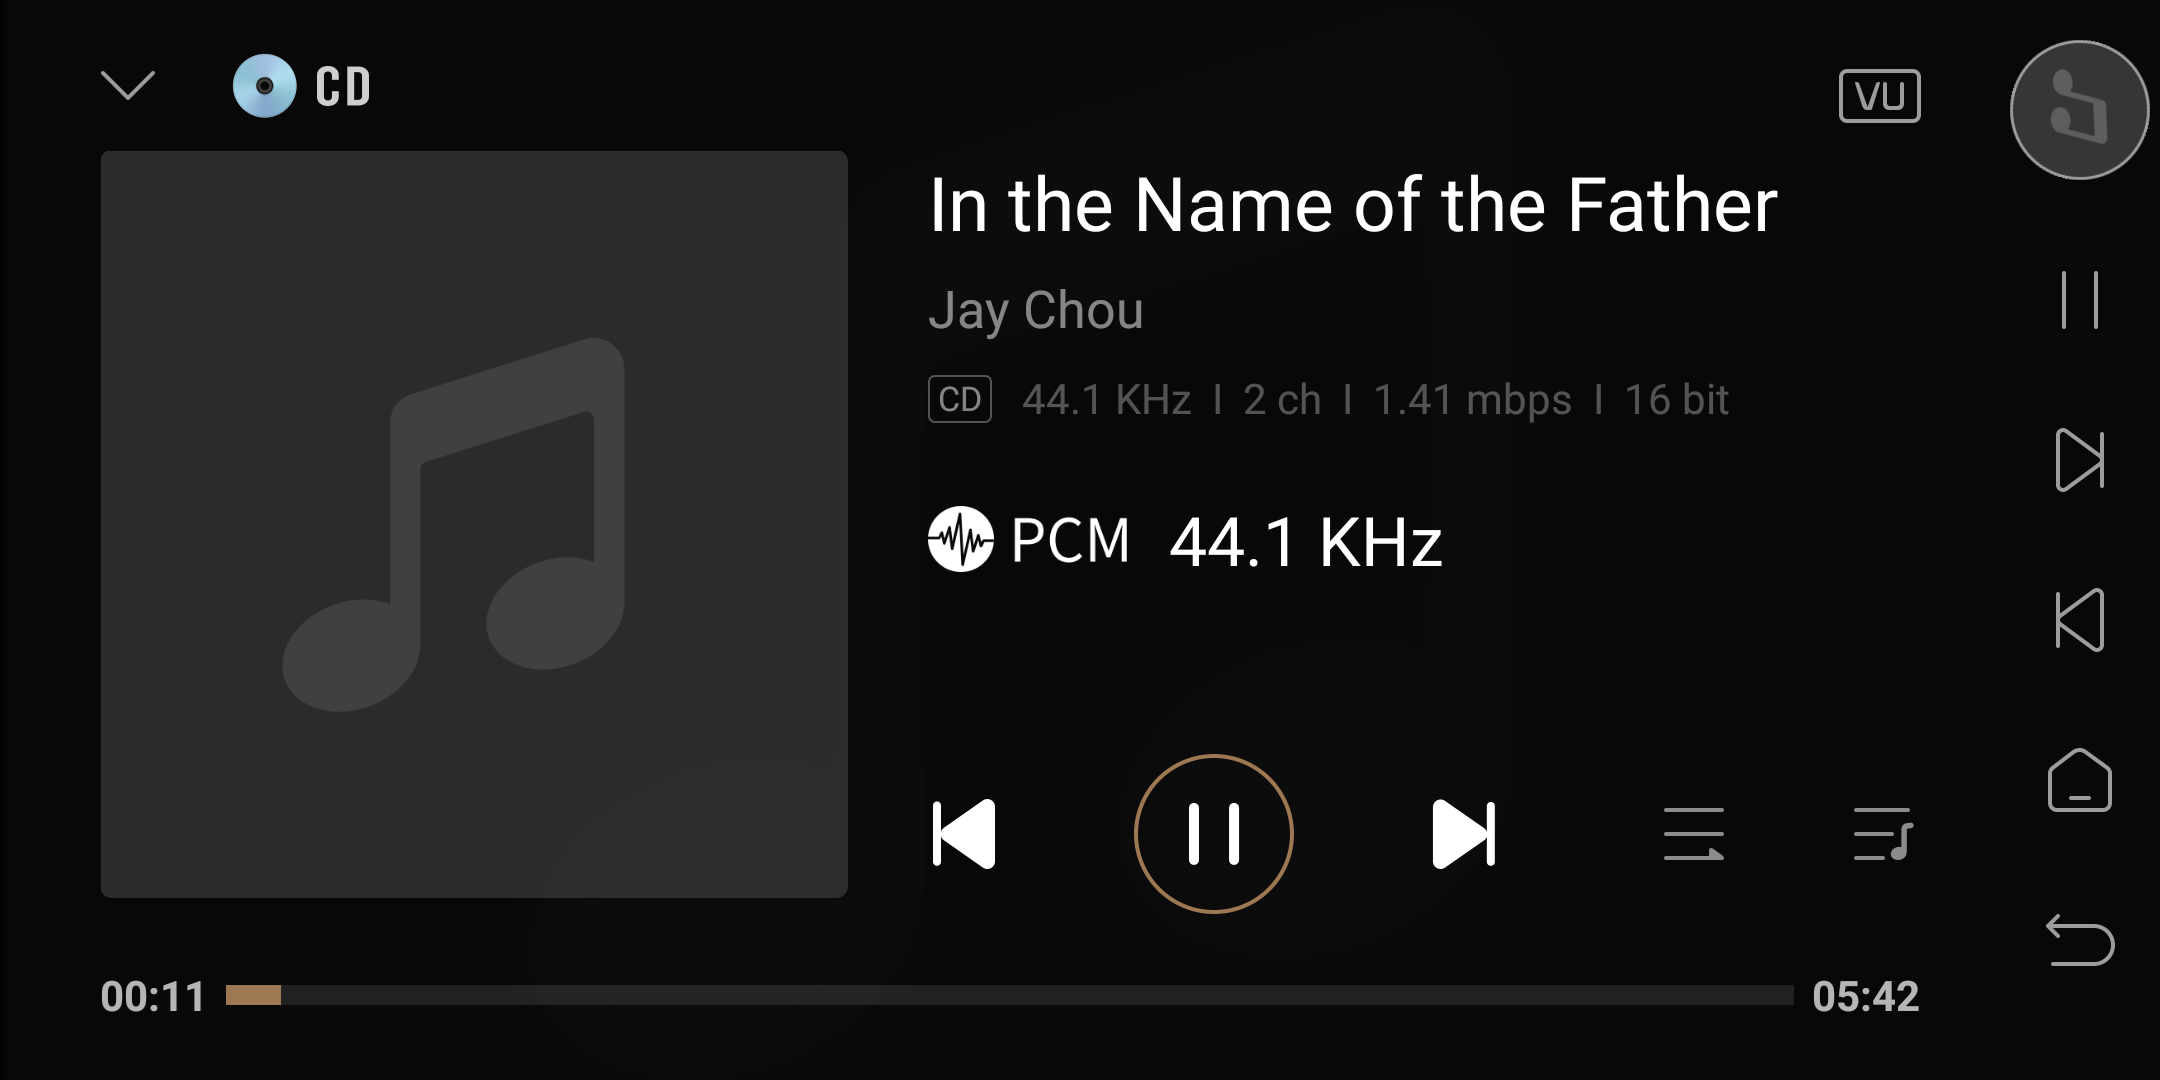
3. After loading is complete, you can click to play the songs on the CD.
Friendly reminder: Some legitimately released CDs can retrieve album and track information online.
V. CD Ripping
1. [Refer to the image below] Click on the RIPER icon on the CD interface to access the CD-Ripper menu.
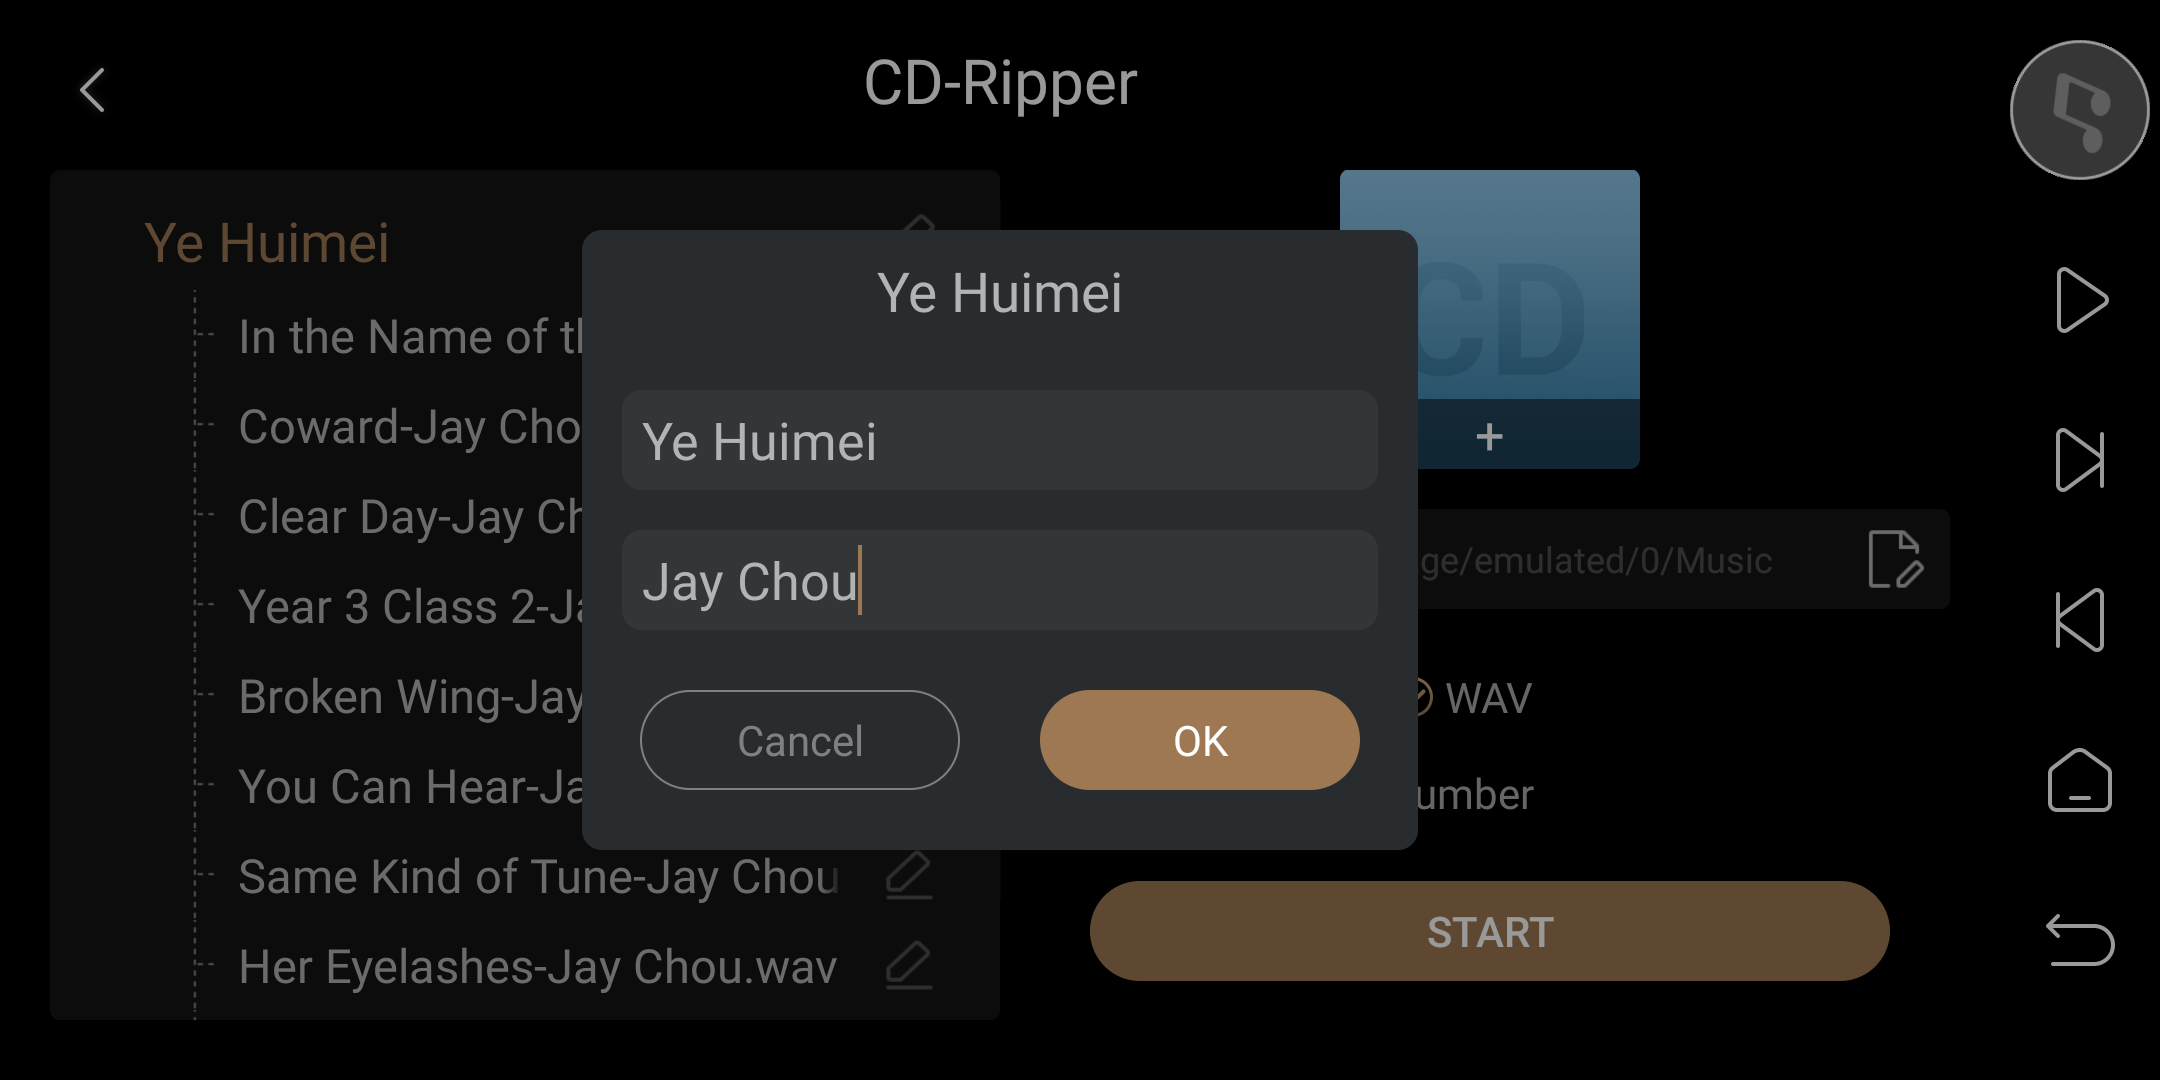
2. On the left side of the CD-Ripper menu are the CD album and song information, while on the right side are the rip storage and parameter information.

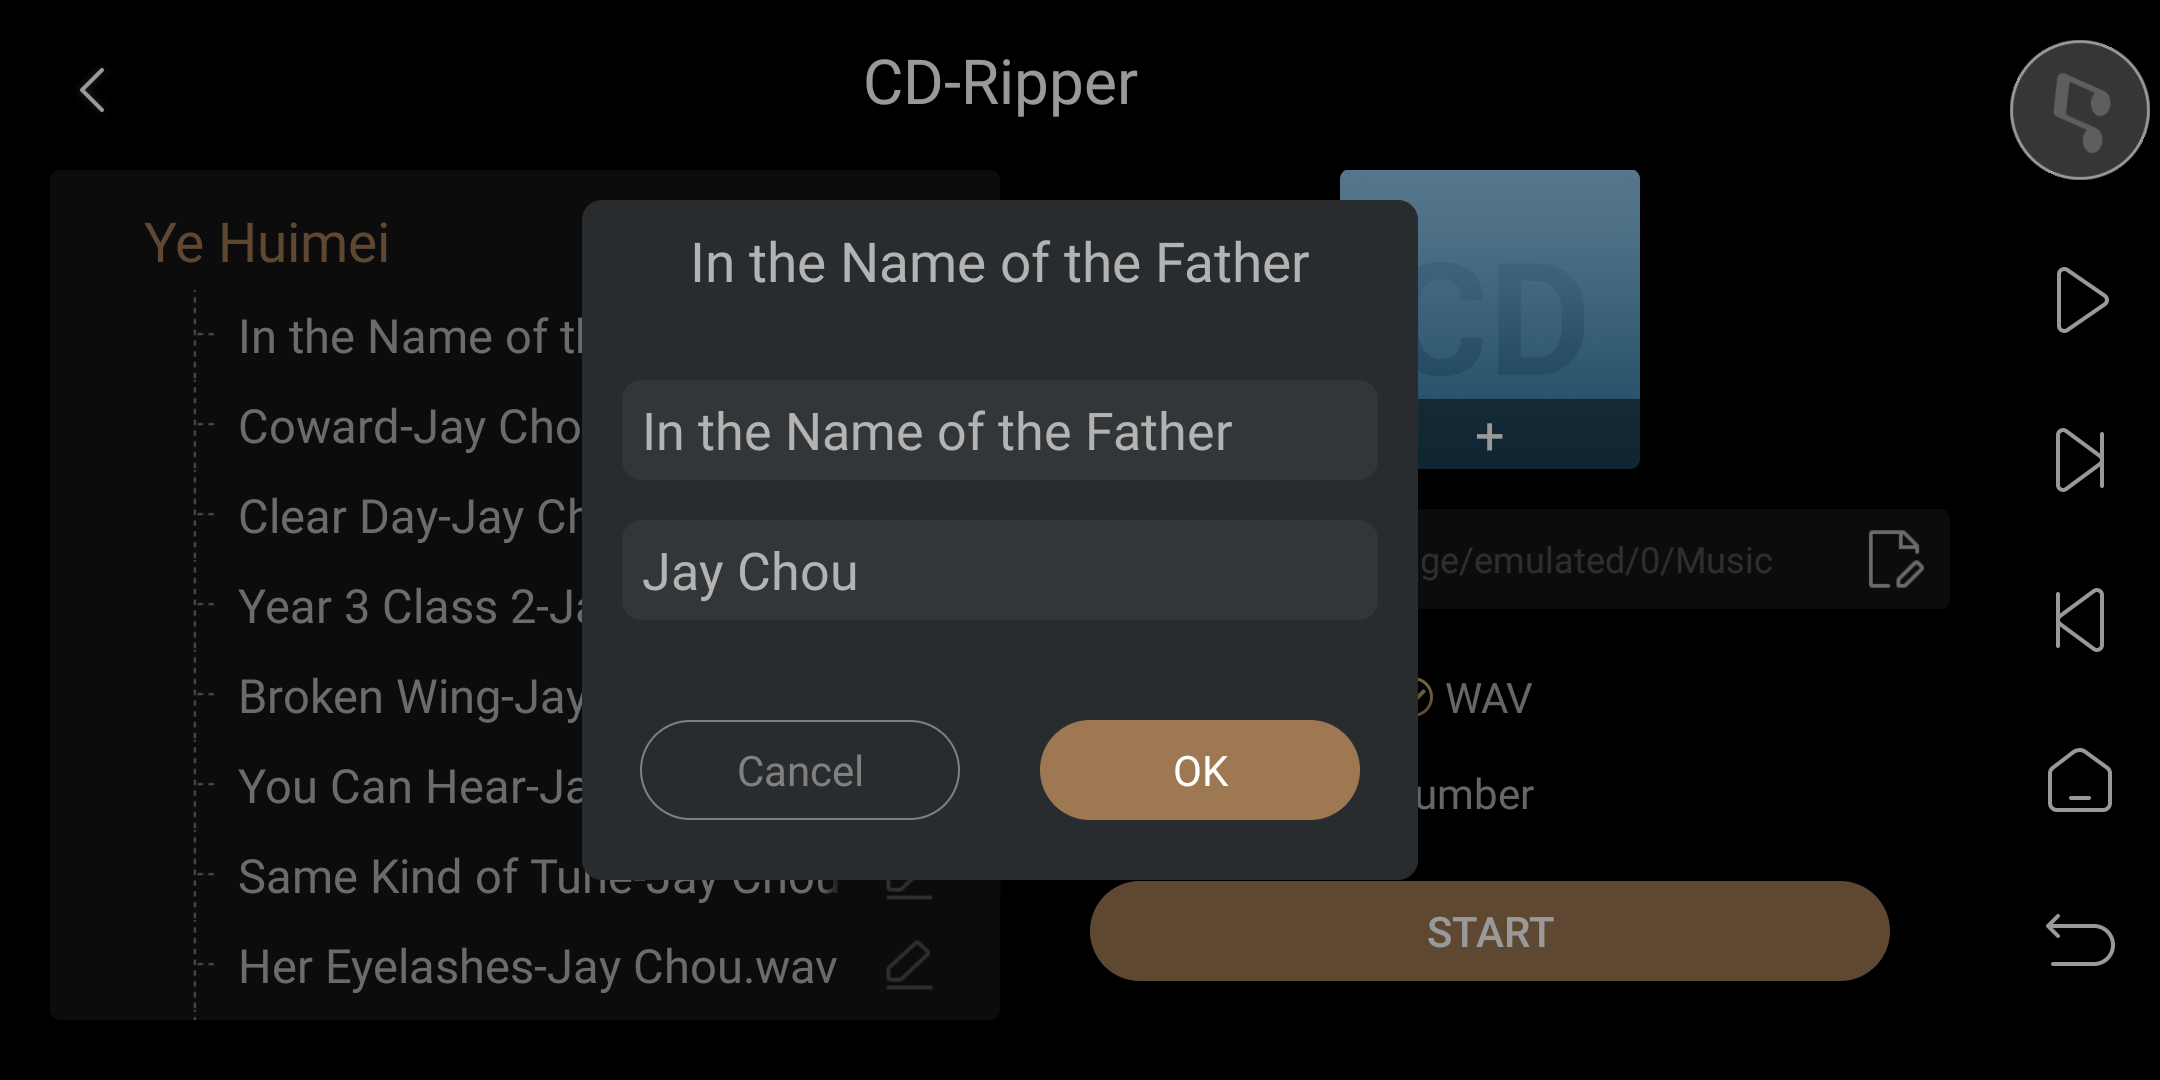
3. Clicking on the edit icon next to the album name on the left side allows you to modify the album name and bulk edit song artists. Clicking on the song edit icon allows you to modify the current song name and artist.
4. On the right side, you can set the CD ripping storage path, format, and whether to generate track numbers in order.
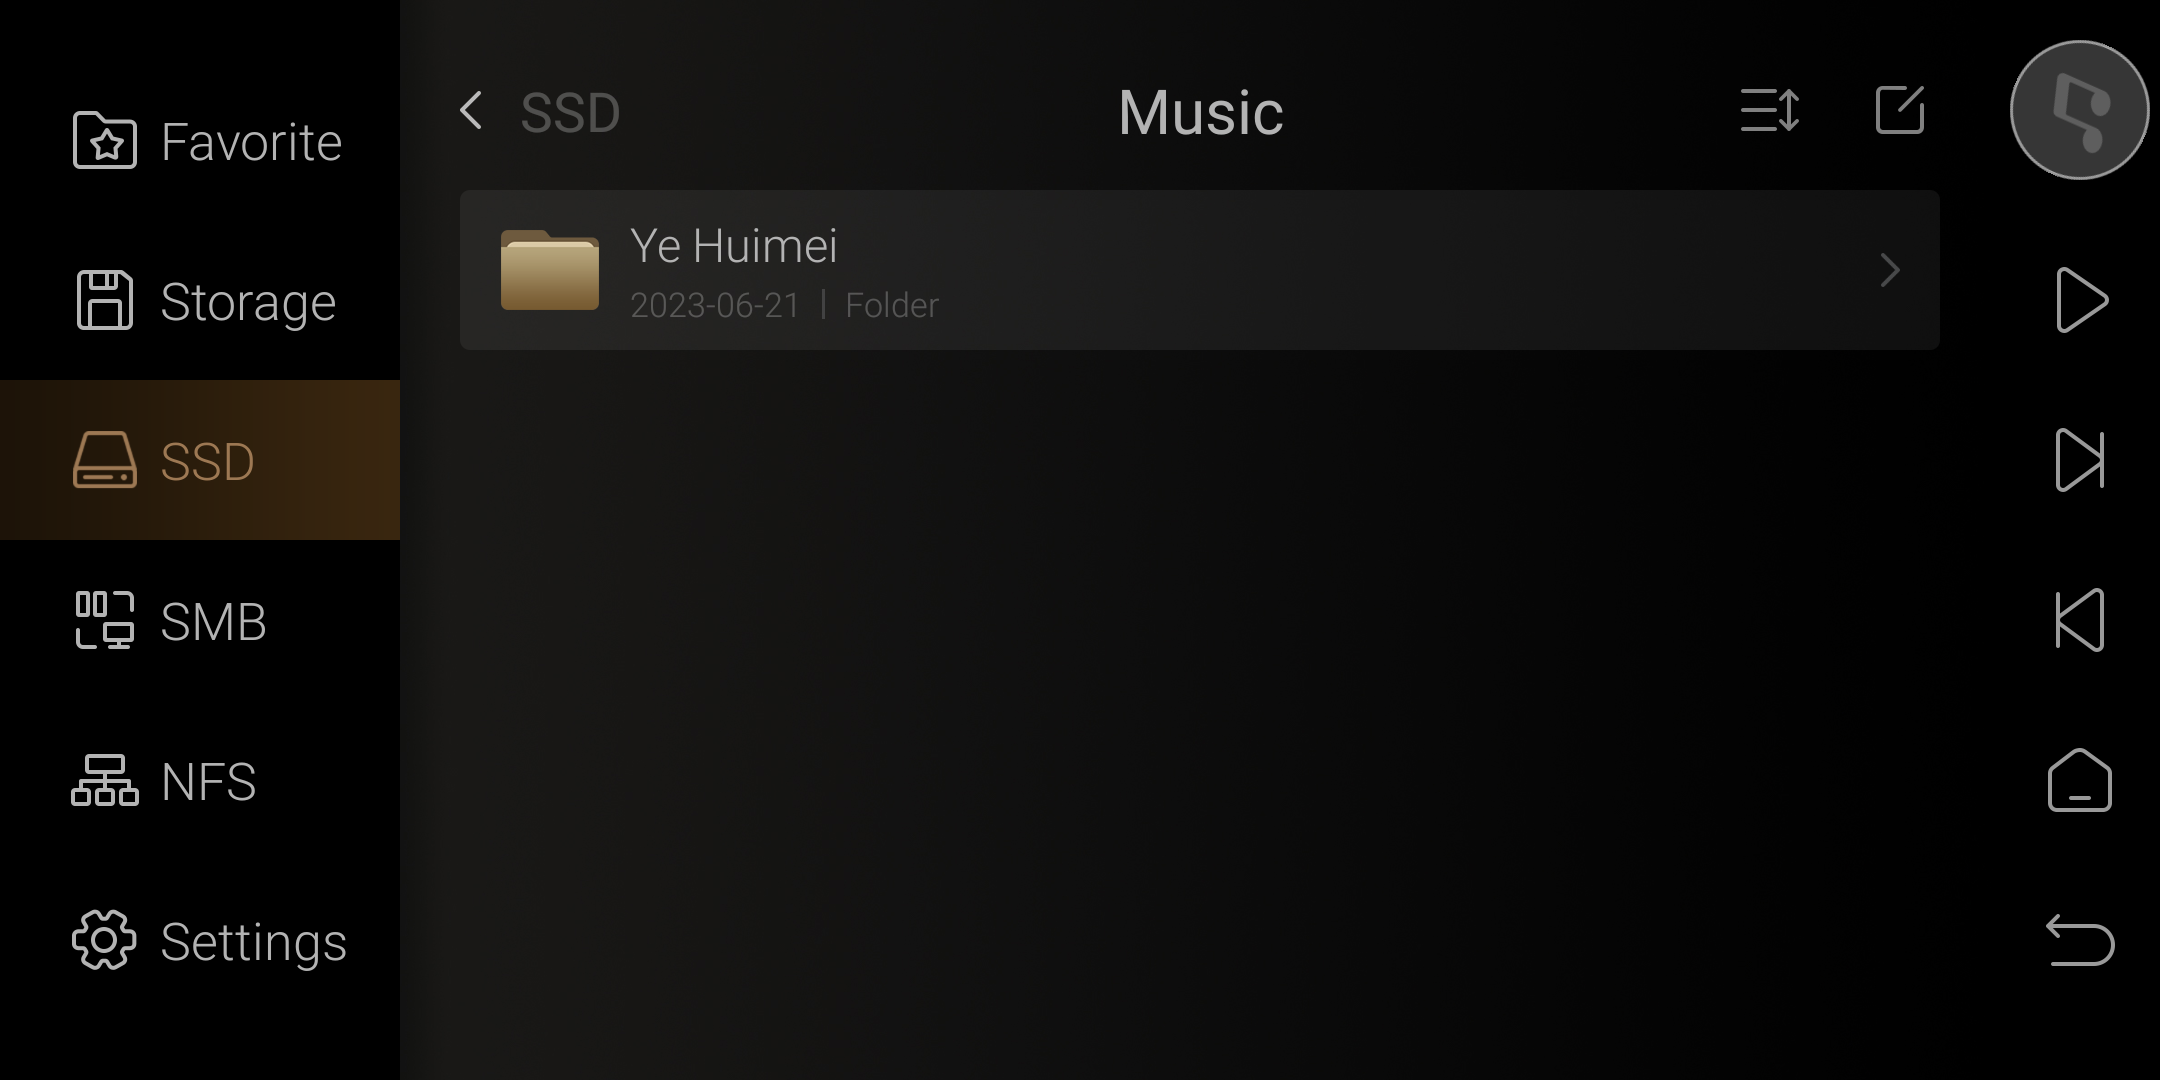
Storage Path: Supports internal, external, and network storage devices. The tutorial takes an external USB hard drive for example.
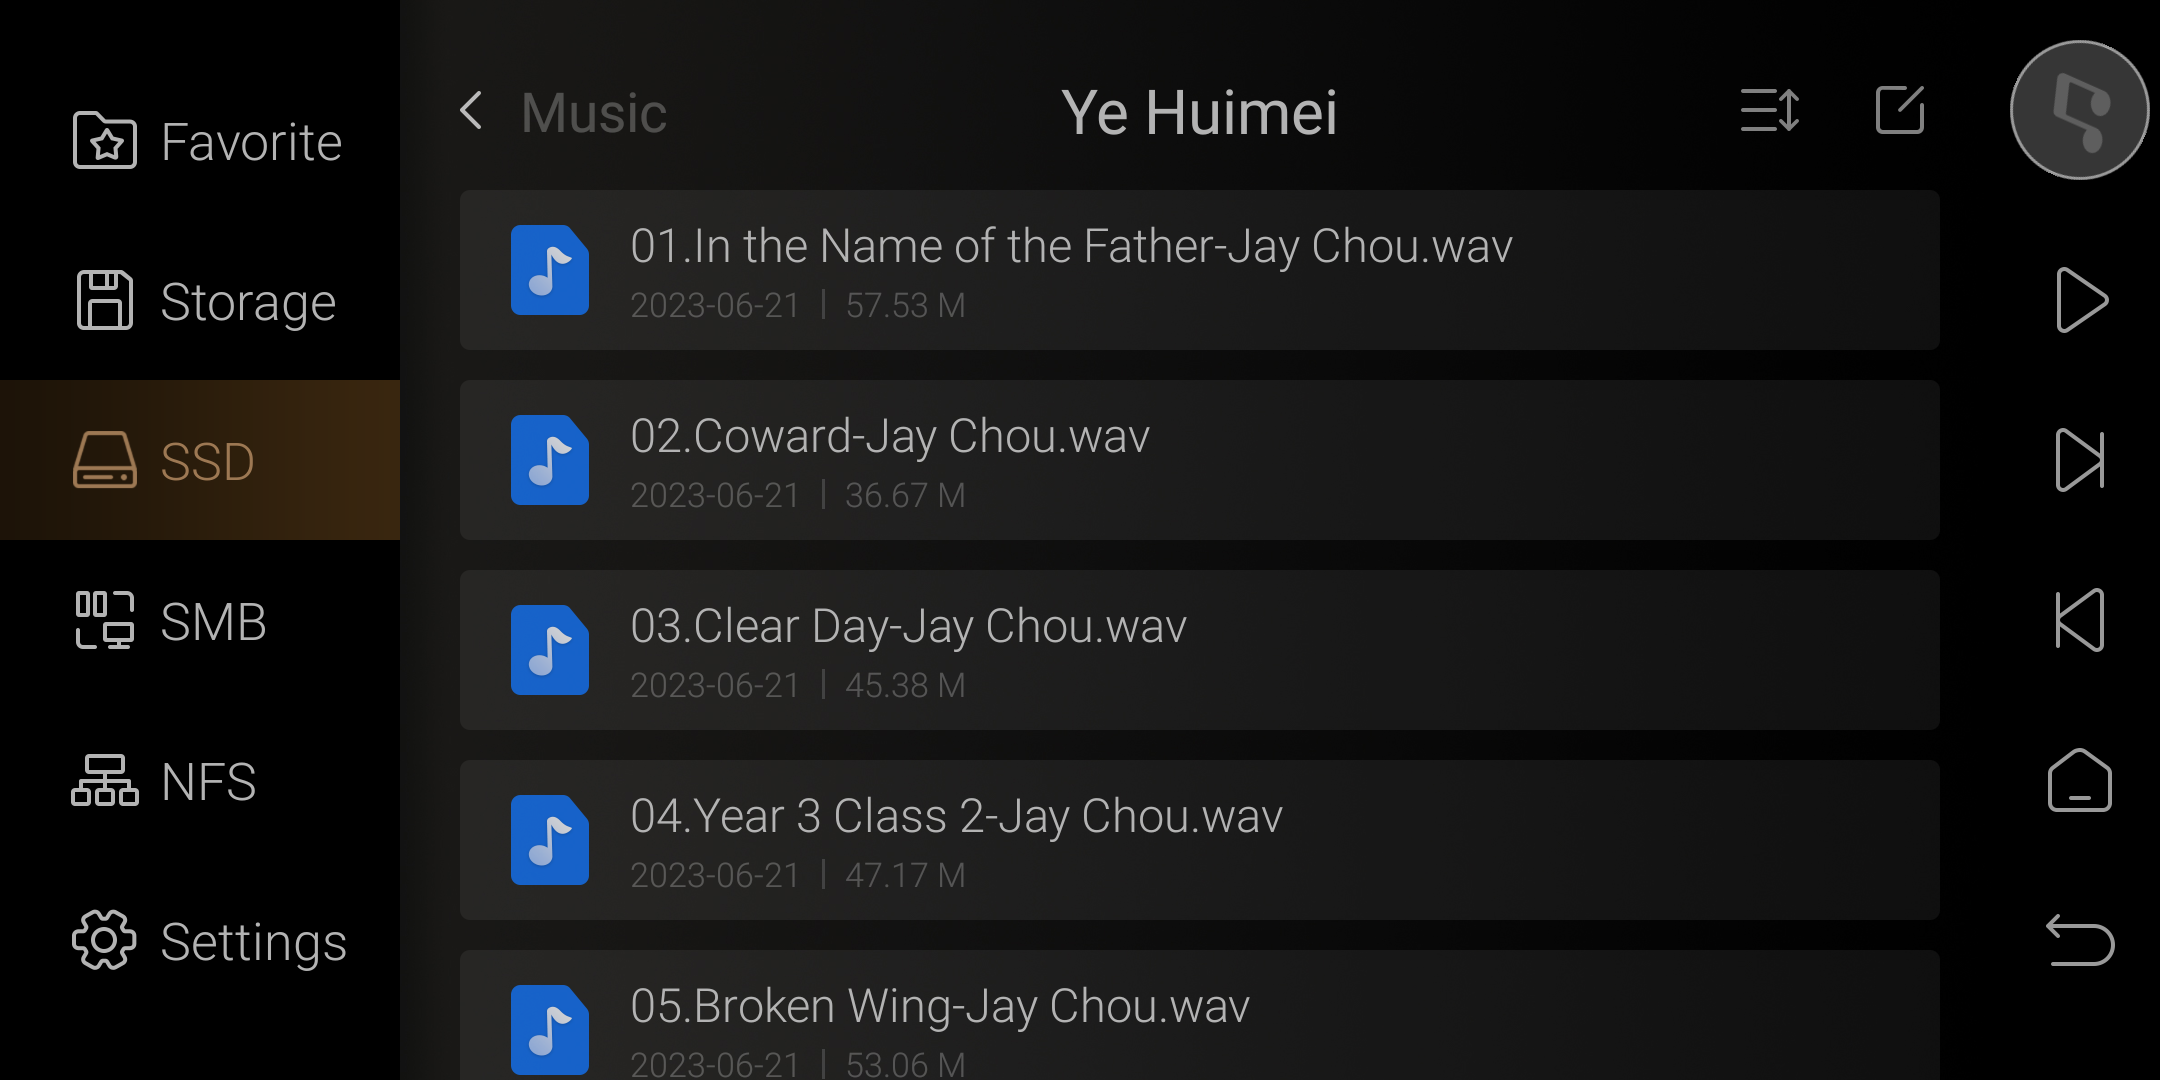
Format: FLAC & WAV. The tutorial takes WAV for example.
Number: Song numbering. In the tutorial, the CD comes with its own track numbers so it deselect this option here.
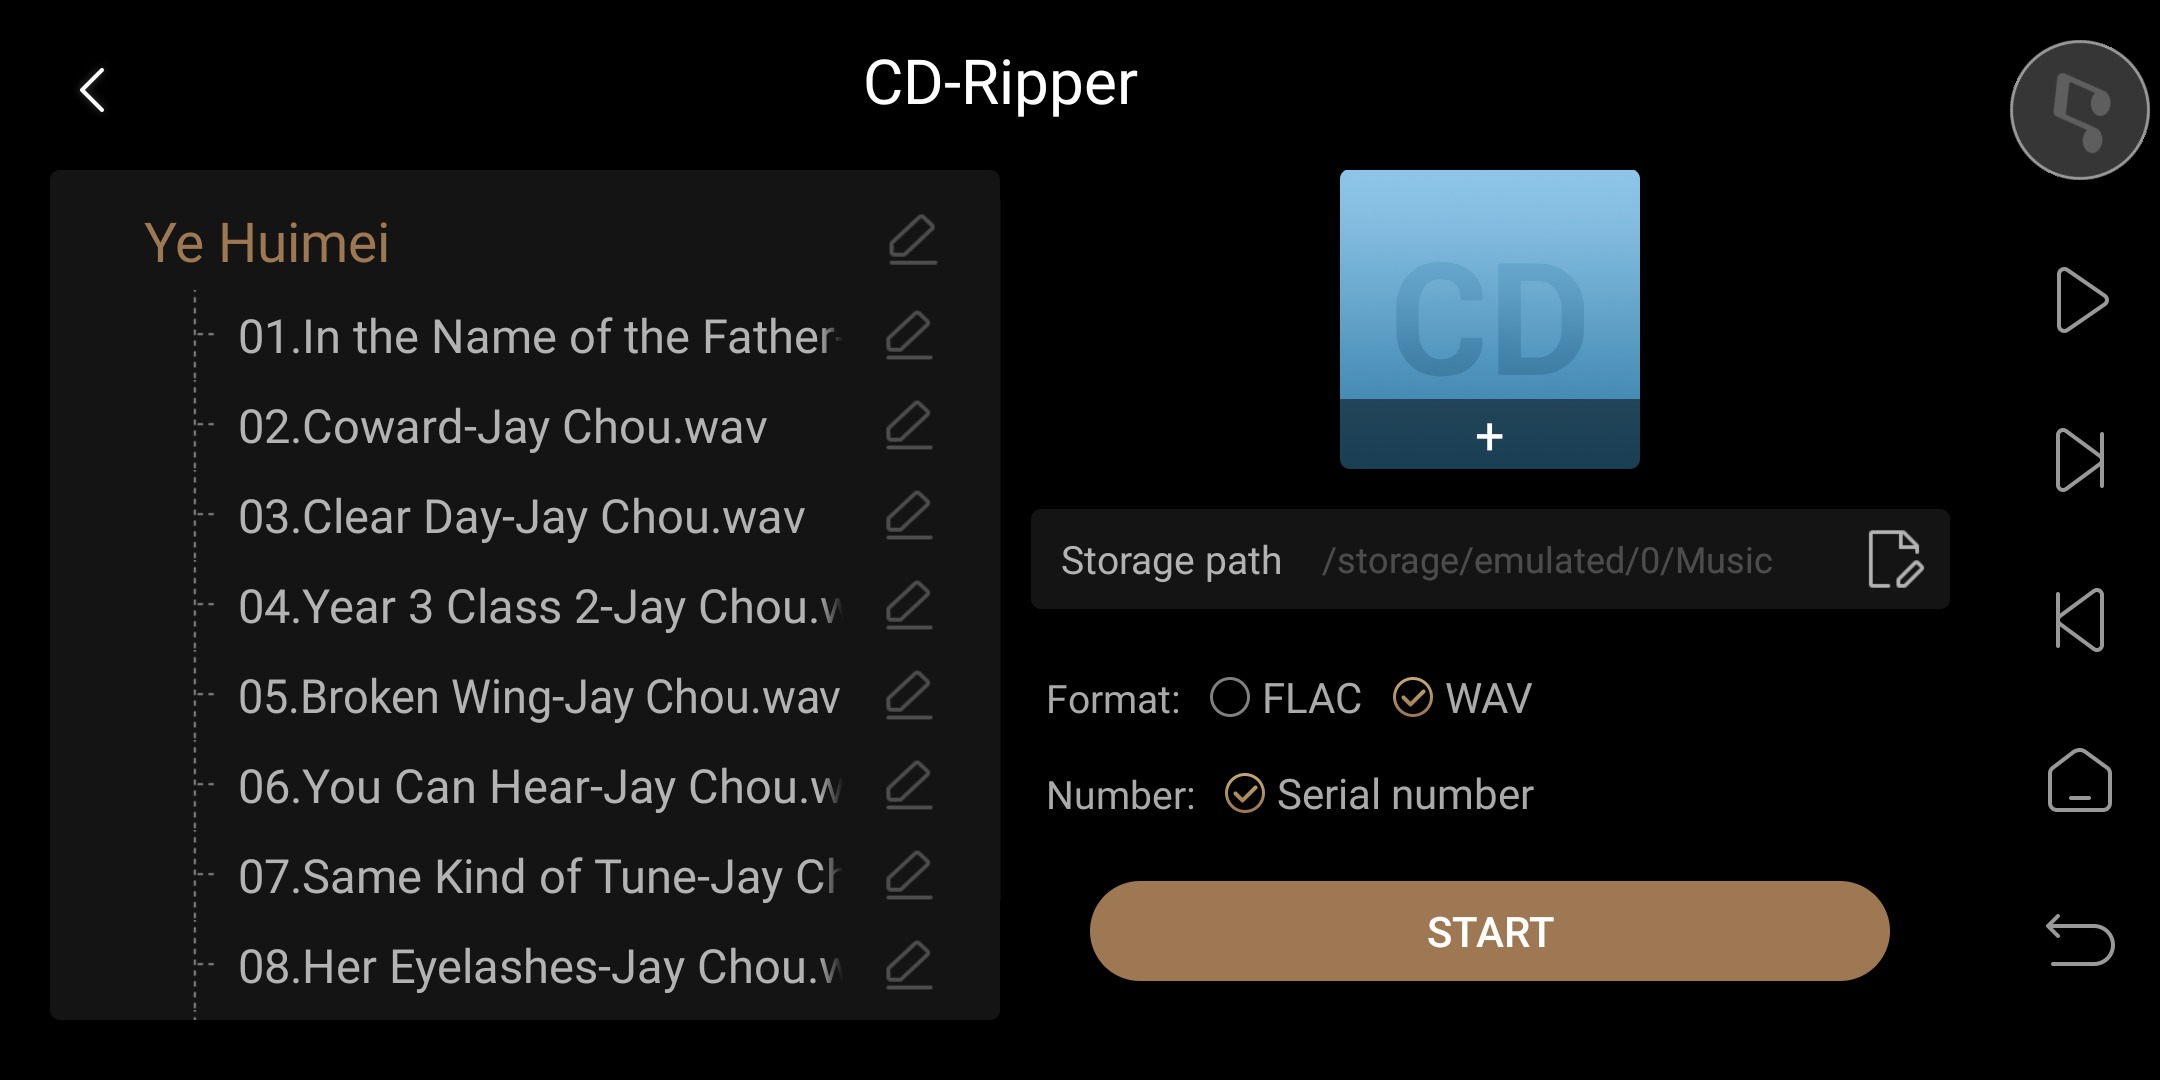
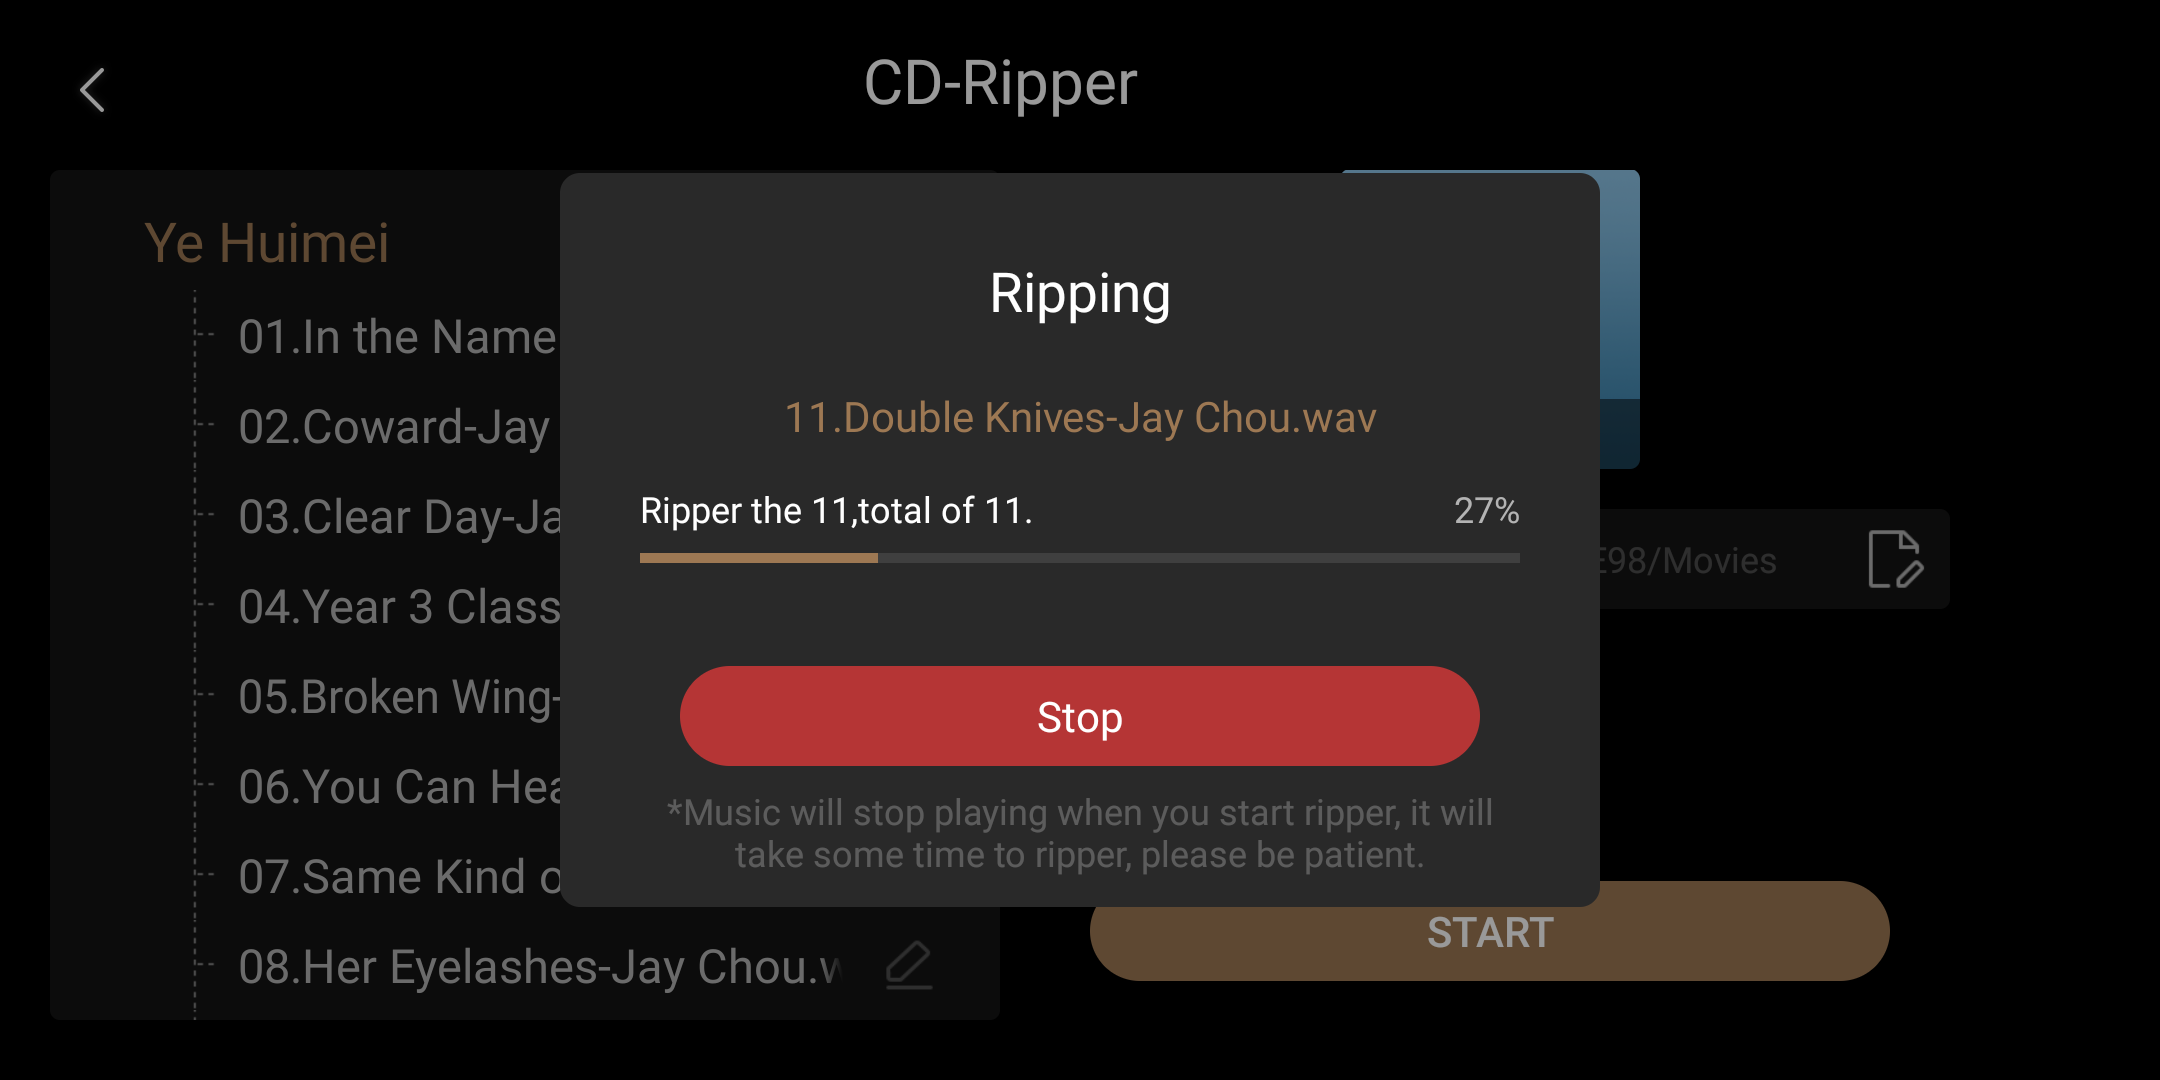
5. After completing the CD track ripping parameter settings, click on "Start" and please patiently wait for the progress to reach 100%.
Friendly reminder: Playing music will be paused when the ripping process begins. Ripping will take some time, so please be patient. You can click "Stop" to cancel the process.

6. Finally, enter the previously set storage path to view the ripped music files.