How to install and configure Roon and stream Roon to DMP-A6
Friendly reminder: PC, NAS, mobile phone, and DMP-A6 need to be on the same local network!
I. Roon Introduction
Roon was founded in 2015 and is a paid digital music playback and management software. It enjoys a high reputation in the high-end HiFi streaming field and provides convenient solutions for managing and controlling digital music playback for traditional HIFI audio devices.
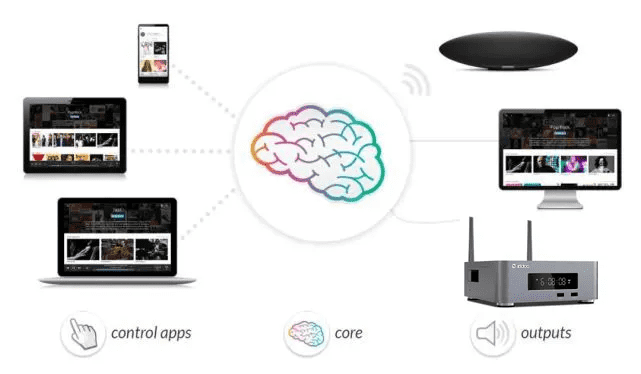
Roon can be considered as the core of the brain, consisting of a central unit and as many control and output units as possible. This means that whether you are running it on a single PC or on other devices in your home, Roon will function effectively.

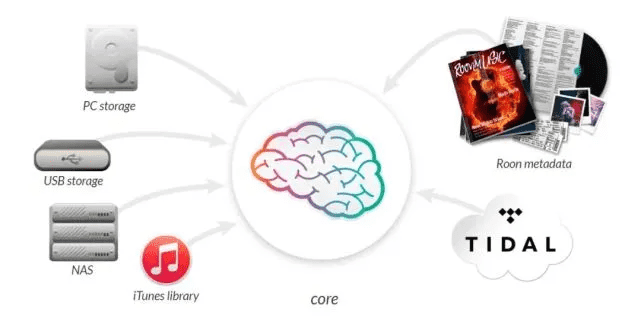
Roon can centralize and manage all audio resource files that are connected to the network. However, it establishes associations and collections rather than storage. The audio sources can be stored on a computer/NAS/hard drive, as well as on streaming platforms like TIDAL, Qobuz, and Dropbox.
Additionally, it creates a music library for these music files, making it easy to search and supplement extended music-related information such as album covers, artist biographies, reviews, lyrics, and song durations.
At the same time, it is also possible to establish connections between artists, composers, performers, conductors, and producers. This core can be based on your computer, NAS server, and other devices. By integrating with Roon, music sources can be searched and viewed on mobile or computer control applications. Audio file management becomes more convenient, streamlined, and user-friendly.
Roon not only provides convenient music collection management, seamless network streaming technology, but also delivers audio quality comparable to CDs. Users only need to select the desired music on the Roon control app terminal device to push the audio to hardware devices within the local network that have undergone strict Roon Ready audio quality certification. This ensures lossless transmission, playback, and decoding of the master music. It can also be pushed to different devices in multiple rooms for playback, creating a multi-room music playback system.
For new players who are first introduced to Roon, they often mistakenly believe that Roon is a software installed on Roon Ready players. In reality, Roon serves as the core of the system, consisting of a central component and as many control and output components as possible.
Now, let's provide a detailed introduction to these three elements of Roon: Roon Core software, Roon Ready players (output), and Roon Control.
1. Roon Core
Roon Core is the most important core processing program in the entire software suite. It needs to be installed on a computer or NAS (Network-Attached Storage) rather than on Roon Ready playback devices. It is used to handle and manage your music files, streaming services, and audio devices.
2. Roon Ready players (output)
A Roon Ready player refers to a playback device that has obtained official Roon certification and is equipped with Roon Ready functionality. For example, the Eversolo DMP-A6. It is used to receive and match music data from Roon and can stream bit-perfect music files from the Roon Core over the network.
3. Roon Control
The Roon Control application can connect to the Roon Core, allowing you to browse, search, and play music. The Roon Control app provides each account with its own favorites, playlists, tags, history, and recommendations. The Roon Control application can be installed on multiple mobile devices, including iPad, iPhone, Android tablets and phones, Mac, and Windows.
The official website of ROON displays for certified Eversolo models:
https://roon.app/en/partners/187/eversoloaudio
II. Roon Account Registration
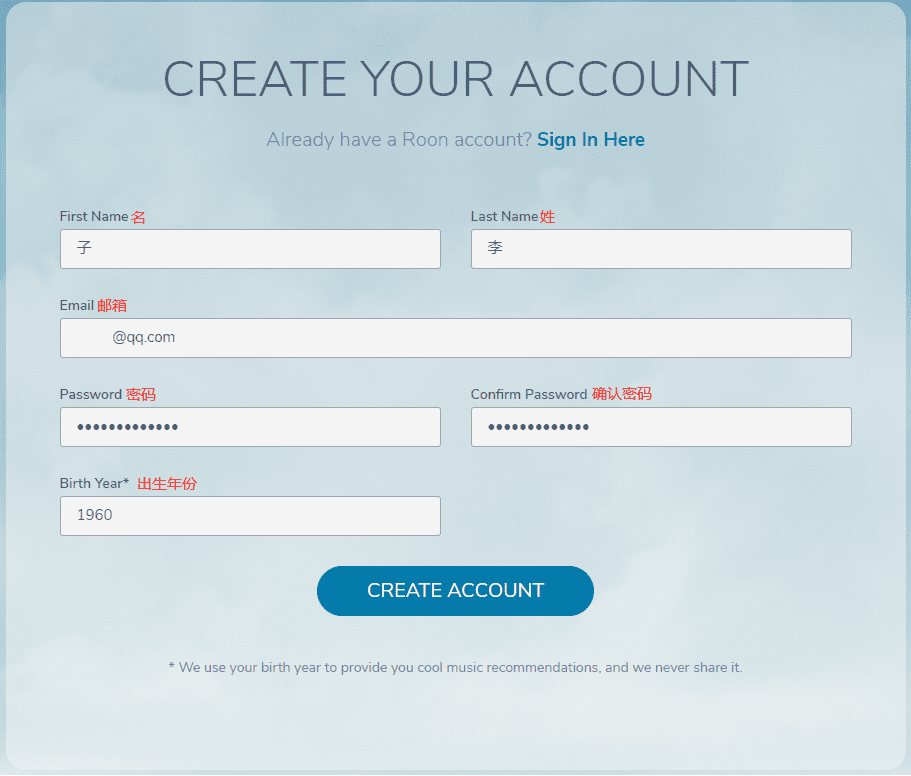
1. Log in to the Roon official website on your PC and go to the registration page at https://roonlabs.com/create?from=checkout. Fill in the required registration information as instructed, and click on "CREATE ACCOUNT" to create your account.
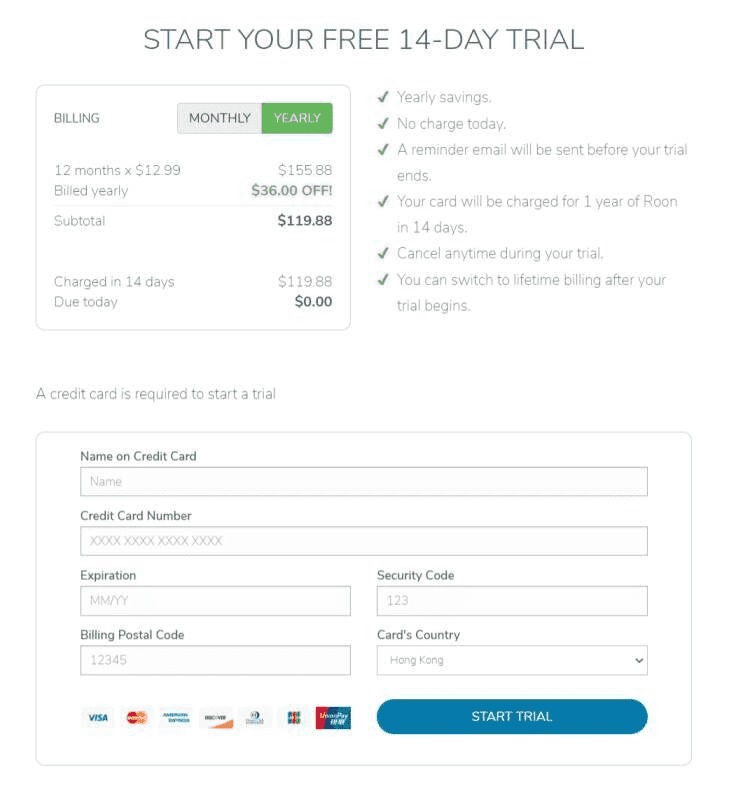
2. After successful account creation, you need to link a VISA credit card to activate the 14-day free trial. During the card linking process, a $1 charge will be made to test the validity of the credit card. Please don't worry, the amount will be automatically refunded within a few minutes. To avoid incurring additional charges, please cancel the credit card subscription before the end of the 14-day trial period!
III. Install and Configure Roon on WIN10 And Stream Roon to DMP-A6
1. Preparations
Roon software official download address: https://roonlabs.com/downloads
2. Installation and configuration
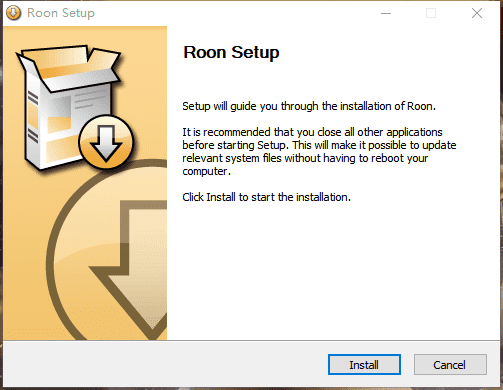
2.1. [See image] After downloading is complete, click "Install" to proceed with the installation.
2.2. Wait for the installation progress bar to complete and click “Next”.
2.3. Click "Finish" to complete the installation and Roon will automatically start running.

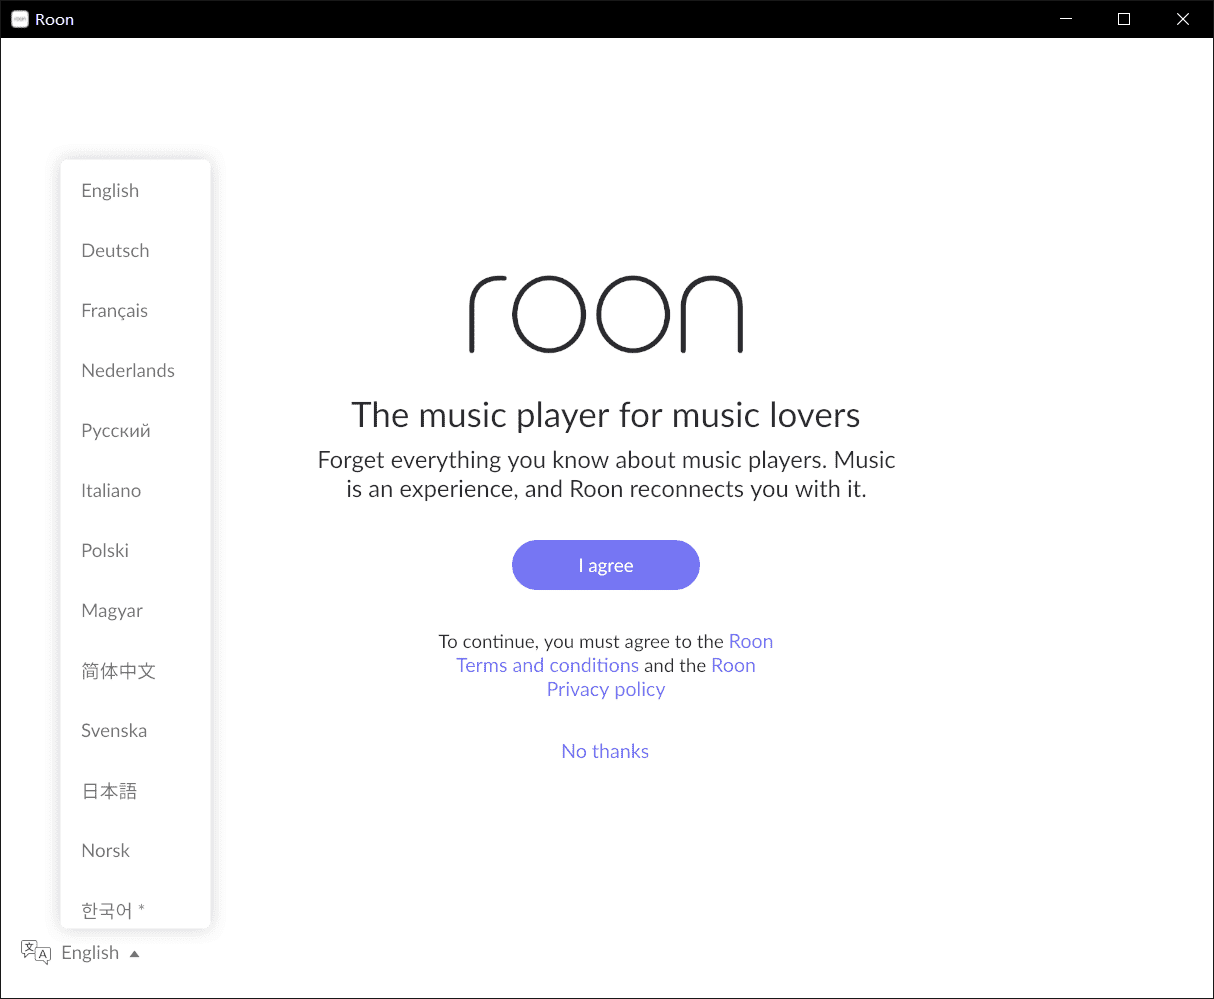
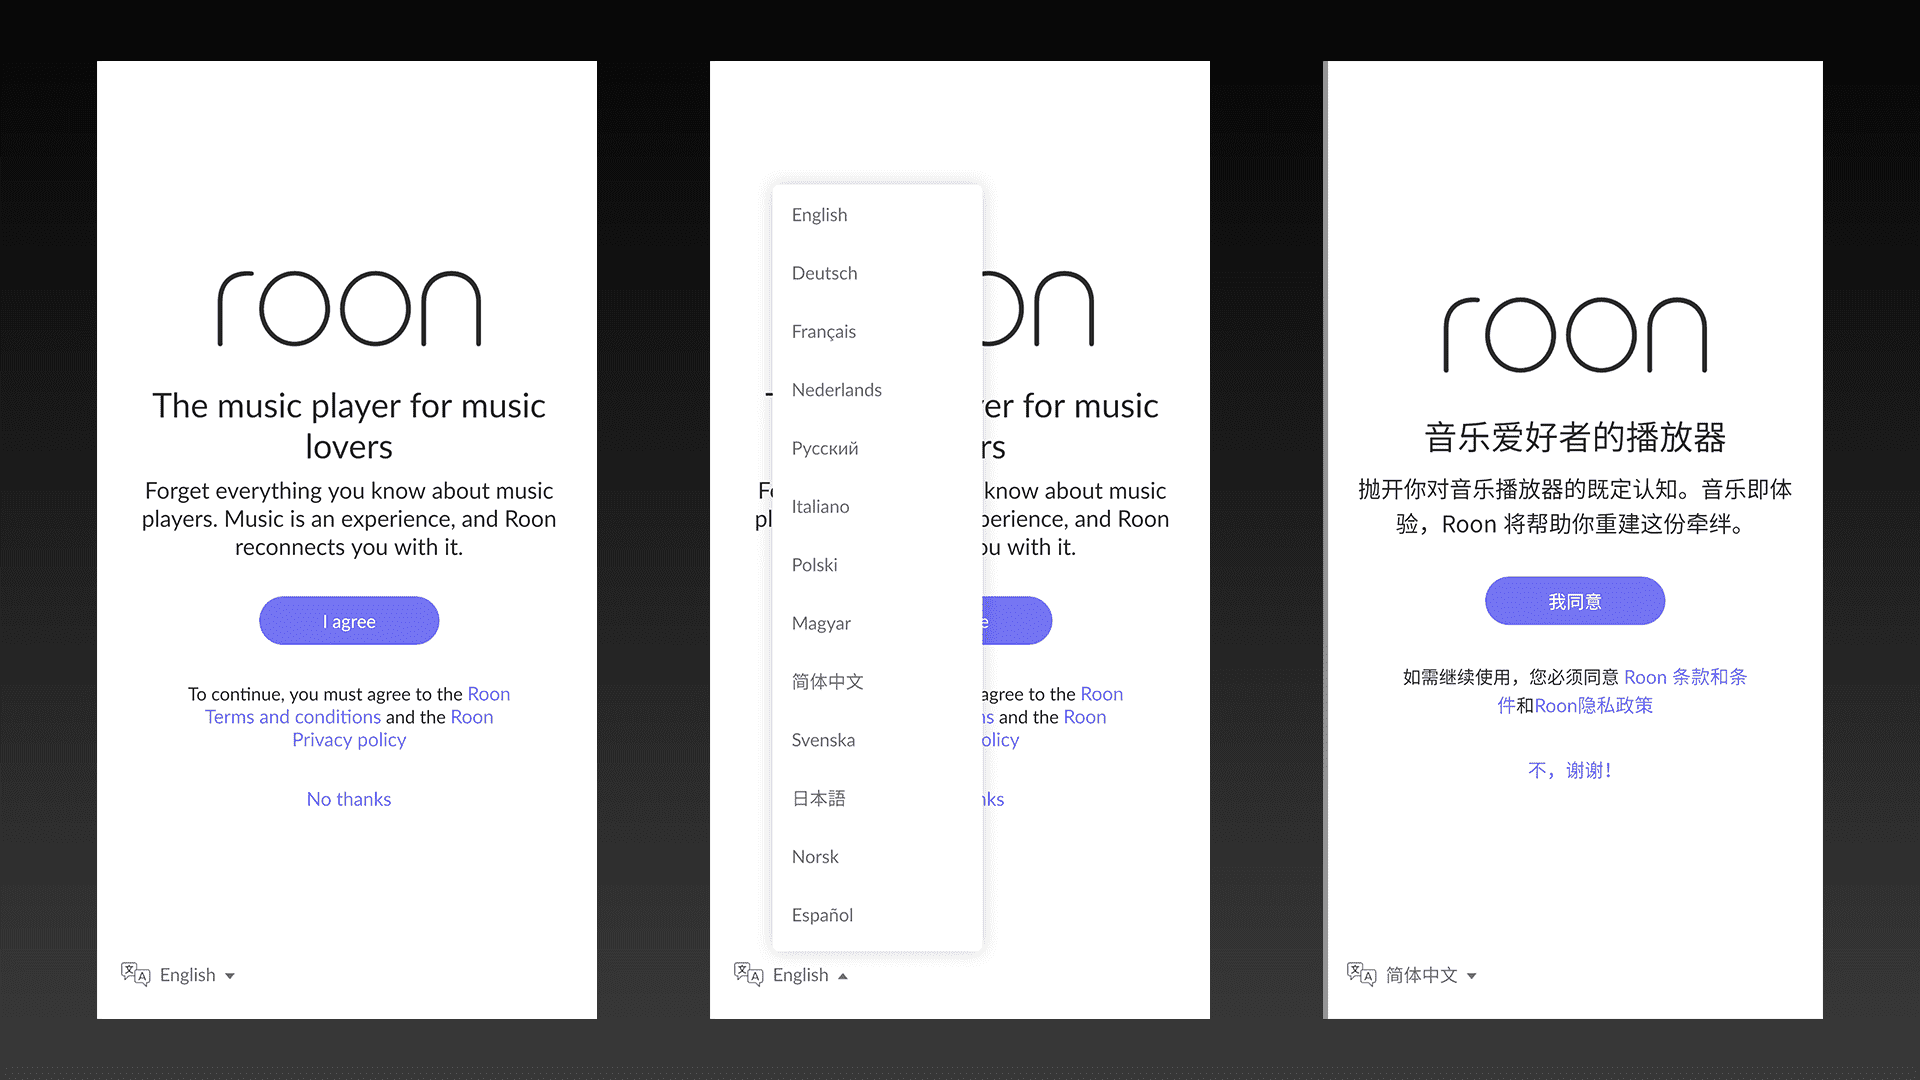
2.4. Default language of Roon is English, click “English” in the lower left corner to switch the language to you want.
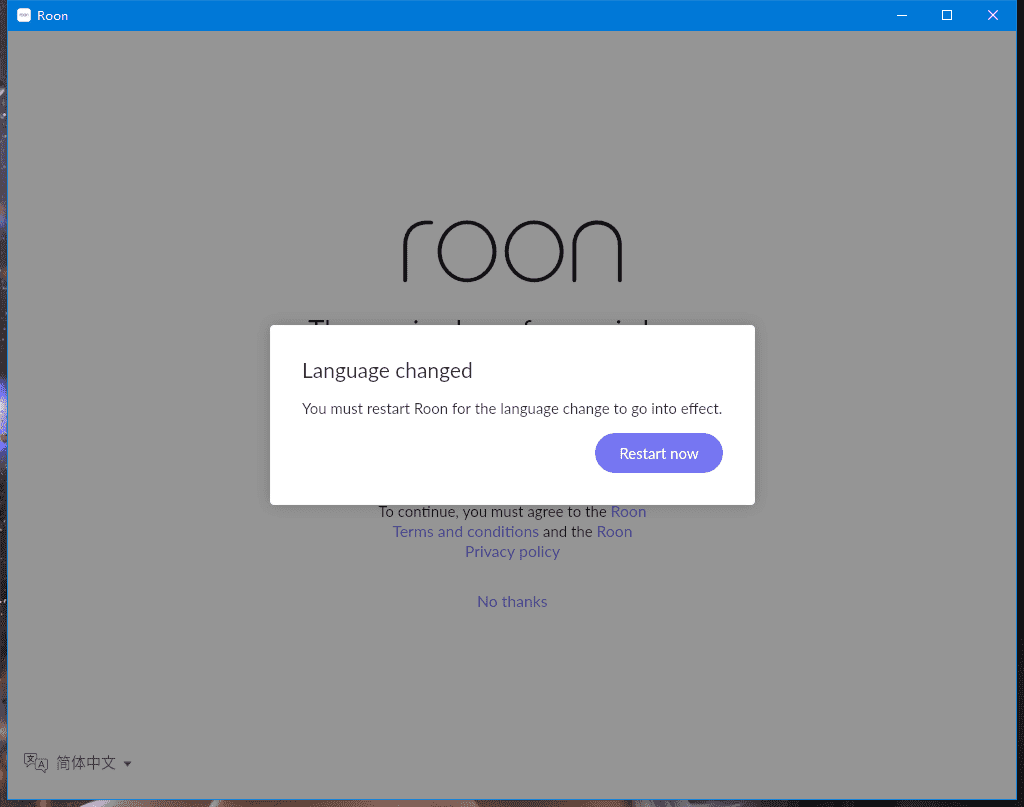
2.5. There will pop up a restart prompt when switching languages, click “Restart now” to restart the software.
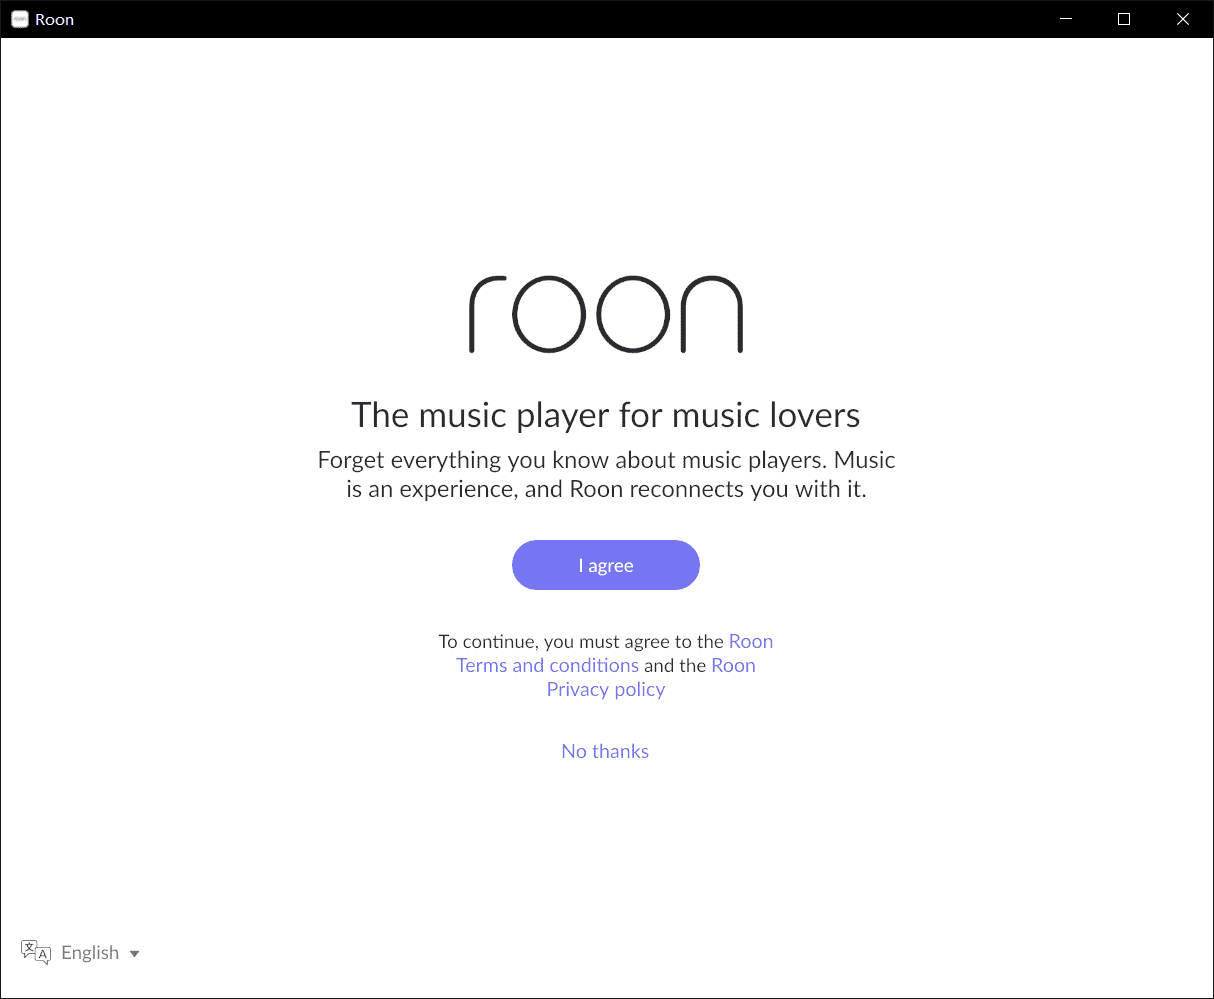
2.6. After restart, click “I agree” to start configuration.
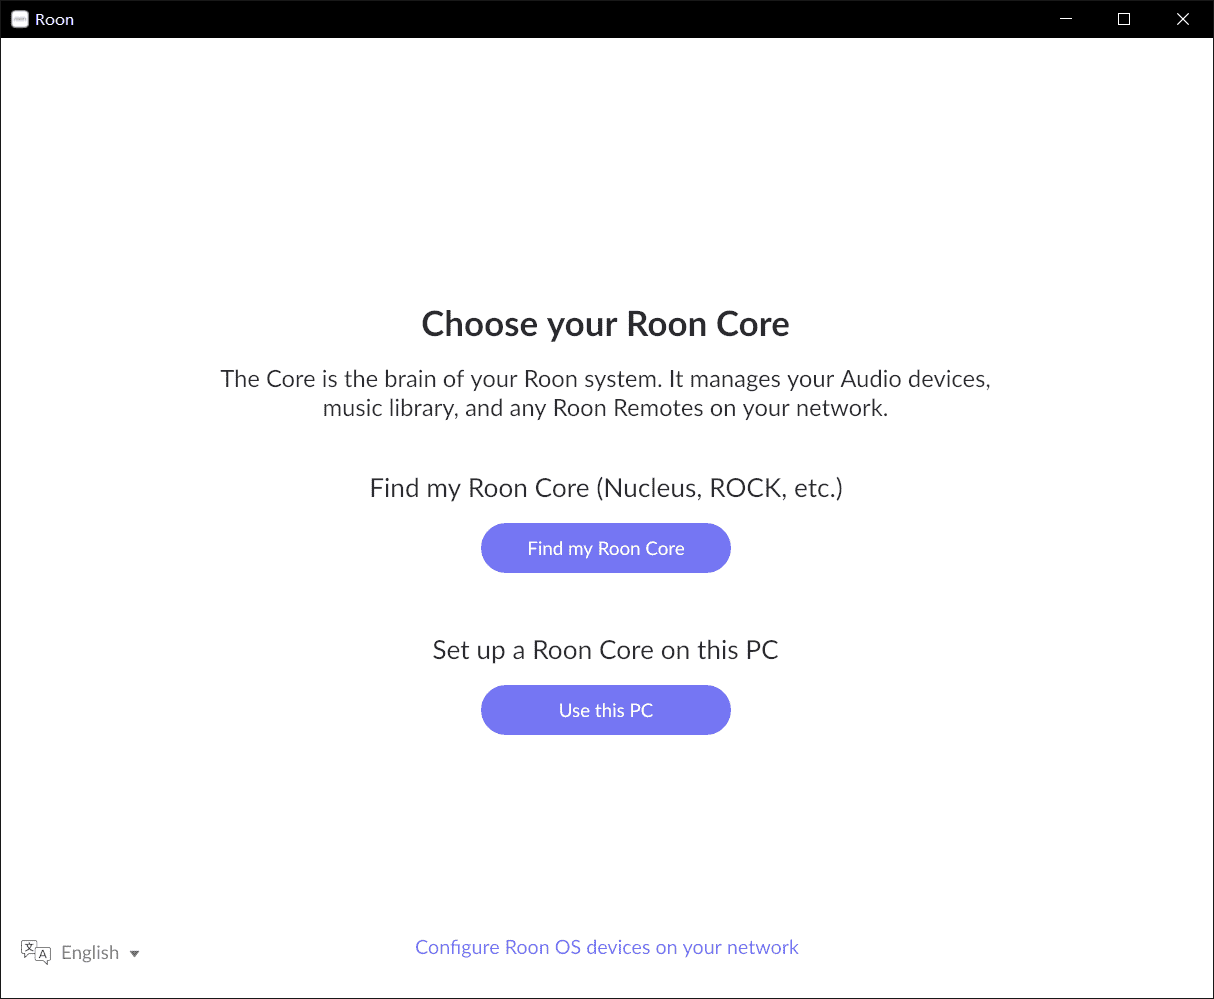
2.7. Use Win10 separately to install Roon, click “Use this PC” under “ Set up a Roon Core on this PC”.
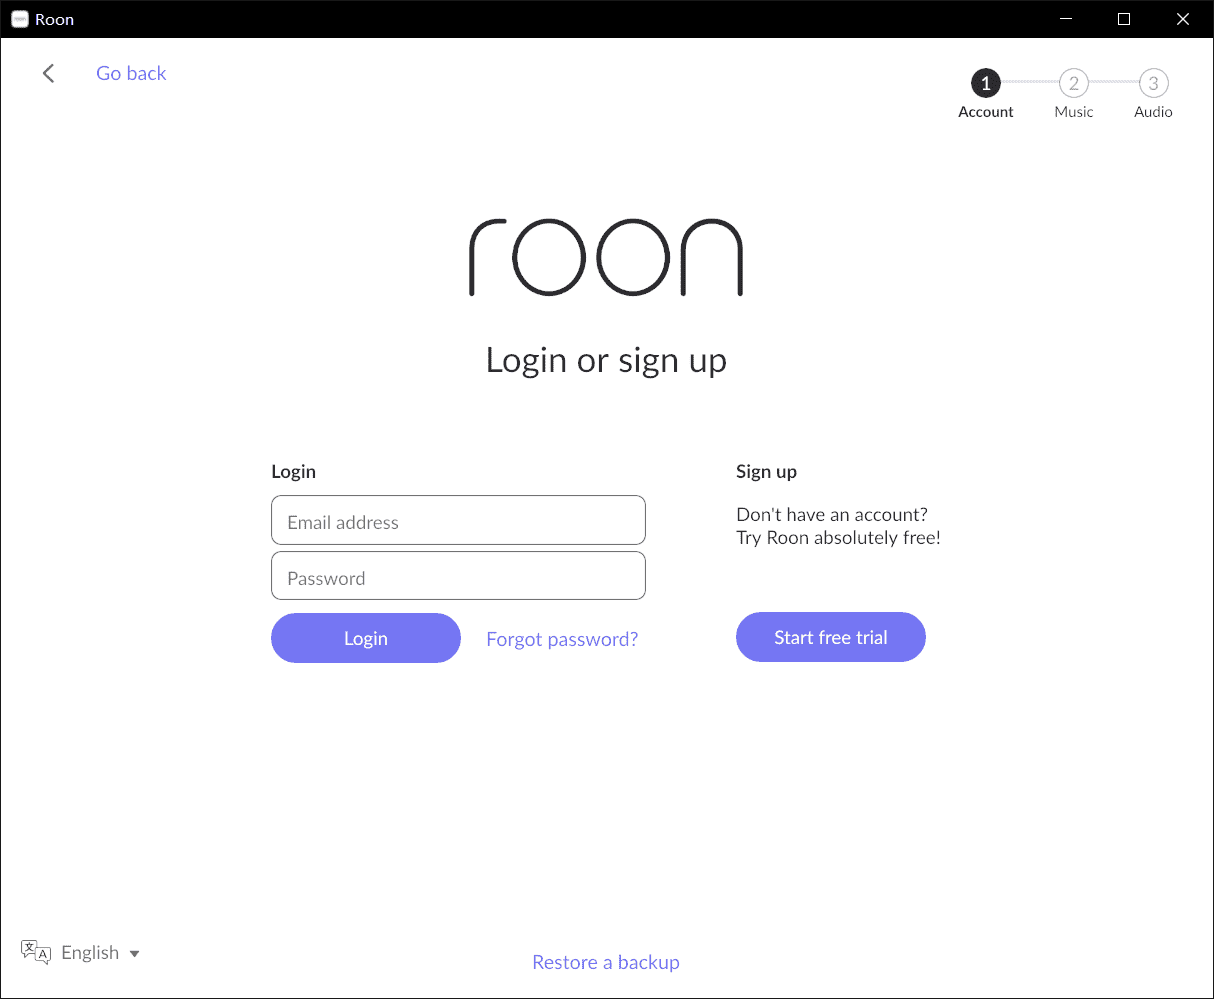
2.8. Input your Roon account to complete the login. If you don’t have an account, click” Start free trial” to register, the new user will be given a 14-day free trial period.
Note: New users need to bind a VISA credit card. USD$1 will be charged to test whether the credit card is valid when you tie it. It will be automatically refunded to your credit card after a few minutes. In order to avoid extra cost , pls cancel the credit card binding before 14-day trial ended.
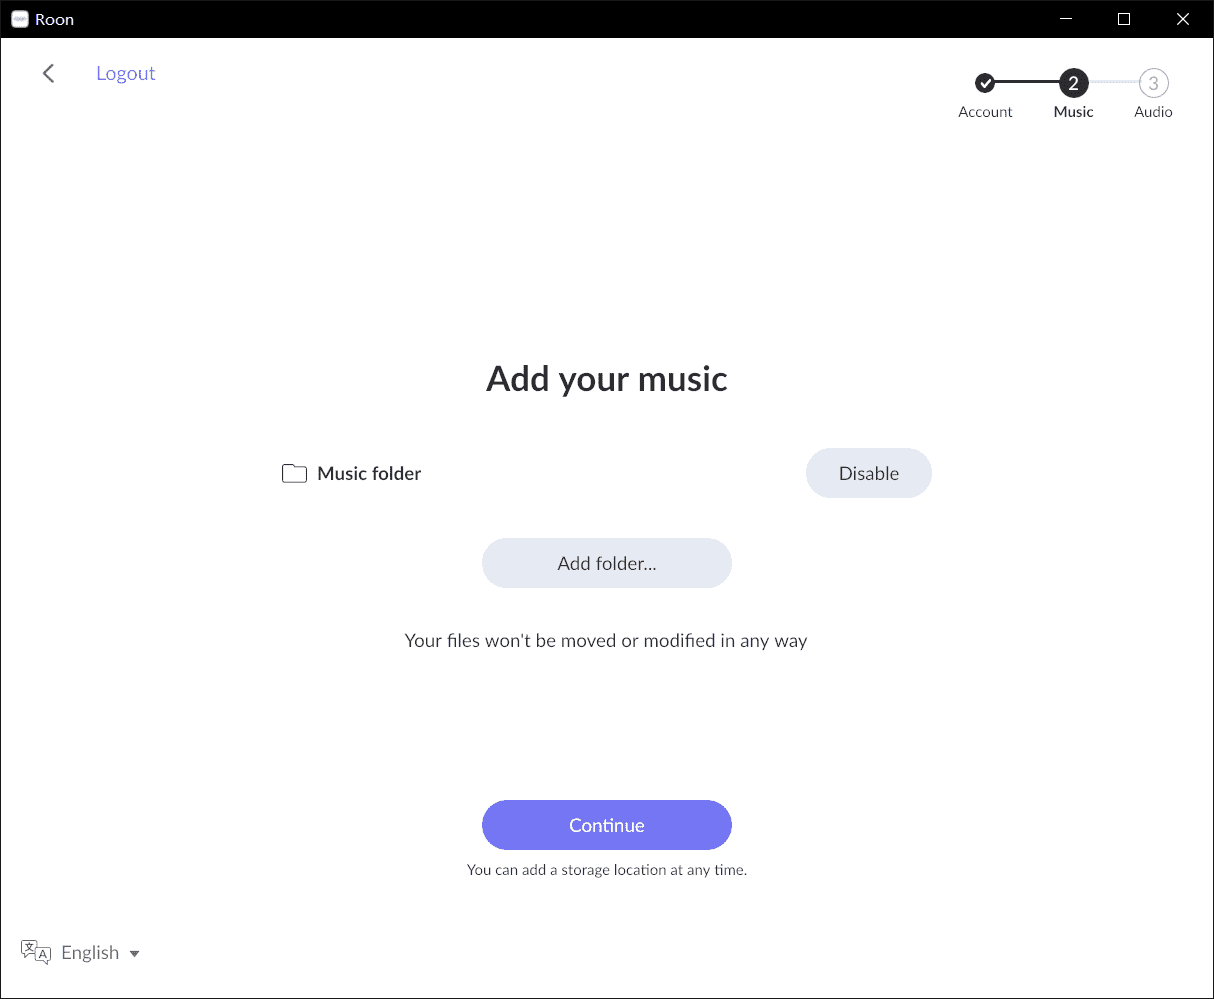
2.9. Click “Add folder” under “Add your music” path.
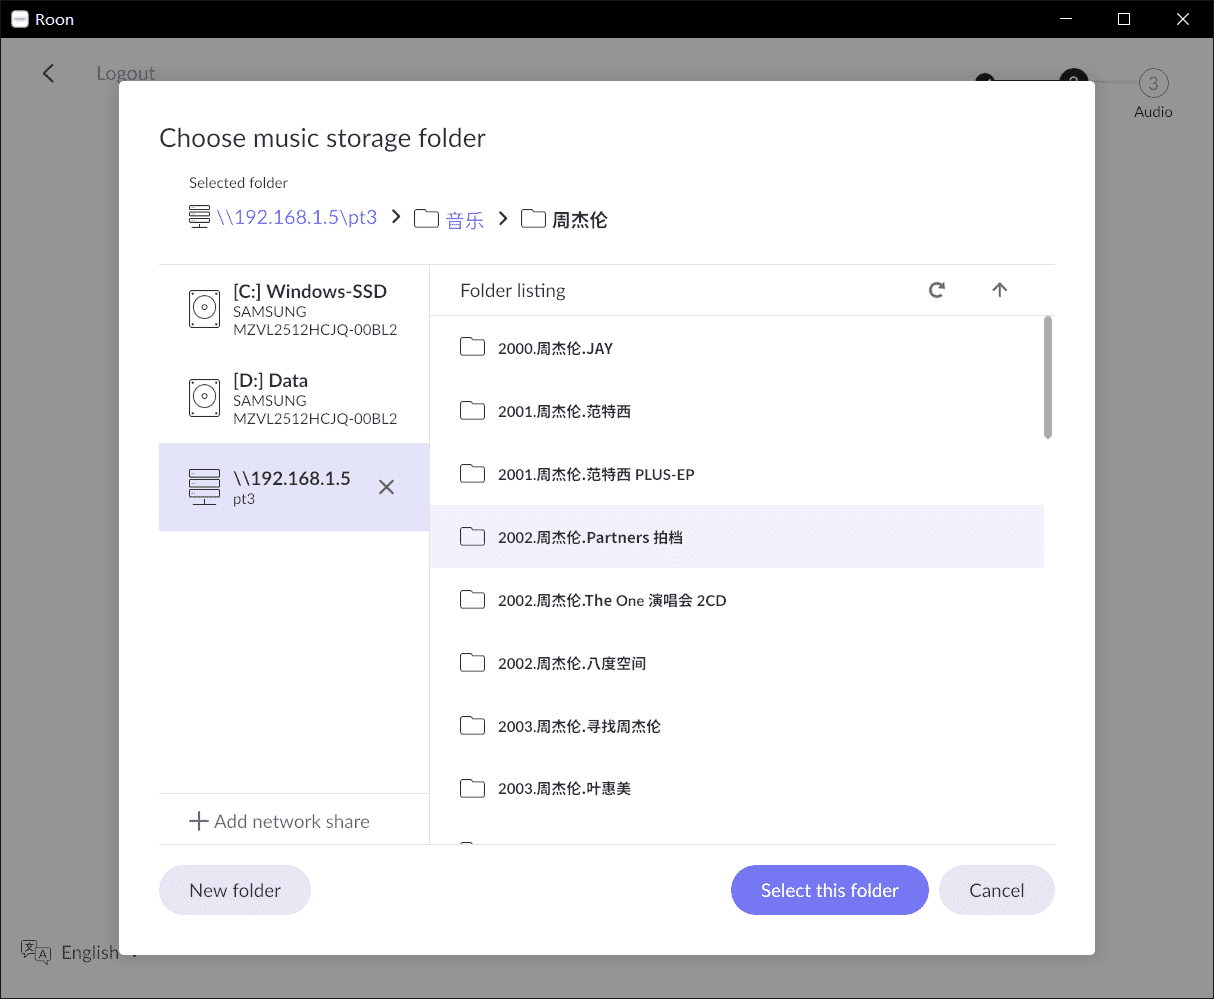
2.10. Add the music folder of the computer hard disk or network share. This tutorial takes Synology NAS as an example. Click ” Select this folder” in the lower right corner to complete adding job after selecting music storage folder.
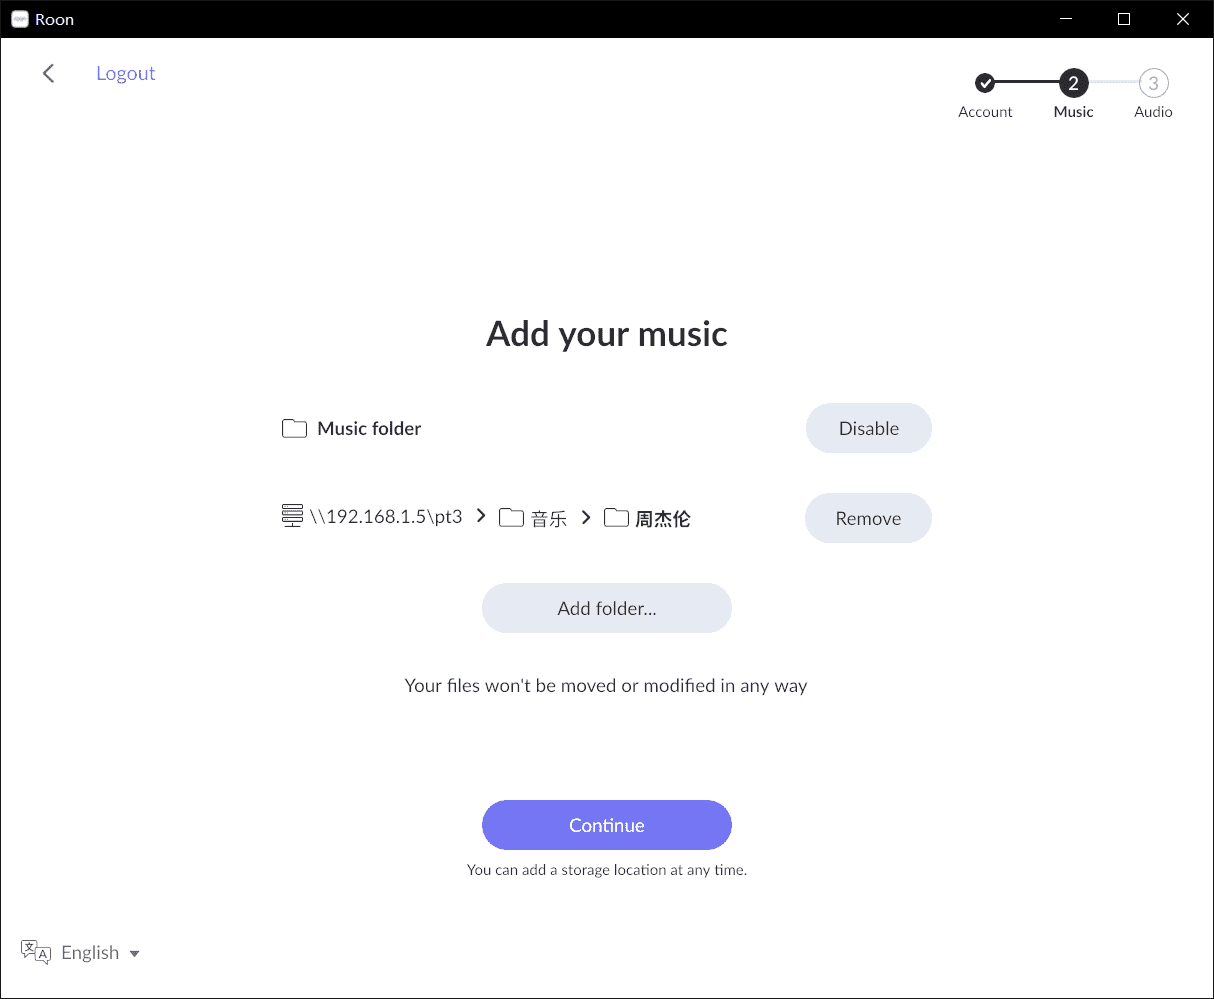
 2.11. Add multiple music folder paths one by one under this option, click ”Continue” when all of them are added.
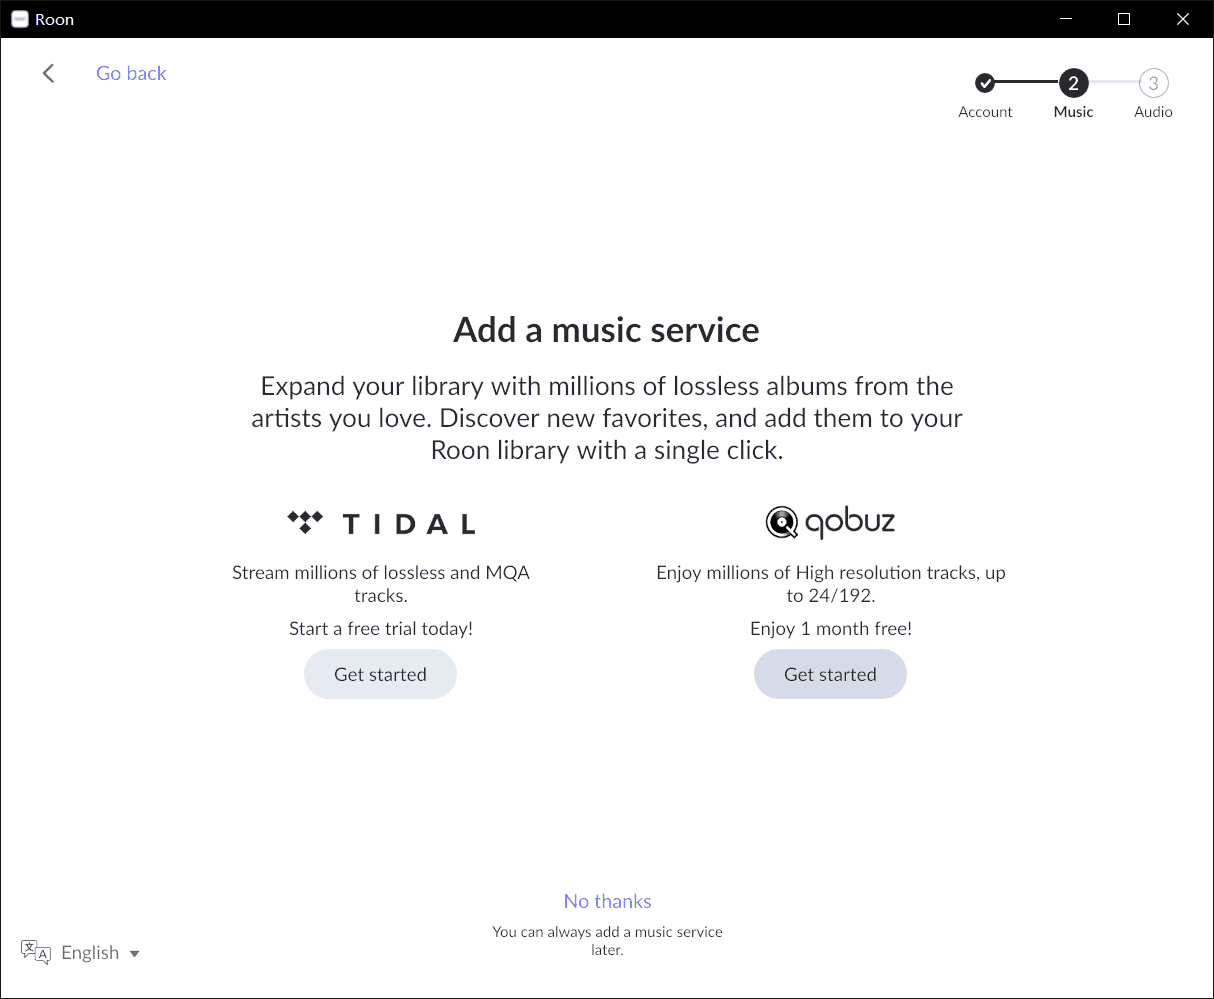
 2.12. If you have Tidal and Qobuz platform accounts, you can directly log in to your respective accounts, without the need for additional app installation, to enjoy the tens of thousands of music services from these online streaming platforms directly on the Roon platform. If not, you can skip it by clicking "No, thank you!"
2.13. This step can be skipped, click “Finish”.
3. Audio Settings and Playback
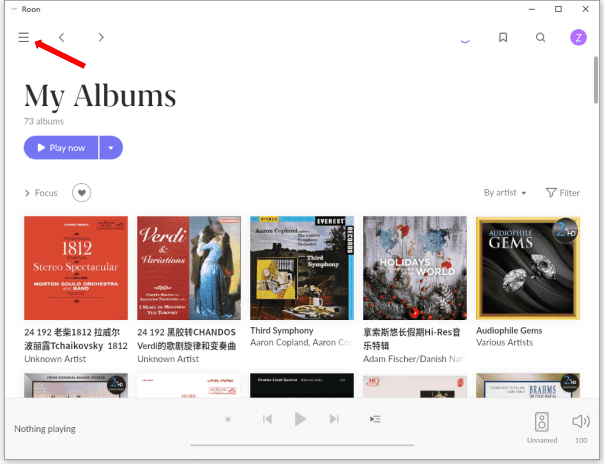
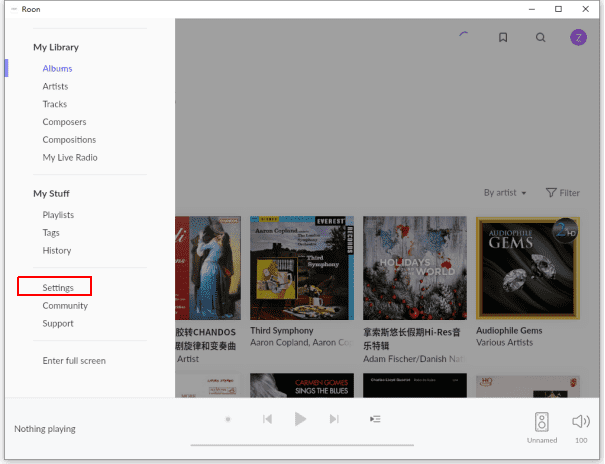
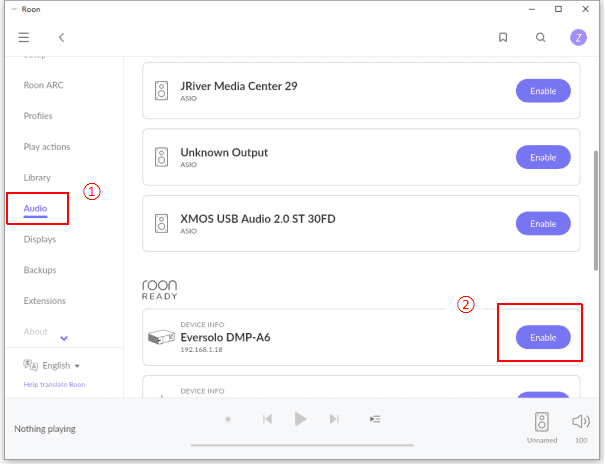
3.1. Click the three horizontal icon in the upper left corner, and then go to Settings - Audio, select Eversolo DMP-A6(under the Roon Ready option) to start.
Note: Your PC and DMP-A6 need to be on the same local network. If you want to use your computer to output music, click the three horizontal icon in the upper left corner, then go to Settings - Audio - Enable the corresponding network card of this PC option in the menu, and then switch the DMP-A6 output to the computer output on the playback interface .
3.2. Finally, return to the Roon main interface and switch the bottom-right speaker icon to DMP-A6. With this, the basic Roon setup is complete.
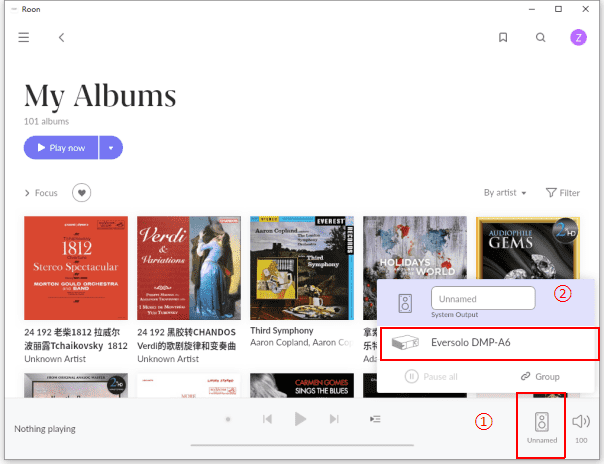
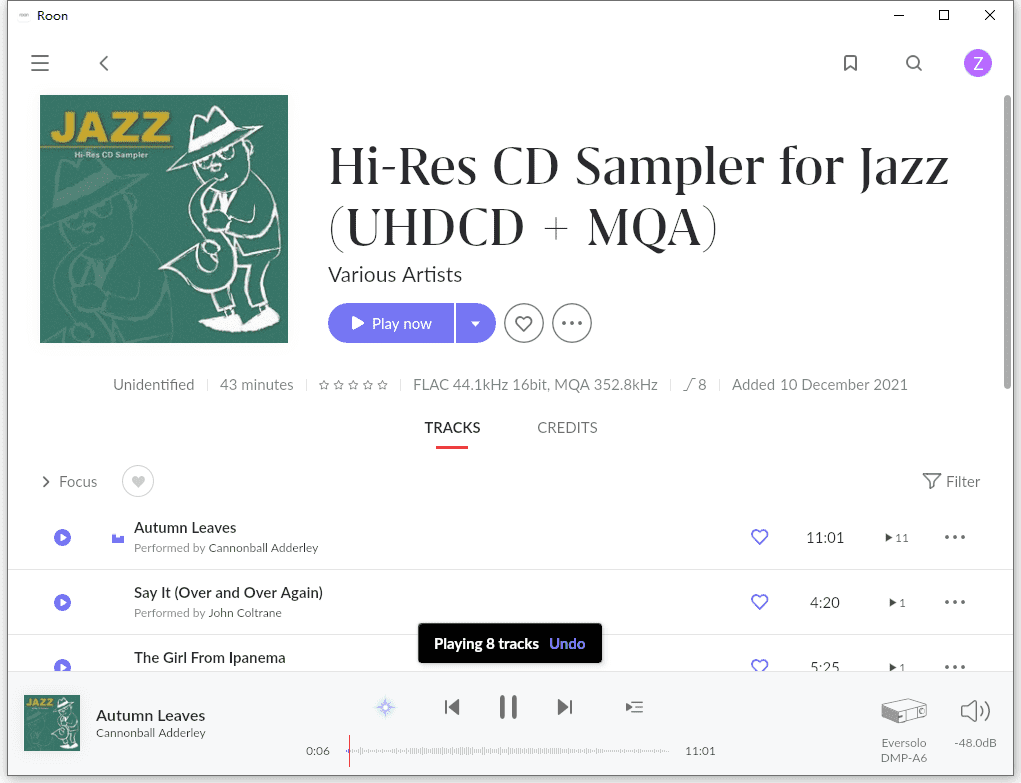
3.3. Enter “My library” and play any song. Roon will stream and push it to DMP-A6 for playback.
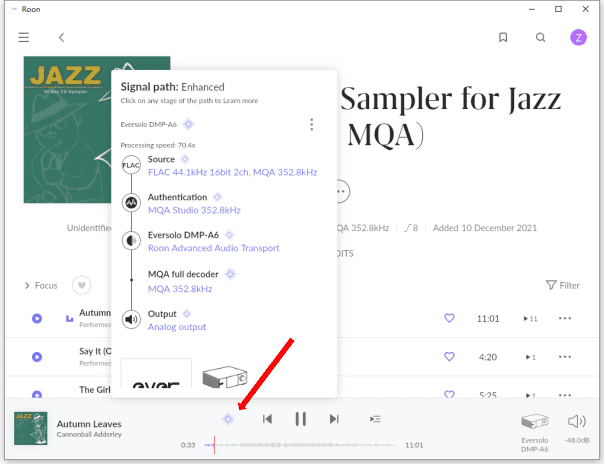
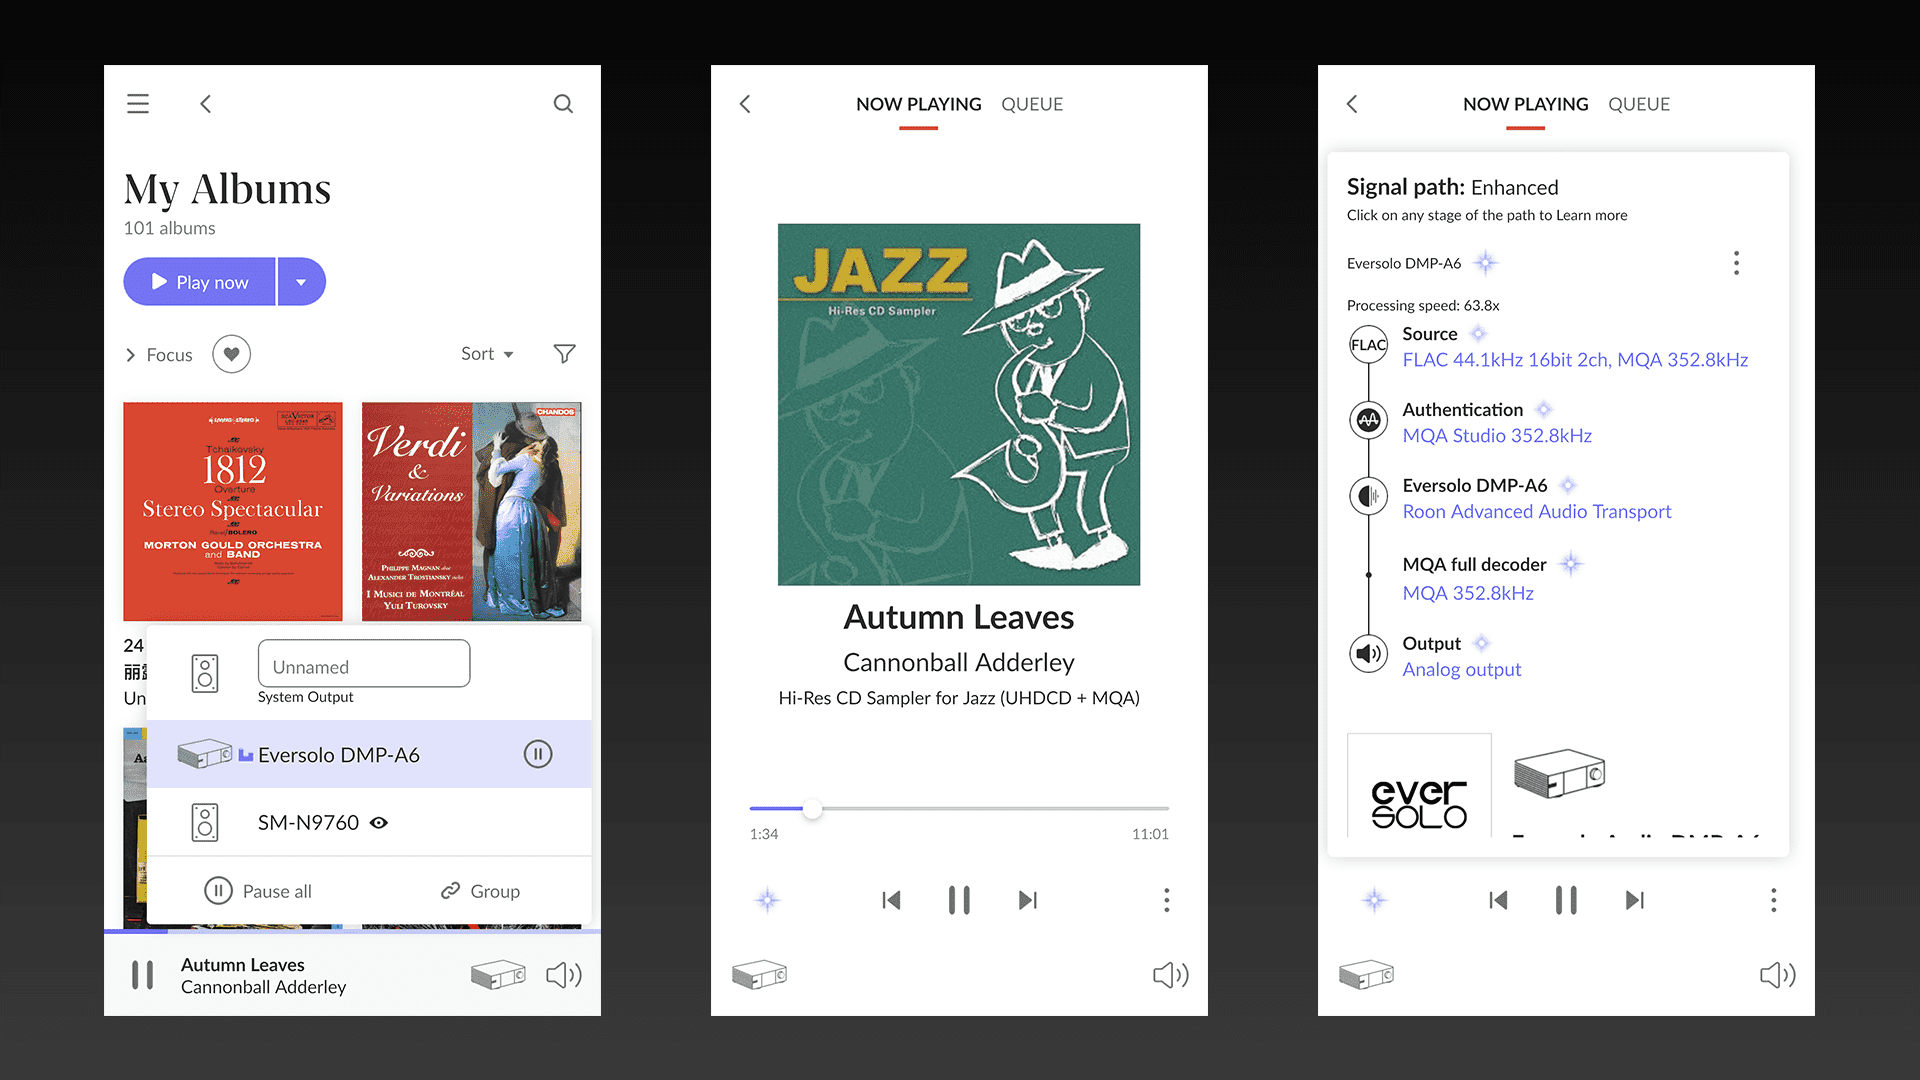
 3.4. On the Roon playback interface, clicking on the icon at the arrow location will display detailed information about the current music output.
IV. Configuration and Usage of Roon Mobile Control Software
This tutorial takes Android phone as an example
1. Preparations
Roon official download link for mobile software:
Android:https://download.roonlabs.com/builds/RoonMobile.apk
Apple iOS:https://itunes.apple.com/WebObjects/MZStore.woa/wa/viewSoftware?id=1014764083&mt=8
2. Configuration and Usage
2.1. The Roon software on the mobile device and the PC settings are similar. After launching the software, the default language is English, and you can switch to other languages in the lower left corner.
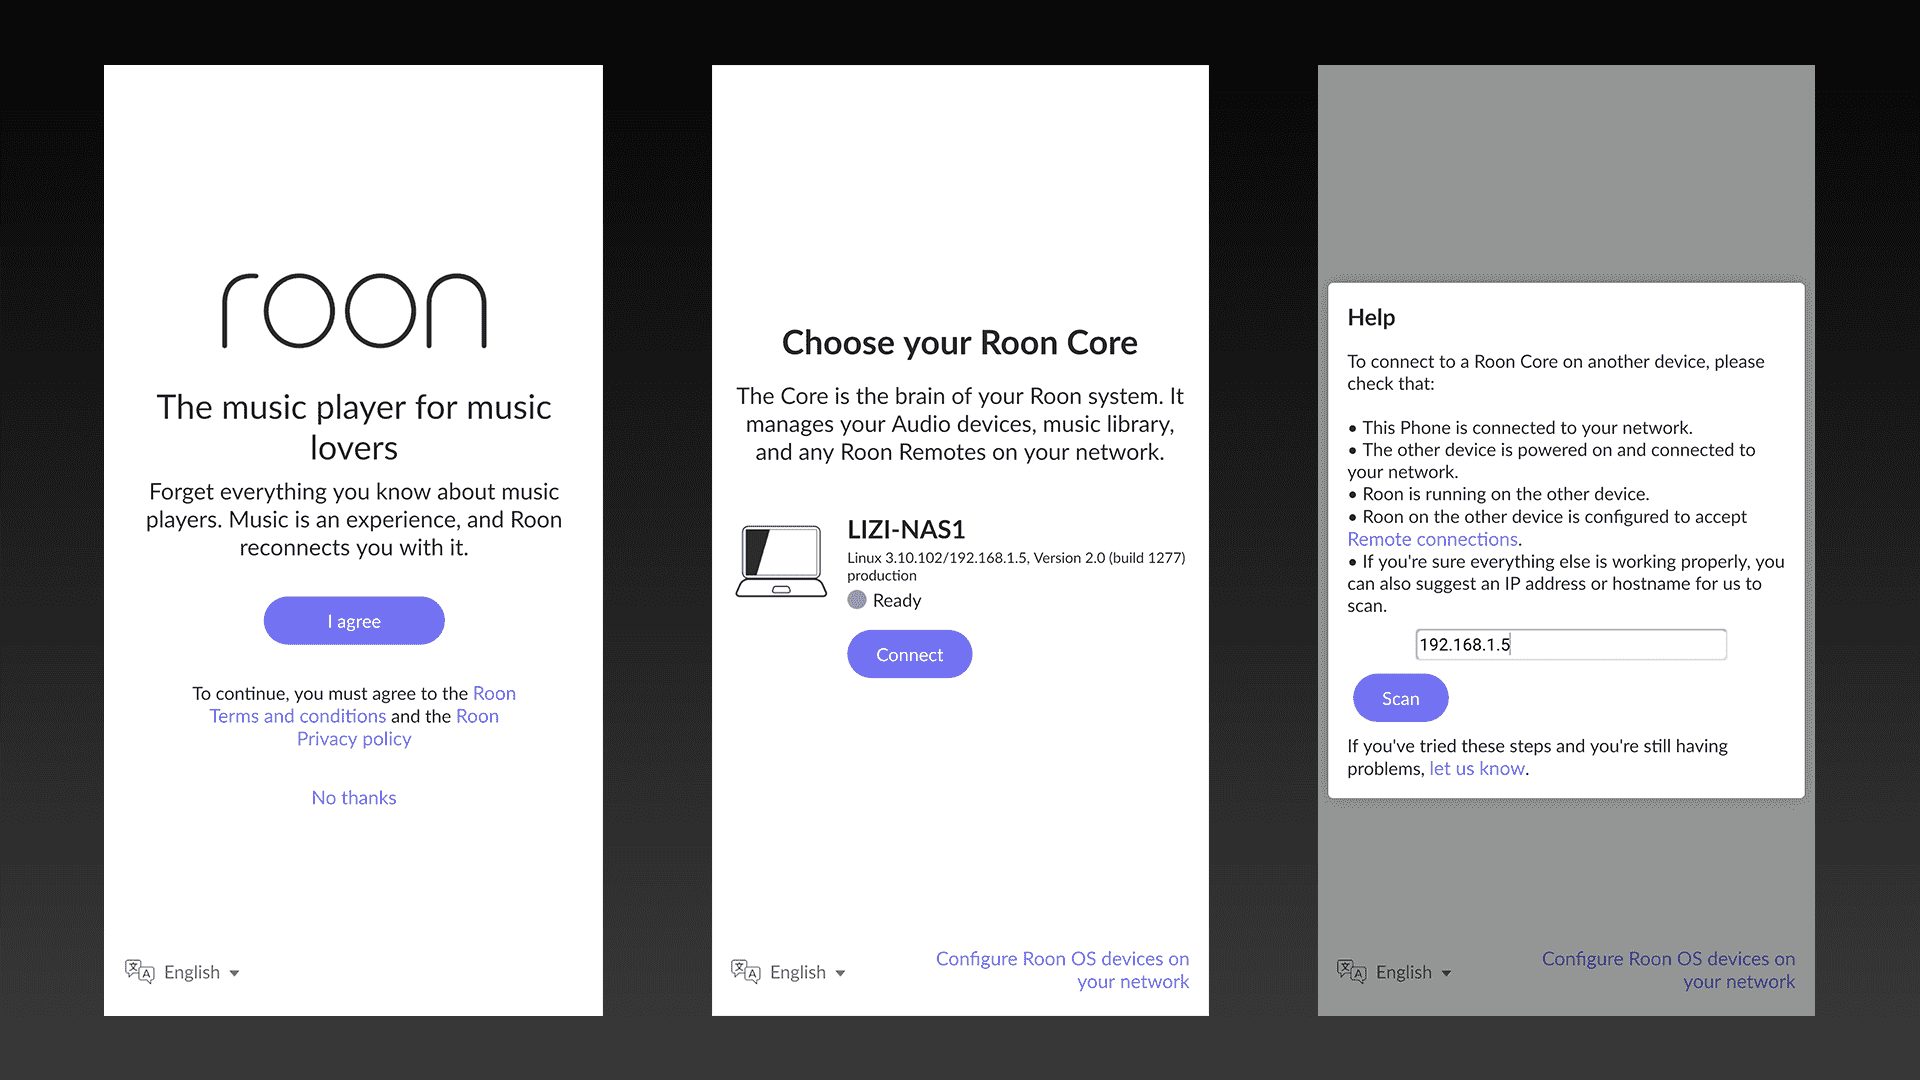
 2.2. Connect to WiFi on your mobile phone. The software will automatically search for the Roon Core installed on your computer and Synology NAS within the local network. Click on the connection to complete the pairing.
Note: If automatic search fails, please manually enter the IP address of the Roon Core device for pairing and connection.
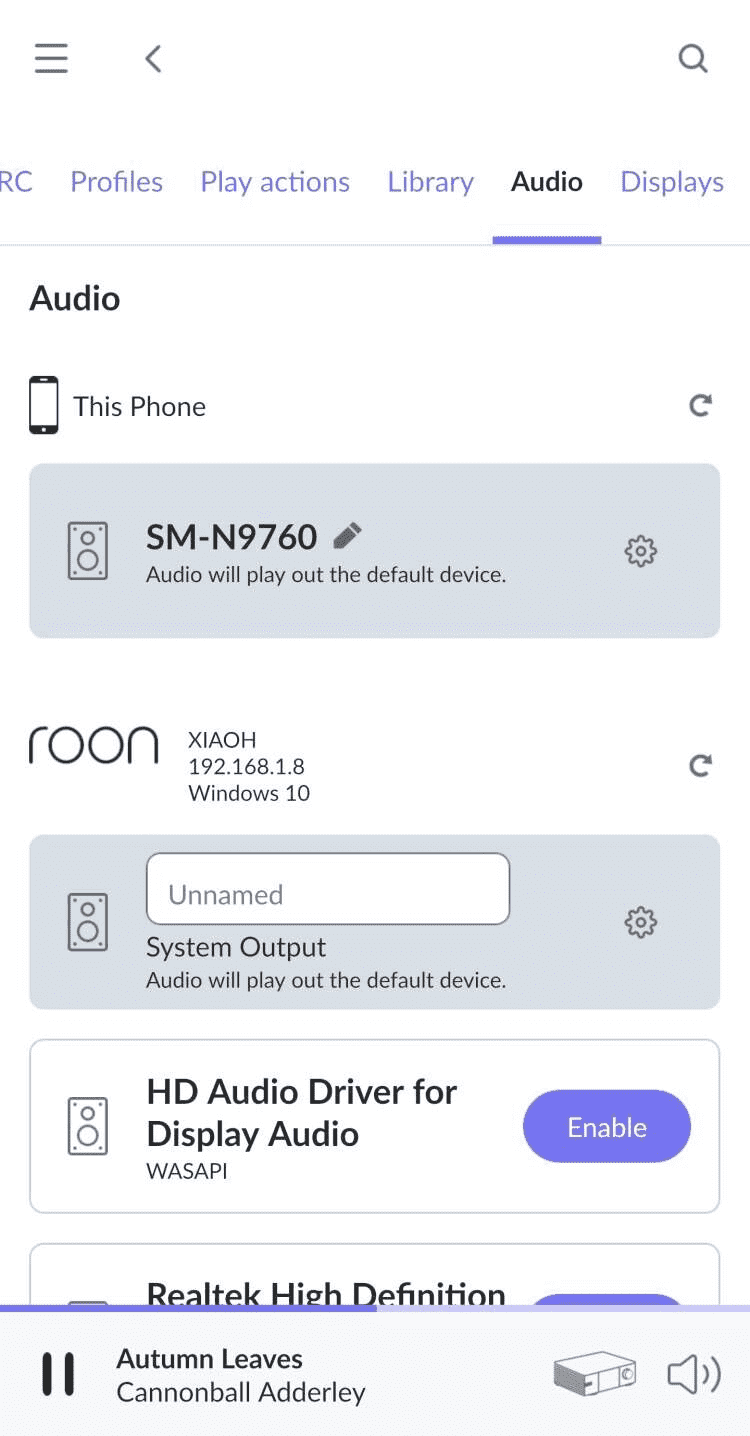
 2.3.Once the setup is complete, it's similar to logging into your account on a computer. You can access the Roon main interface without logging in. Simply click on the bottom menu to select an audio zone, choose the Eversolo DMP-A6, and you'll be able to control Roon's music streaming directly to the DMP-A6.
Friendly reminder: Since the Roon core is installed on the Synology NAS, you can even control the streaming playback using your smartphone without having to turn on the computer.
2.4. To directly output music using your mobile phone, tap the three horizontal icon in the top left corner, then go to Settings - Audio. After selecting the corresponding device, switch the Eversolo DMP-A6 to your phone in the playback interface.